This is the (second half of the) eighth installment in the All-Grain Brew Day Walkthrough, which started with a post on strike water preparation.
 After the wort has been boiled, it’s time to chill it. In the first part of this discussion of wort chilling, I explained how to chill the wort using an immersion chiller. Today, I will discuss counterflow chiller and plate chillers.
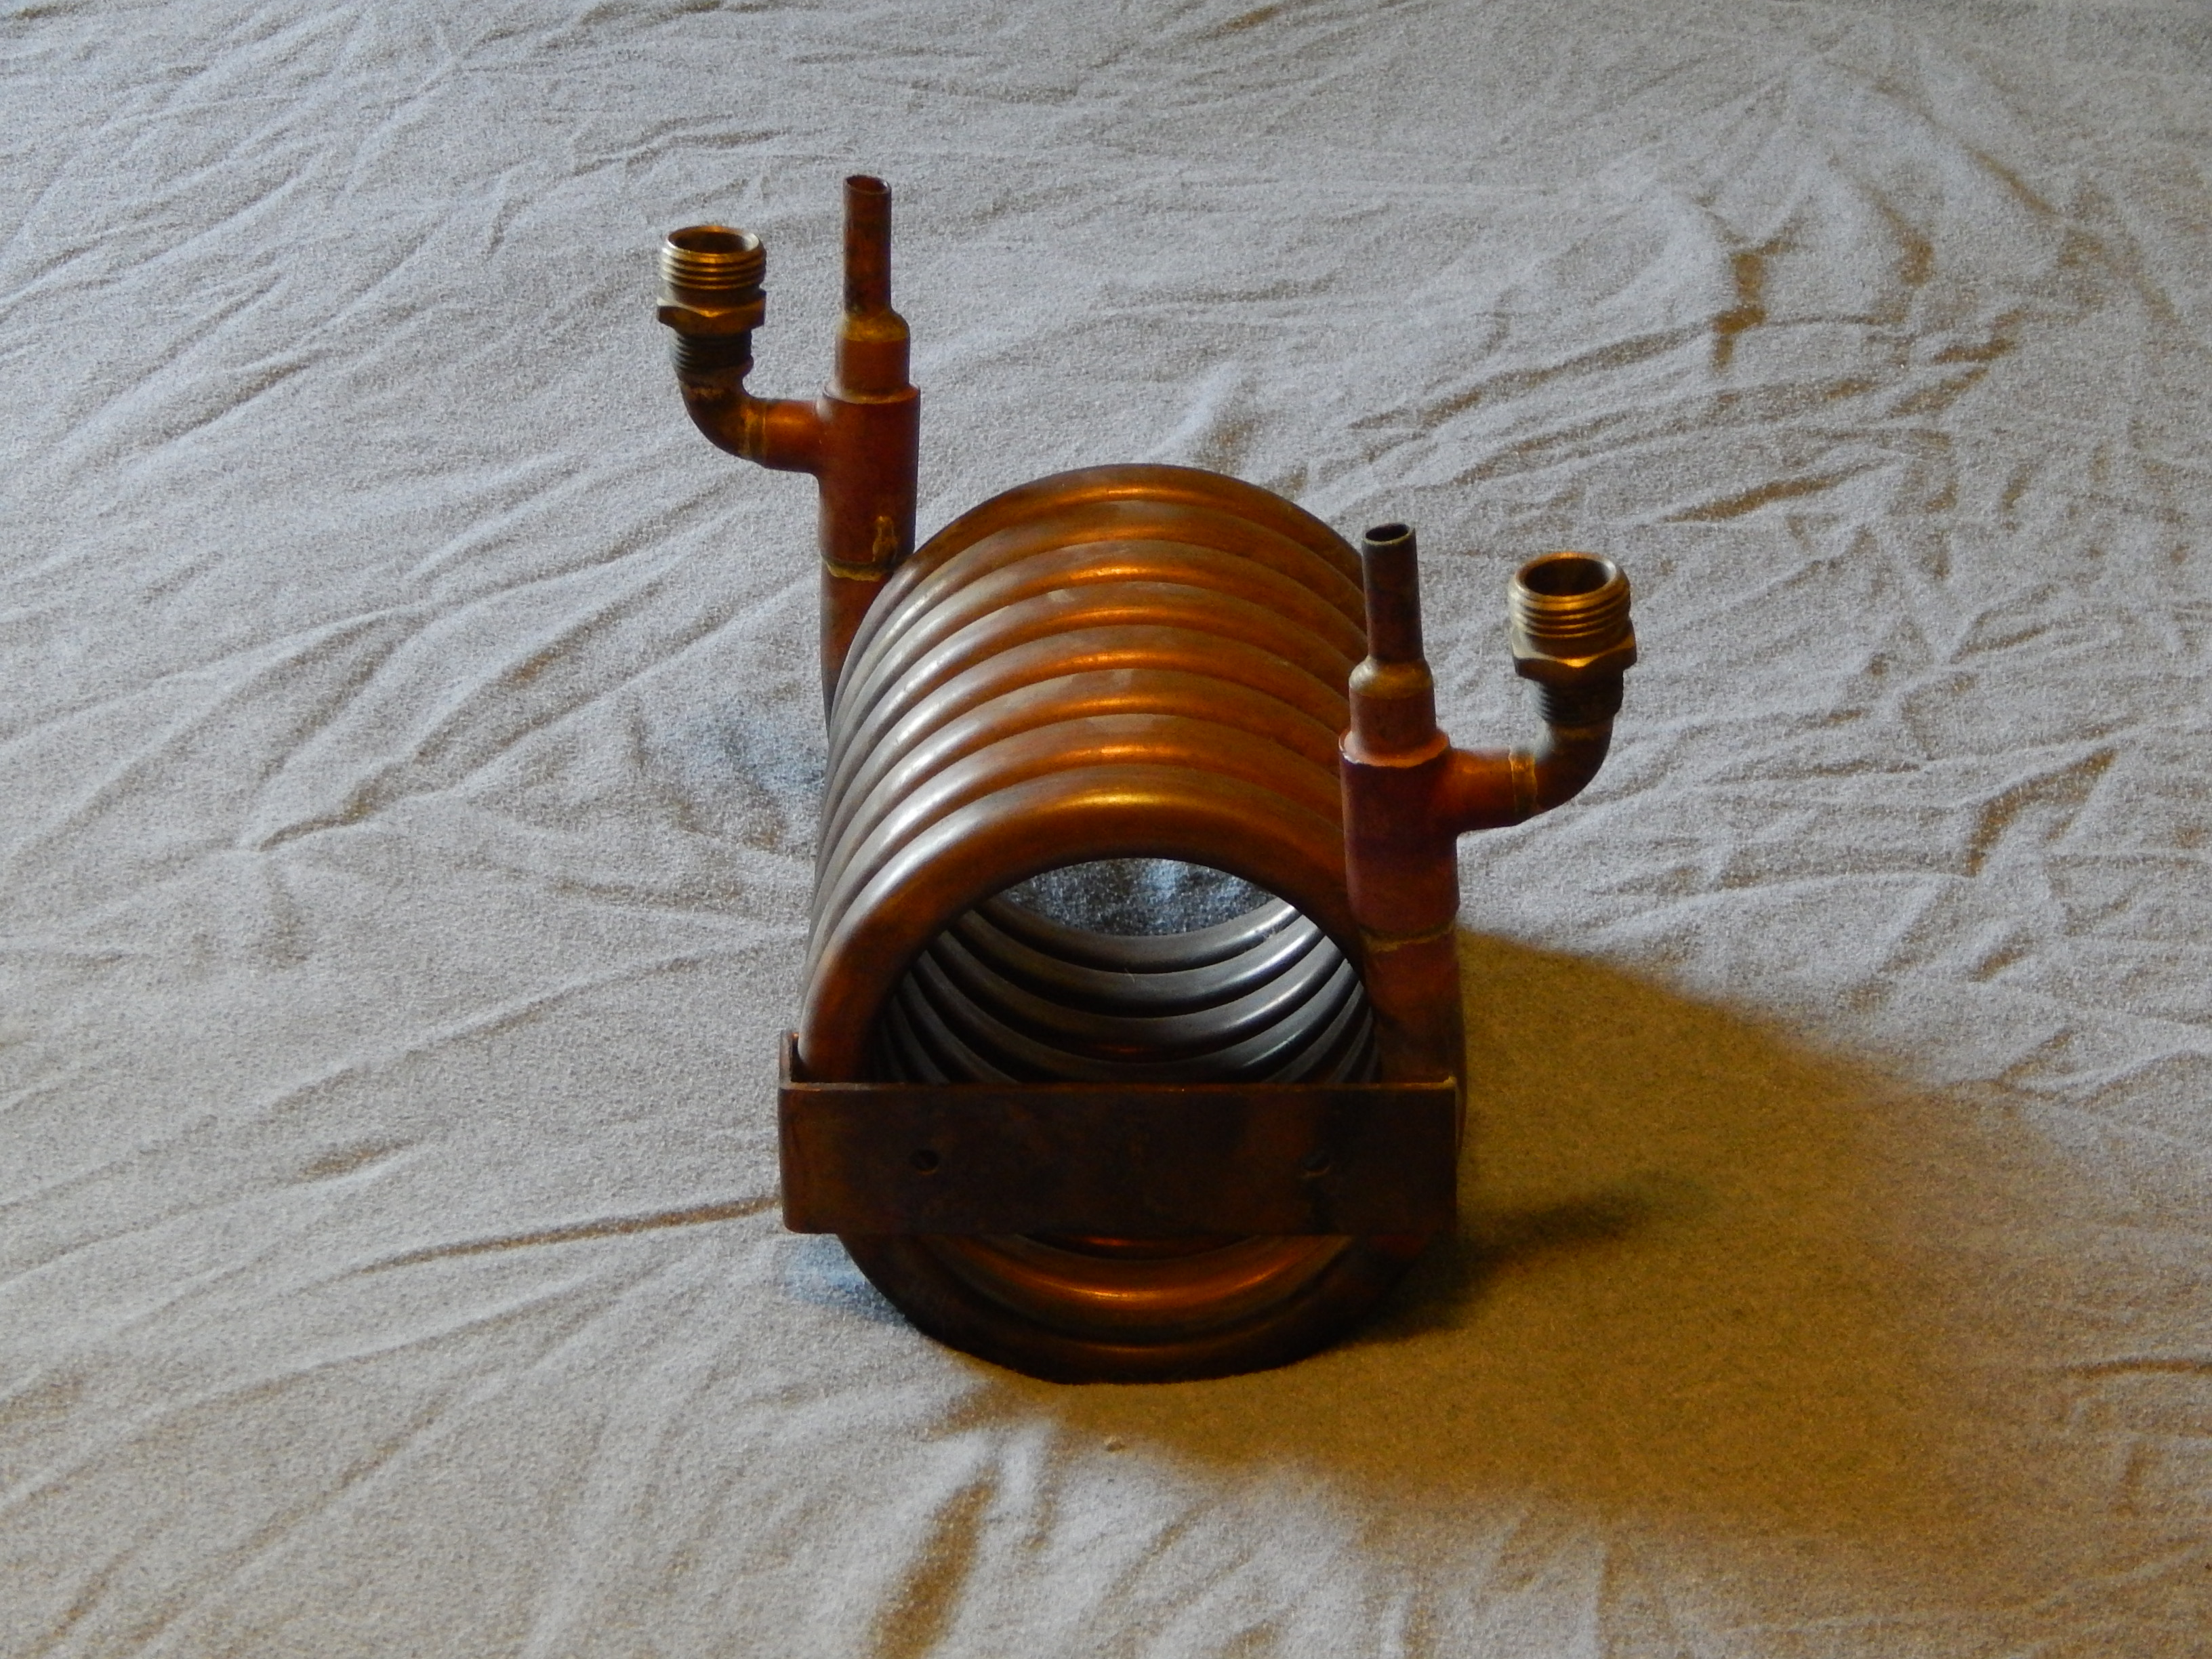
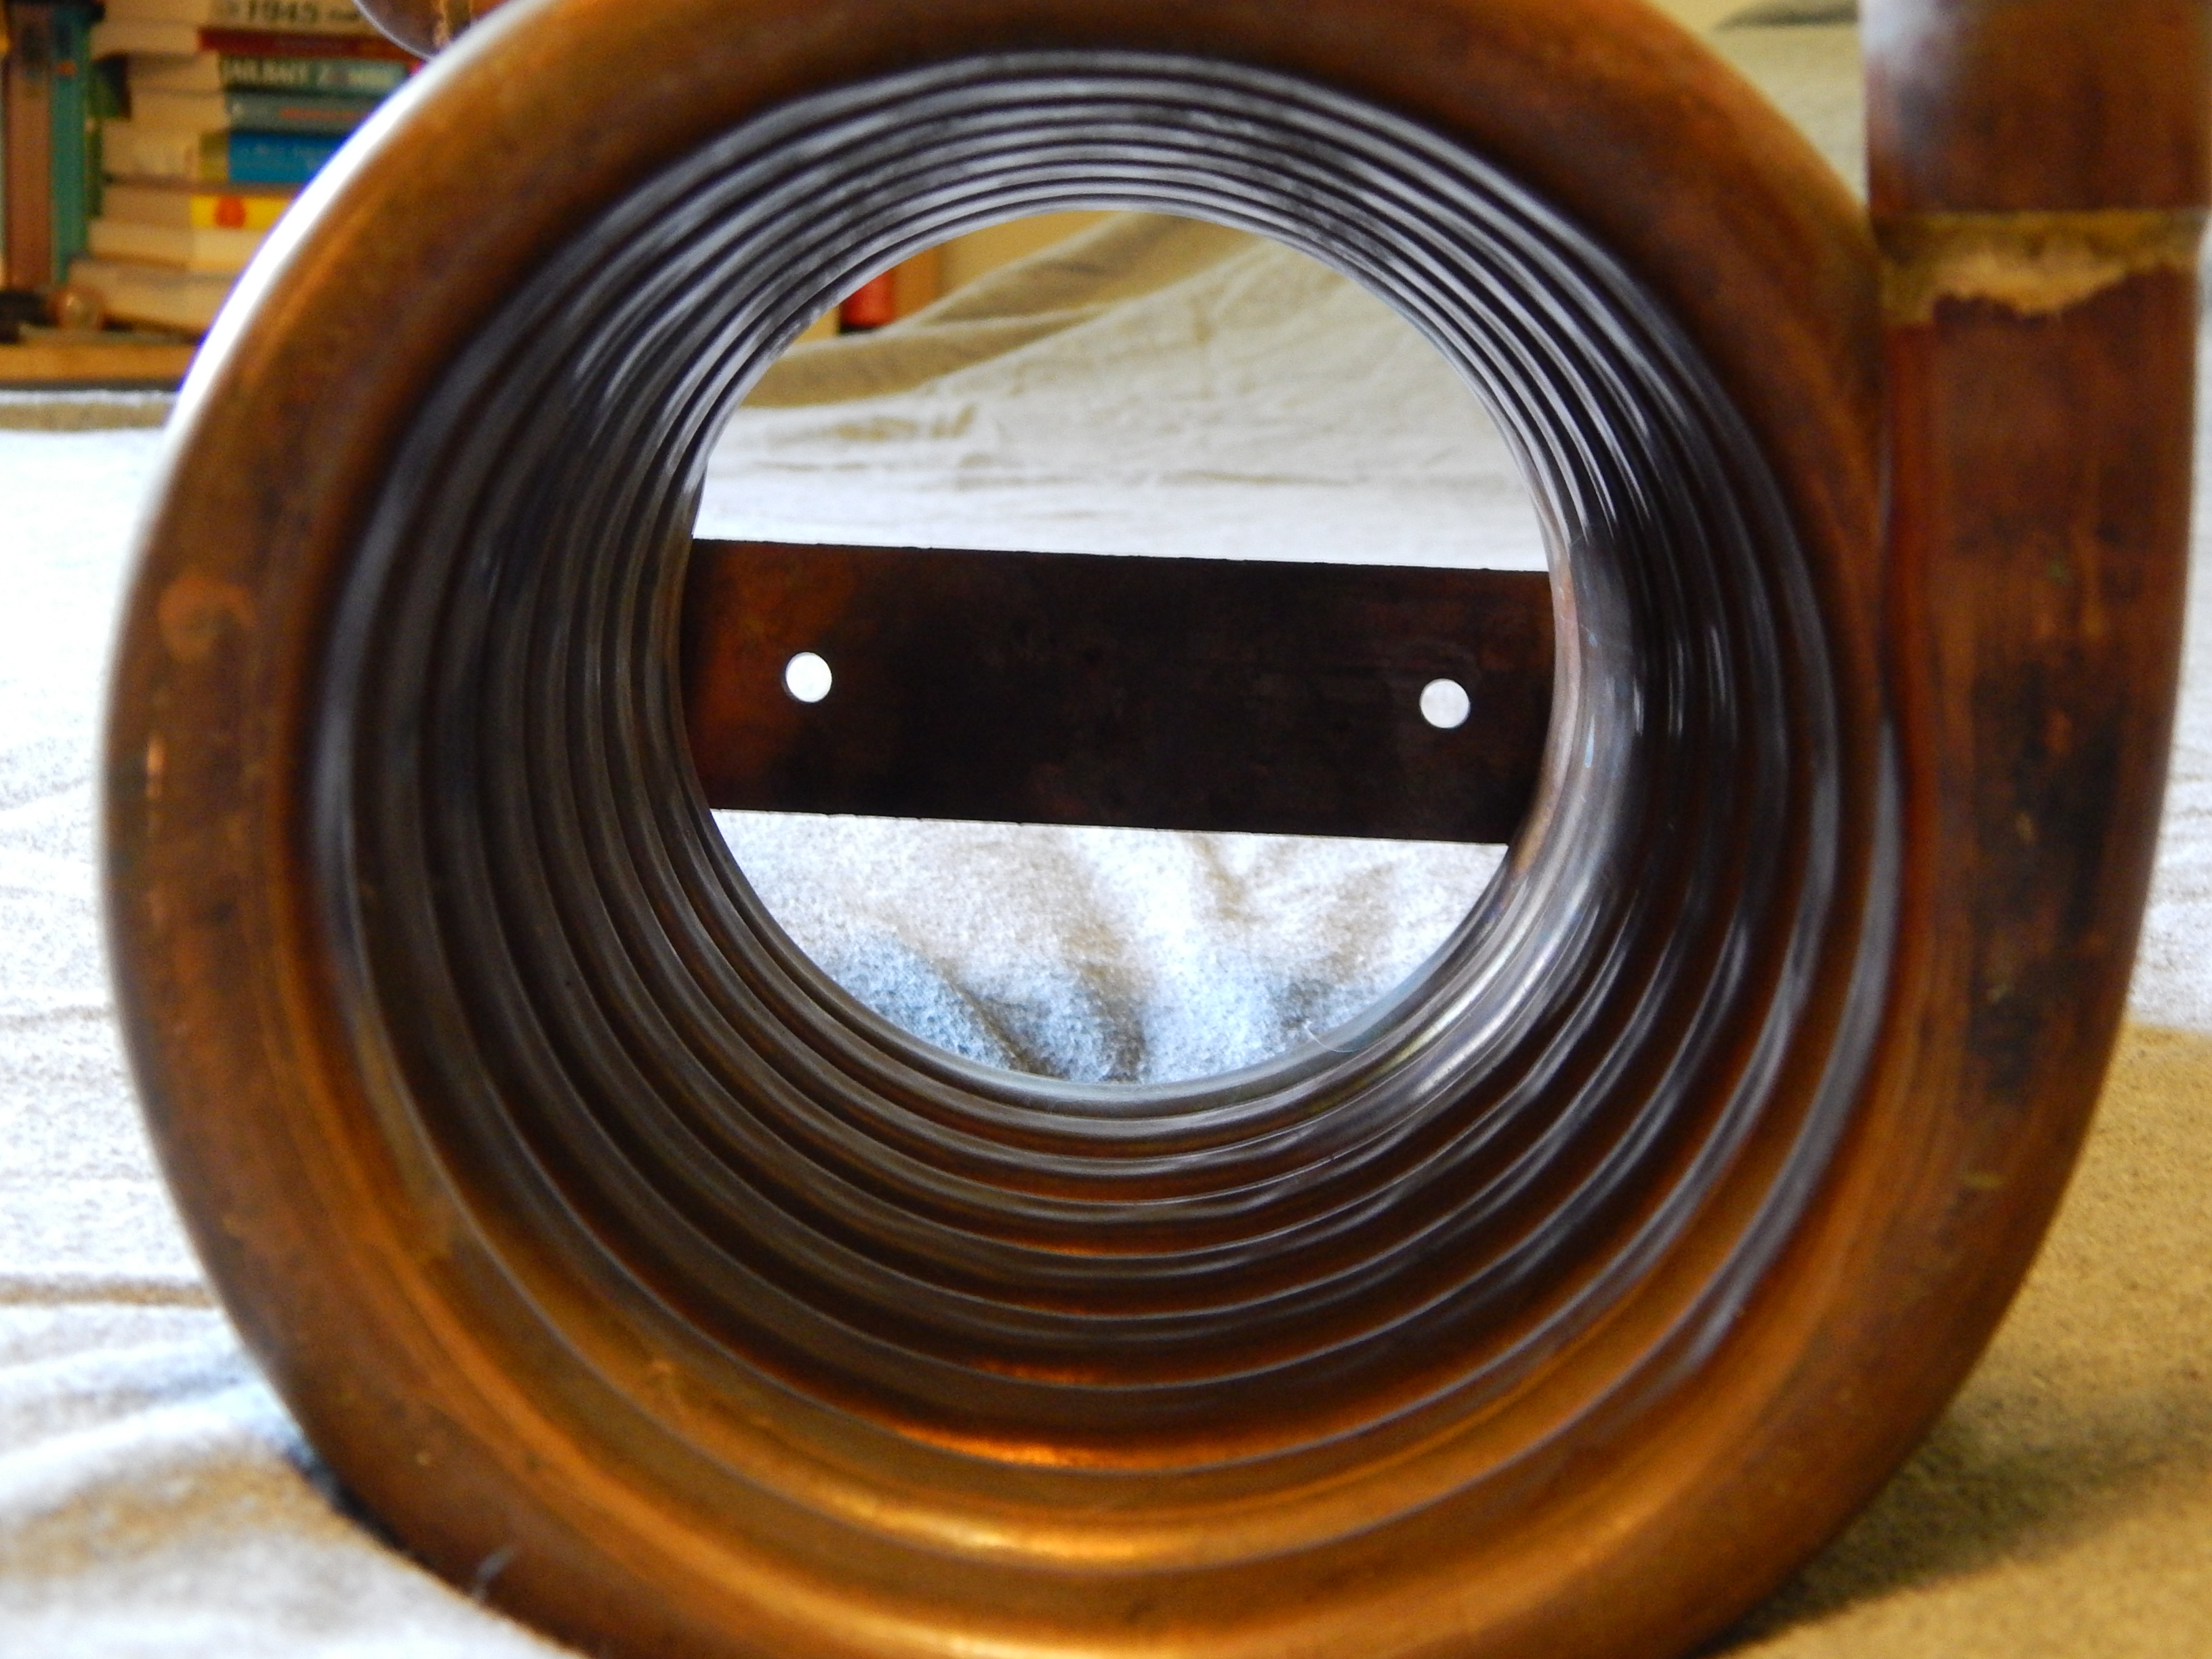
Counterflow-Type Chillers
In a counterflow or plate chiller, hot wort and cool water flow past each other in opposite directions, separated by a barrier. Heat is transferred from the wort to the water. In a counterflow chiller, a tube carrying wort runs inside a larger tube carrying water flowing in the opposite direction. In a plate chiller, wort flows through a series of chambers surrounded by chambers of water.
These wort chillers use water more efficiently than immersion chillers. In addition, the wort is not exposed to airborne contaminants as it is being cooled. (However, if the chiller is not sanitized inside, it can contaminate the wort.) In addition, in-line aerators can be affixed to the outflow tubing of a counterflow type chiller. And finally, counterflow and plate chillers can be used in conjunction with hop jacks.
The drawbacks of a counterflow chiller are that all of the cold break end ups in your fermenter. And, they are harder to clean and inspect. However, the downsides of using this type of chiller can easily be managed.
Using a Counterflow or Plate Chiller
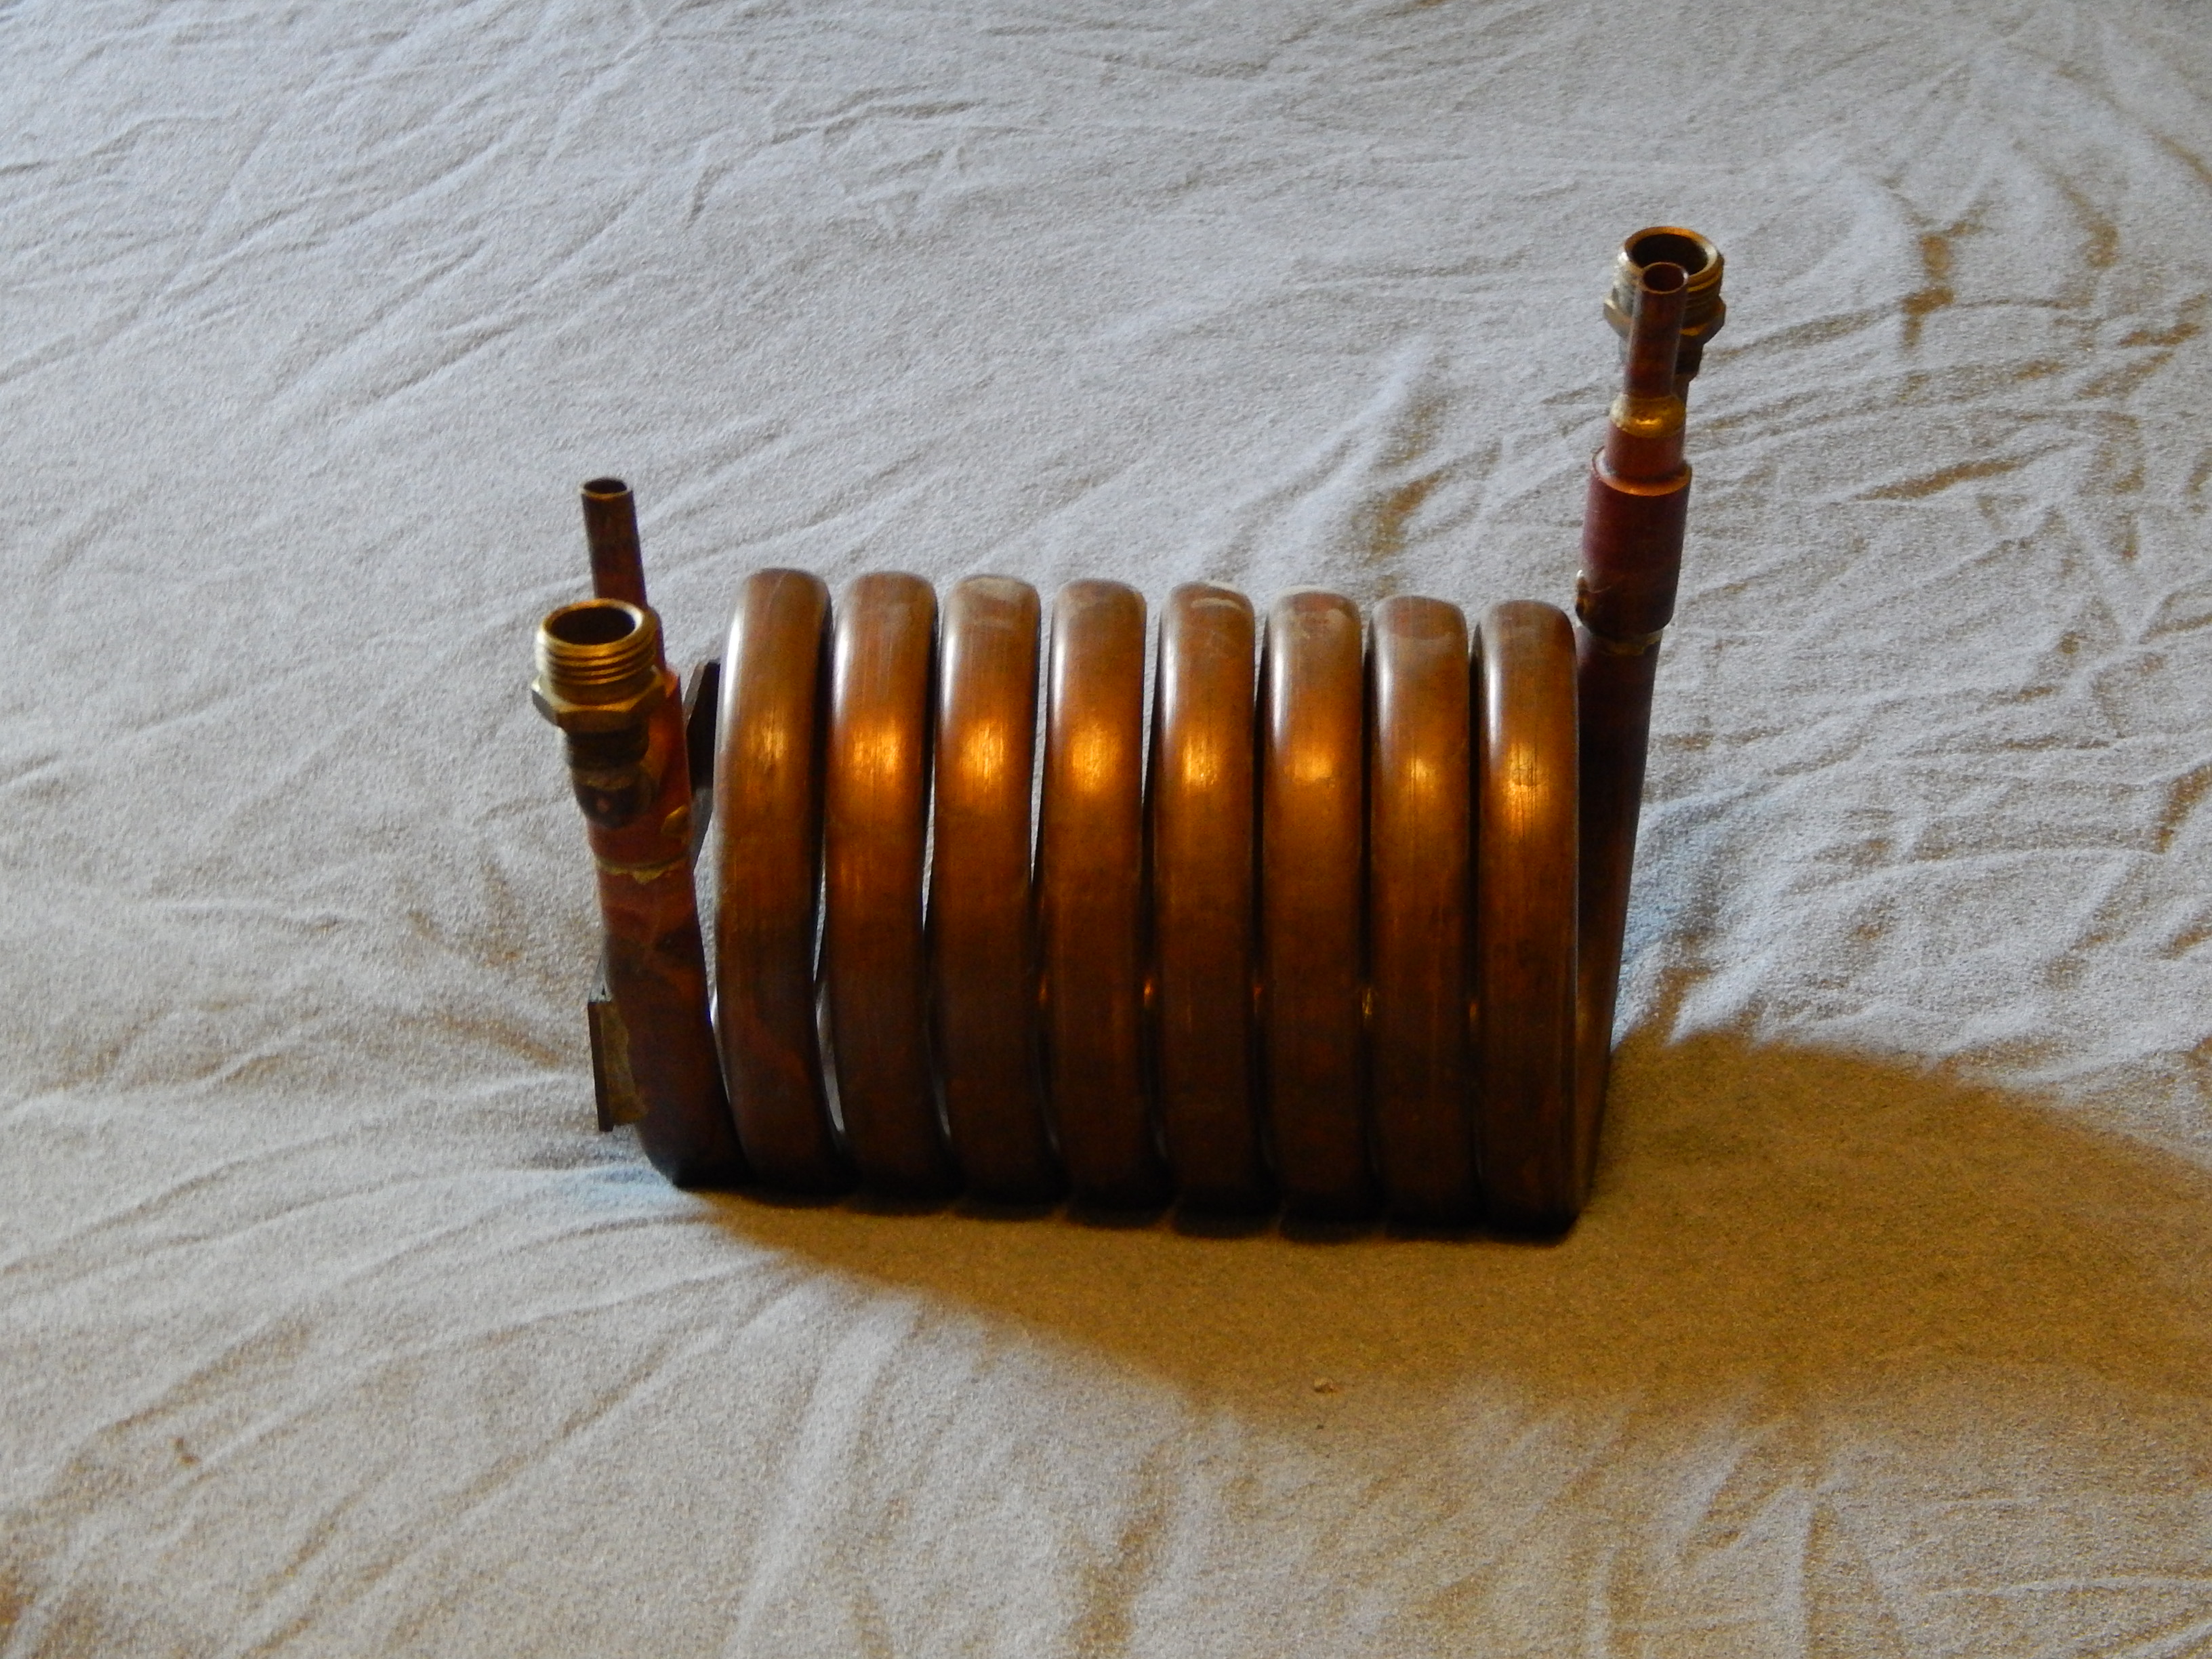
In a counterflow chiller, the hot wort and cooling water run in different directions. For example, this CF chiller could be hooked up by attaching the cold water hose to the hose fitting on the right. The brewer would attach the hot water outlet to the left hose fitting The left wort inlet would then be connected to the kettle; the right wort outlet would flow to the fermenter.
You can sanitize a counterflow or plate chiller by filling it with sanitizing solution and letting it sit for the proscribed contact time, depending on the sanitizer. You can also fill it with hot water and submerge it in your hot liquor tank at 170 °F (77 °C) or higher. Once the interior reaches 170 °F (77 °C), it will be rendered sanitary in seconds. If the chiller is clean, you can also let some hot wort flow through it without the cooling water running. The heat of the wort will sanitize the chiller. If you do this, the first quart or so of wort should be discarded, as it will likely be contaminated. (Obviously, this is a somewhat wasteful procedure.)
When you are ready to start chilling, start the flow of cooling water. Then slowly open the ball valve on your kettle and start running hot wort through the chiller. Measure the temperature of the wort being output and increase the flow to the point at which it exits the chiller at your desired fermentation temperature. (If the temperature is above your desired fermentation temperature, even at very slow flow rates, you will need to use a pre-chiller.) Some chiller setups are equipped with an in-line thermometer, and this makes it easier to monitor the temperature.
After chilling, run hot water or cleaning solution through the chiller immediately. Most plate chillers can be disassembled, and you should do so periodically to clean and inspect them.
The wort exiting the chiller will be chilled, and perhaps aerated. It will also contain the cold break material. To get rid of the cold break, you can let it settle overnight, then rack to a new fermenter. Some homebrewers initially rack to a sanitized bucket, cover it, then transfer the wort to their fermenter after the cold break has settled. If you use a cylindro-conical fermenter, you can simply open the dump valve at the bottom and expel the material after it has settled. There is no need to separate every last bit of cold break. However, leaving it all in the fermenter leaves your beer prone to haze and biological instability
Effect on Late Hop Additions
Using an immersion chiller versus a counterflow or plate chiller affects the character that late hop additions have on your beer. When using an immersion chiller, the wort is chilled in bulk. The entire volume goes from boiling temperatures to fermentation temperatures in concert. In contrast, with a counterflow or plate chiller, the wort is chilled bit by bit. If you add hops at knock out, some amount of wort remains at near boiling temperatures until it passes through the counterflow chiller. The last bit of wort running through the chiller will have more hop flavor extracted from the hops. Conversely, the added time exposed to hot wort will have evaporated more of the volatile have aromas. If you change chiller types, you may need to adjust your late hop additions to get the same balance of hop aroma and flavor as before. Keep in mind that, when chilling with a counterflow or plate chiller, you can add hops to the kettle as chilling progresses.
The next installment in this series deals with aeration.
—
Related articles

Speak Your Mind