Extend Your Session Beer Volume

If you read my recent article on sparging session beers, you’ll know that fully sparging the grain bed for a low-gravity session beer can yield less volume than a typical pre-boil wort target. For a 5.0-gallon (19-L) batch of session beer, you’ll collect less than 6.0 gallons (23 L) of wort and perhaps even less than 5.0 gallons (19 L). The simplest way to deal with this is to add water to your wort to yield a volume you can boil for 60 to 90 minutes. Another way to deal with it would be to boil the smaller volume for your desired boil time, then add cool water to the post-boil wort in the kettle. This way saves you a little time when chilling the wort. 

That baby cracks me up

However, there is a third possibility — one that will yield more beer with the same amount of effort and using your same equipment (except perhaps for a second fermenter). The third possibility is to select an amount of grain that will yield either 6.0 gallons (23 L) or 6.5 gallons (25 L) of wort from a fully-sparged grain bed. This is 9.25 lb. (4.2 kg) and 10.0 lb. (4.5 kg), respectively. This will allow you to perform a 60-minute boil or a 90-minute boil, whichever you prefer. In either case, your pre-boil wort should have a specific gravity (SG) around 1.043. After a 60-minute boil of the 6.0 gallons (23 L), your original gravity (OG) should be close to 1.051. For a 90-minute boil of the 6.5 gallons (25 L), 1.056. Then, dilute this wort in your fermenter to your target original gravity. (In practice, your numbers may vary slightly from these. If you try this, take good notes on your grain weight, your wort yield, and the density of your  pre-boil and post-boil wort. With that information, you can tweak your process, if needed, the next time you brew.)

Dilution tables for 5.0 gallons (19 L) of session beer. Click to expand.

The two tables above show you how much dilution water you need to hit a variety of original gravities in the session beer range. As an example, let’s say you wanted to brew an ordinary bitter at an OG of 1.036. Furthermore, you wanted to start with 9.25 lb. (4.2 kg) of grain and boil for 60 minutes. On the appropriate table, find the OG of 1.036. Look to the left of that number to see you’ll have to add 2.0 gallons (7.8 L) of water to the 5.0 gallons of post-boil wort for a yield of 7.0 gallons (26 L) at SG 1.036. Once you know this, formulate a recipe for 7.0 gallons (26 L) of bitter, but brew it as a 5.0-gallon (19-L batch). After the boil, chill the wort and dilute it to your target strength in your fermenter (or fermenters). 

Using this method, you can make more than 5.0 gallons (19 L) of beer with the almost the same amount of effort as brewing a 5.0-gallon (19-L) batch. And you won’t need a larger mash tun or kettle. All you’ll need is more fermenter space. Since session beers are meant to be “the one to have when you’re having more than one,” it can be good to brew a little extra. 


Don’t Overpitch a Session Beer

[This is the second article in a series on brewing session beers. In the first, I discusssed sparging the grain bed for a low-gravity beer.]

In the past, a common problem among homebrewers was pitching an inadequte amount of yeast. The original containers of liquid yeast did not contain enough yeast cells to yield an ordered fermentation of 5.0 gallons (19 L) of average strength or higher wort. They “would work,” but start times were longer than they should have been and sometimes the beer did not attenuate fully. However, some brewers did not want to go through the hassle of making a yeast starter. 

These days, homebrewers have access to liquid yeast packs that have 100 billion cells or 200 billion cells. And of course, we’ve always had access to dried yeast packets that have a large cell count. An 11.5-gram packet of dried yeast, for example, contains over 200 billion cells. And all that is great —  except when you are brewing a session beer. For a low-gravity beer, the amount of cells in a commercial yeast packet might actually be too high.

Generally, the problems associated with overpitching are less troublesome than the problems associated with underpitching. However, in a session beer, overpitching can detract from the beer’s character. Overpitched beers may attenuate to a greater degree than you want. With a session beer, you already expect a low finishing gravity because of the low starting gravity. So “extra” attenuation is unwelcome. You can moderate this somewhat by adding more crystal or caramel type malts to your recipe or mashing for a shorter time at a higher temperature. However, higher pitching rates also increase your overall attentuation. 

In addition, the yeast character from ale strains is mostly developed in the early growth phase of the beer fermentation. Fewer esters are produced once the yeast has reached their maximum density and are fermenting compared to when the population is still growing. So, overpitching can minimize the yeast character of a session beer. And given that many session beers are low-gravity, English-style ales, this character will be missed. Even in a non-English-style beer, some yeast character in a low-gravity beer gives it more overall aroma and flavor — something that can be lacking if the beer is not brewed well.  

For a low-gravity ale, I recommend pitching even less than the typical ale calls for. The general rule of thumb for ales is to pitch a million cells per mL per °Plato. So, for example, 5.0 gallons (19 L) of 12 °Plato (SG 1.048) beer — one that should produce a beer around 5.0% ABV — would need 227 million yeast cells. However, 5.0 gallons of a 9 °Plato (SG 1.036) beer — one that should produce a 3.5% beer — only needs 170 million cells. Pitching 200 million cells to a beer like this would not be drastically overpitching, and you’d probably get away with it. However, if you wanted to purposely underpitch to develop more yeast character, 130 million cells would be a better target. That’s 75% or the amount the general rule would suggest (and in line with the pitching rate of many commercially produced ales). 

Fortunately, it is easier to deal with having too much yeast than too little. If you have a 200 billion yeast cell container of yeast, and you want your pitching rate to be less than that, just pitch part of the package. If you wanted 130 million cells, for example, you want to pitch (130 million cells/200 million cells =) 0.65 or 65% of the yeast in a 200 billion cell package. Be sure to shake the package so that the yeast is evenly distributed before dividing it. You could perhaps utilize the unused yeast to make bread, or another yeast starter, if you were concerned about wasting it.

Alternatively, you can use a yeast pitching calculator to determine the size yeast starter that would be required. Then, pitch a small amount of yeast to the starter — NOT the whole pack — and let that grow. Recall that 8.0 fluid ounces (240 mL) of yeast slurry is generally adequate for 5.0 gallons (19 L) of 12 °Plato (SG 1.048) beer. So, if you were making a 1.0 qt. (~1 L) yeast starter, about 1/20 of that volume — 0.4 fluid ounces (12 mL) of yeast slurry would be required. I nearly always make a yeast starter because I can assess the health of the yeast based on the vigor with which they ferment the starter wort.

Brewing a high-quality low-gravity session beer requires every bit as much attention as brewing a big beer. The “tricks” are just different. For starters, don’t use too much sparge water on your grain bed nor pitch too much yeast to your wort. More session beer posts are in the works.

Don’t Oversparge When Brewing a Session Beer

Session beers are low-alcohol beers that allow the drinker to consume a few without becoming too intoxicated. In order to be of high quality, the brewer must pay just as much attention to brewing a session beer as he would to brewing any normal or high-gravity beer. In the next week, I am going to post a few articles with tips on how to make the best session beers. Today’s entry concerns how much wort to collect from the mash.

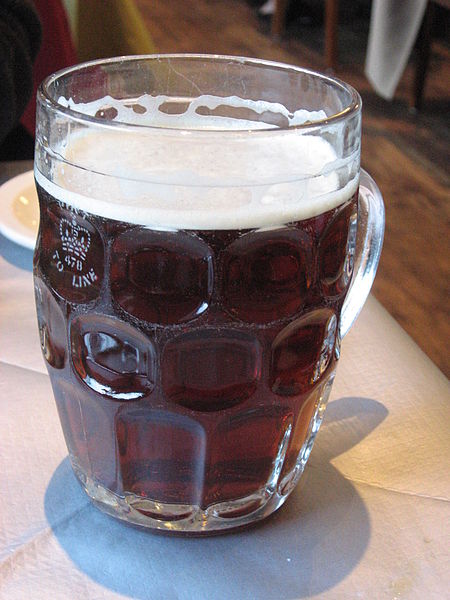
A session of beers at the pub can lead to stimulating conversation and a wonderful time.

A fully-sparged grain bed has been rinsed of all the sugars the brewer can obtain without extracting excess tannins and silicates. On my homebrew system, using my methods, I can yield around 0.65 gallons per pound of grain (5.3 L/kg). If I collect a volume short of that, I have left fermentable carbohydrates behind. If I collect more than that, and I risk astringency. This has some implications when brewing a low-gravity session beer. 

Below a certain original gravity (OG), a fully-sparged grain bed will yield a volume of wort less than can be boiled for 60 minutes and still yield 5.0 gallon (19 L). In fact, below a certain OG, a fully-sparged grain bed will yield a volume of wort smaller than your batch size. When this happens, the brewer will need to add water to make up his or her full-pre-boil wort volume. 

Below is a chart that shows beers with target OGs in the session beer range, how much pale malt would be required to hit that target (assuming 75% extract efficiency), and the volume of wort the brewer should collect. Use the chart as a guideline, but also measure the pH and specific gravity of your final runnings if you fly sparge. You can also simply taste the runnins to see if astringency is beginning to show. Once your grain bed is fully sparged, simply add water to hit your desired pre-boil volume. It’s that simple. 

Blending Sour Beers (I)

A great sour beer is a thing of beauty. However, there is always an element of luck when brewing a sour beer. Multiple microorganisms in a batch can sometimes act in unusual ways. Additionally, sour beers often change over time, becoming drier and more sour. One way to produce a great sour beer is to brew multiple batches and blend them.

One thing to keep in mind, however, is that you can’t save bad beer by blending it with good beer. If you blend two gallons of great beer with one gallon of bad beer, you’ve got three gallons of bad beer. Sour beers may have a funk that can be lessened to the point of being acceptable — particularly in lambic-style sour beers — but if a sour beer is undrinkable, pour it. Aways remember that the goal of a blend is to produce a beer that is better than either of the two (or more) component beers considered individually.

There are no rules to blending beers, no equations to instruct you on how to blend. (There are equations that will help you target a final ABV or characteristic of the beer.) However, there are some strategies that have been tried and generally work well. Looking at how lambic producers blend their sour beers is informative.

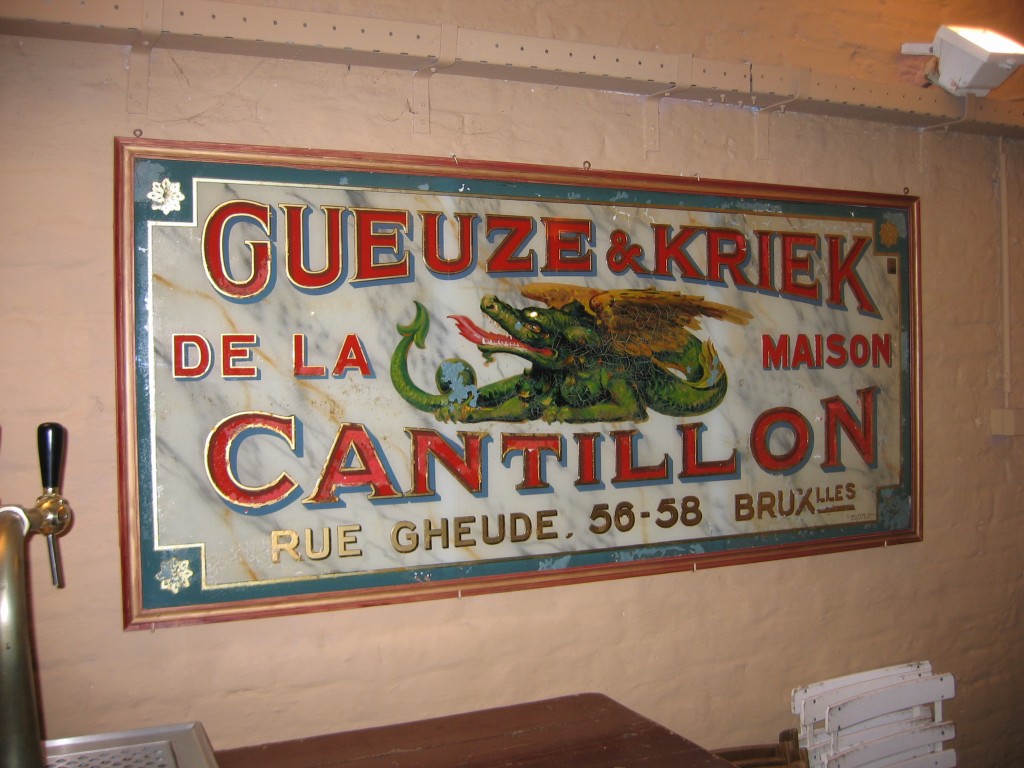
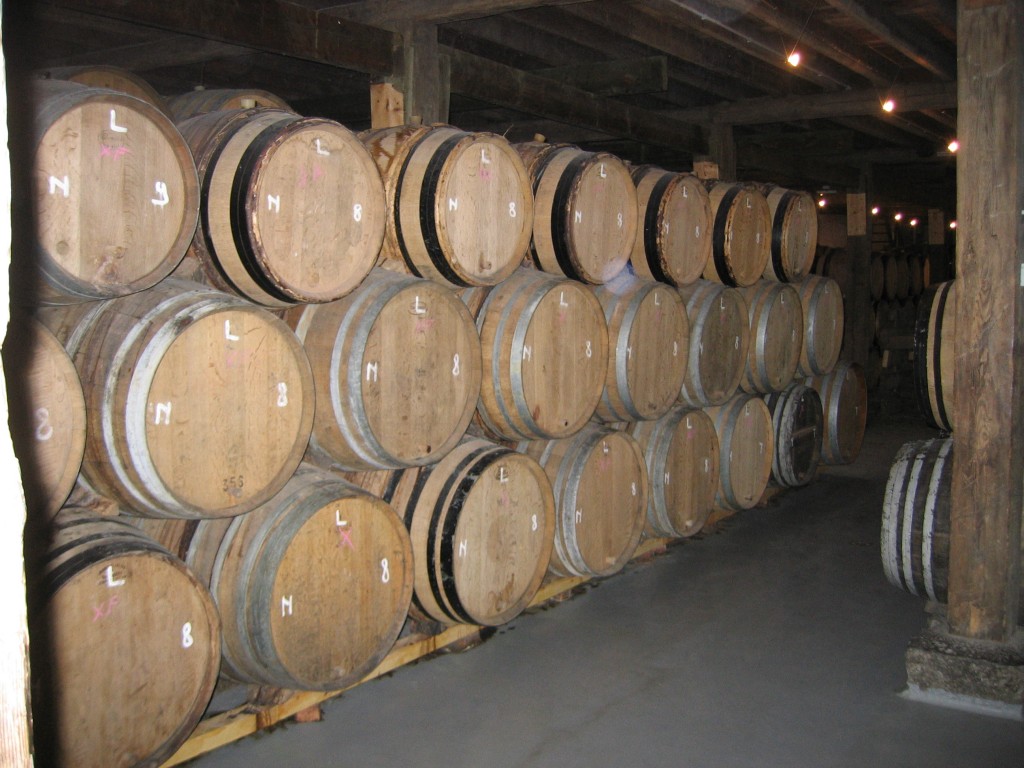
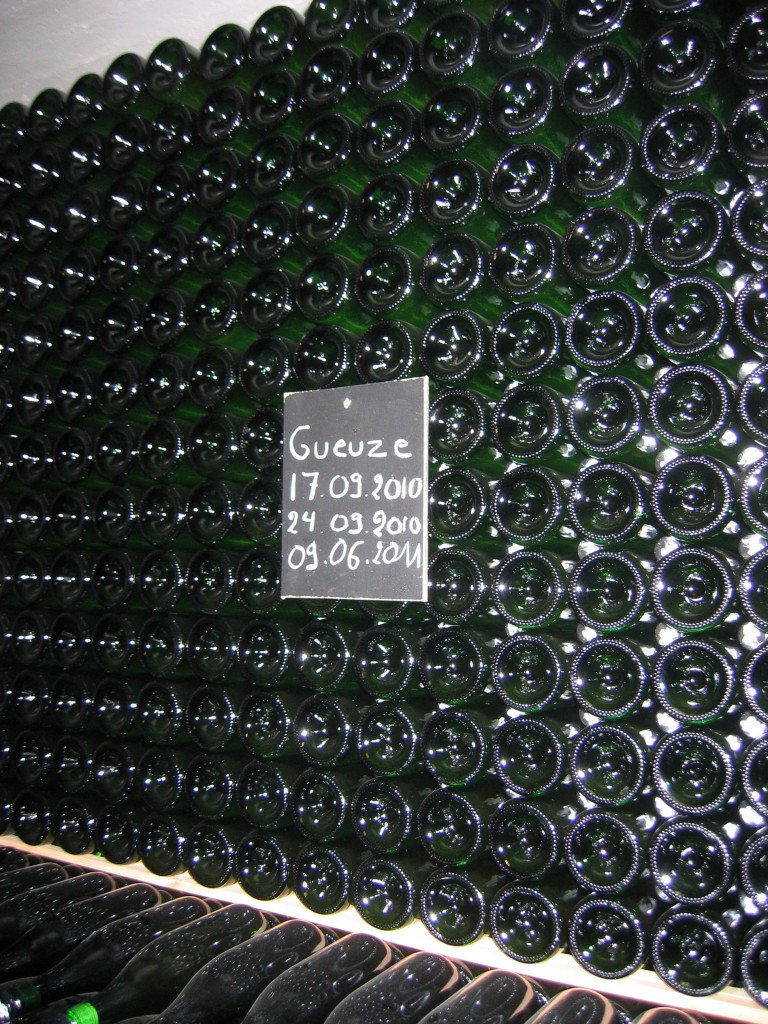
Traditional lambic producers have a brewery full of barrels to select from when blending their beers. The traditional blended lambic is a gueuze, made from one, two, and three year old lambics. [If you follow the plan in this article you will have three 5.0-gallon (19-L) buckets of lambic.] One-year-old lambic will still have some carbohydrates not fermented by the microorganisms. As such, it will likely still show a small amount of body and sweetness. It will be the least sour of the three. In contrast, in the three-year-old lambic, the microorganisms will have completely utilized the carbohydrates (or very nearly so). It will be the most dry and acidic. The two-year-old lambic will have a character intermediate between these two.

The simplest blend, and the one that maximizes your volume, is to simply blend the full volume of all three together. This would give you 15 gallon (57 L) of gueuze. However, the best tasting blend is unlikely to be an even blend of three. If you enjoy a very acidic and dry lambic, your blend should be dominated by the third year old lambic. For example, you may want to blend all 5.0 gallons (19 L) of the three year old lambic with 2.5 gallons (9.4 L) of the two year old lambic and only a little over 1.0 gallon (3.8 L) of the young lambic. This would yield between 8.5 and 9.0 gallons (32–34 L) of gueuze. The leftover lambic could be used for fruit lambics or racked to a carboy and stored for future use in other blends. (If you do this, make sure there is as little headspace in the carboy as possible.)

For a mellower lambic, you may want to blend all of the two-year-old lambic with smaller amounts of the young lambic and enough three-year-old lambic to hit your preferred level of acidity. You can take samples and make test mixes to determine your favorite blend. The level of funk in each of three beers may also lead you to change their proportions. Although you have a wide variety of options, a gueuze blend should never be dominated by the young lambic. It will not be sour enough and it will age unpredictably in the bottles.

Once blended, the gueuze should sit for about a year in bottles (or kegs) before it is consumed. Gueuze is traditionally bottle conditioned, with enough added sugar to highly carbonate the beer. It is almost as highly carbonated as Champagne. Given that your blend will include some young lambic, carbonation can be tricky as you will not know how much unfermented carbohydrates are in your blend. You may want to hedge your bets a bit and add a little less sugar for priming than you need to hit your target CO2 level. Or, you can simply be aware of the possibility of over carbonation and drink the beer soon.

In an upcoming article, I’ll discuss sour beers other than lambics and explain the nuts of bolts aspects of blending.

Two Amber Lager Recipes

Most homebrewers start by brewing ales. This is because it is not hard to find a cool room, or put a wet t-shirt over a carboy, and keep a fermenting ale in the proper temperature range. In contrast, for most people, holding 5.0-gallons (19 L) or more of beer at lager fermentation temperatures requires a fridge or freezer and an external thermostat. 

If you’ve decided to take the plunge in lagers, your next choice is what to brew. Obviously, the type of lager beer you enjoy the most should be at the head of the list. For me, any of the amber lagers — including Vienna lagers, Märzens, Octoberfests, American amber lagers, and even rauchbiers — would be on my short list. On a recent episode on James Spencer’s podcast, Basic Brewing Radio, we discussed how to put together an amber lager recipe. In my opinion, the top three requirements for brewing a great amber lager are running an ordered fermentation; using fresh, high-quality ingredients; and, as always, being scrupulous about your cleaning and fermentation. Running an ordered fermentation involves pitching enough healthy yeast into properly aerated wort and holding the fermentation temperature steady. 

On James’s show, we came up with two amber lager recipes that I’m sharing below. James has already brewed the first and a second brewer may try the second. (I’m going to be brewing a raspberry wheat beer from a previous show.) Here are the two recipes. 


Third Man in the Fourth Zone Vienna Lager 

Amber Lager (I), by Chris Colby


DESCRIPTION

This is a relatively dry, well-balanced amber lager. You could call it a Vienna lager, Märzen, or simply an amber lager. 


INGREDIENTS (for 5.0 gallons/19 L) 

Malts (for an OG. of 1.052 and 18 SRM) 

7.5 lb. (3.4 kg) Vienna malt

2.5 lb. (1.1 kg) light Munich (8–10 °L) 

2.0 oz. (57 g) black malt (dehusked preferred)


Hops (for 30 IBU)

2.5 oz. (71 g) Saaz hops (@3.2% AA) 


Yeast (for FG 1.011 and 5.4% ABV) 

lager yeast (your choice, slurry from 1.0-gallon/4 L yeast starter) 


PROCEDURES 

Mash in with 3.5 gallons (13 L) of water at 151 °F (66 °C) for a strike temperature of 140 °F (60 °C). Let mash rest at 140 °F (60 °C) for 15 minutes, then heat mash to 152 °F (67 °C). Stir as you heat. Raise temperature about 2 °F (~1 °C) per minute. Let rest at 152 °F (67 °C) for about 30 minutes, then mash out to 168 °F (76 °C). Recirculate and collect about 6.5 gallons (25 L) of wort. Boil for 90 minutes, to reduce wort volume to 5.0 (19 L) gallons. Add hops for final 60 minutes of the boil. Cool to fermentation temperature (which dependson the strain of yeast you have chosen). Aerate thoroughly and pitch yeast. Ferment until completion, allowing the temperature to rise to 60 °F (16 °C) at the end. After 3 days at 60 °F (16 °C), check to ensure that diacetyl is not detectable. Rack to a “secondary fermenter” or keg and store at refrigerator temperature for 4 weeks. Taste test and begin serving if the beer is no longer “green.” 


Backyard Cookout Amber Lager

Amber Lager (II)


DESCRIPTION

This is a full-bodied amber lager, in the style of many American amber lagers. It’s balanced and “quaffable,” as they say. 


INGREDIENTS (for 5.0 gallons/19 L)

Malts (for an OG. of 1.052 and 23 SRM)

5.0 lb. (2.3 kg) 2-row pale malt or Pilsner malt 

4.0 lb. (1.8 kg) light Munich (8–10 °L) 

6.0 oz. (170 g) crystal 40 °L

3.0 oz. (90 g) crystal 60 °L

2.0 oz. (57 g) black malt (dehusked preferred)


Hops (for 26 IBU) 

any relatively neutral strain of hops for bittering 

(for example  0.54 oz./15 g of Magnum at 13% AA)

0.25 oz. (7 g) any aroma hop without a strong varietal characteristic for aroma 


Yeast (for FG 1.013 and 5.0% ABV)

lager yeast (your choice, slurry from 1.0-gallon/4 L yeast starter) 


PROCEDURES 

Mash in with 3.3 gallons (12 L) of water at 163 °F (73 °C) for a strike temperature of 152 °F (67 °C). Let the mash rest for 45 minutes. Mash out to 168 °F (76 °C). Recirculate and collect about 6.3 gallons (24 L) of wort. Boil for about 75 minutes, to reduce wort volume to 5.0 gallons (19 L). Add bittering hops for final 60 minutes of the boil. Add aroma hops at knockout. Cool to fermentation temperature (which depends on your yeast strain). Aerate thoroughly and pitch yeast. Ferment until completion, allowing the temperature to rise to 60 °F (16 °C) at the end. After 3 days at 60 °F (16 °C), check that diacetyl is gone. Rack to a “secondary fermenter” or keg and store at refrigerator temperature for 4 weeks. Taste test and begin serving if the beer is no longer “green.”

Both of these recipes were formulated by James and I, and were not brewed at the time of our discussion. (They will be soon. And, they’re both very similar to two amber lagers in my recipe book, The HomeBrew Recipe Bible.) For yet another amber lager recipe, see also my Schell’s Firebrick clone. Firebrick is a beer I seek out whenever I’m in the upper midwest. It’s a wonderfully balanced beer, in my opinion.

Norwegian Holiday Beers

Norwegians take their winter beers seriously. Each year, there are over 300 different brands of juleøl for sale, with just under 200 of them brewed in Scandinavia. Winter and holiday beers are popular in the other Scandinavian countries and in northern Europe, so of course Norway imports many of these international beers as well. The word juleøl is a concatenation of jule — the winter holiday season — and øl, the Norwegain word for beer. Øl is pronounced like “pull” or “hull” in English, without the leading consonant. The whole word sounds like “you’ll ull.” In other words, the “j” is not pronouced as it is in “jitter” or “Jill.”

Norway has some restrictive laws pertaining to the sale of alcohol. Beer is expensive in Norway because the high tax rate on it is high. And discounts on alcohol are prohibited. Additionally, alcohol advertisements are also prohibited in Norway. However, Norway takes their freedom of the press very seriously and every year the Norwegian press prints lists of the best juleøls. So beer lovers have some ideas about what beers to search for. 

To buy juleøl, Norwegians must go to their local Vinmonopolet — the government-run liquor store for anything over 4.7% alcohol by volume (ABV). The word Vinmonopolet translates literally as wine monopoly as they are the only outlets from strong beer, wine, and spirits in Norway. Around Christmas, the usual beer selection will be scaled back, and the shelves filled instead with juleøl. While there, Norwegians may probably also pick up some glogg (mulled wine) or aquavit, the caraway-favored distilled spirit that’s popular year-round in Scandinavia. 

Juleøl is not style of beer in the sense of having to fall within certain guidelines. Any beer available during jule can be a juleøl. However, there are some characteristics most share. Juleøls — juleøler in Norwegian — are usually strong beers, albiet not insanely strong. Beers in the 6–7% ABV range are common, but a few are over 10% ABV. Many are amber or dark brown, although pale versions are not unheard of. Some are spiced although others aren’t. Common descriptors of the best juleøler include malty, dried fruit, and caramel. They are generally not heavily hopped. 

Homebrewers should feel free to make any beer they would enjoy over the winter and call it a juleøl. If you’re looking for some ideas, I was a guest on James Spencer’s podcast, Basic Brewing Radio somewhat recently (October 13). We discussed how to formulate a winter beer. Not specifically a juleøl, but it could be. I did publish a juleøl recipe in Mother Earth News a couple years ago. 

Octoberfest Season

Octoberfest beers are my favorite seasonal beer and I love Octoberfest season. In the US, Octoberfest beers begin appearing on the shelves in early September and remain available at least into early November. The actual German festival begins in mid-September, runs for two weeks, and ends on the first Sunday in October. German Octoberfest beers imported into the US are often of the Octoberfest Märzen type — malty, orangish-colored lagers around 5.5–6.0% ABV. However, you can also find imported Octoberfest beers in the ligher-colored festbier style. (Also note that German Octoberfests are almost always spelled with a “k” — Oktoberfest or Oktoberfestbier. Some US breweries also do this.) Of the German imports, Hacker-Pschorr — among the darkest and richest — is my favorite. However, as might be expected, there are plenty of German imports that are great and my preference is just a matter of opinion. Somewhat recently, US breweries have begun producing some spectacular Octoberfest lagers. These well-balanced beers taste great on a crisp fall evening. 

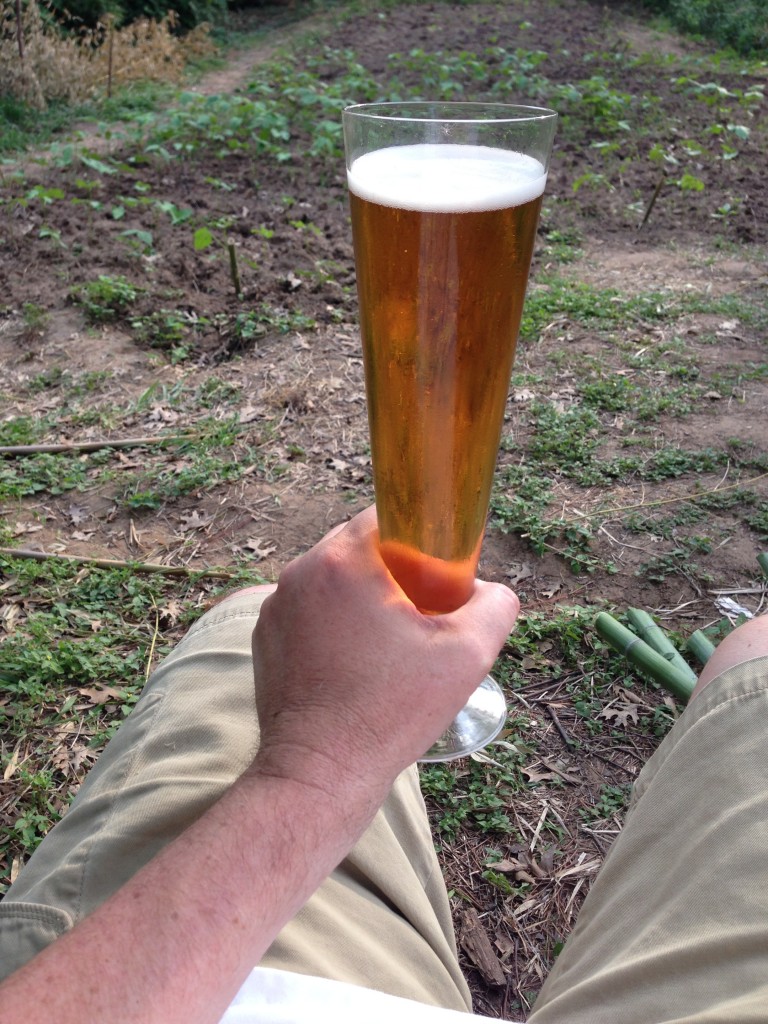
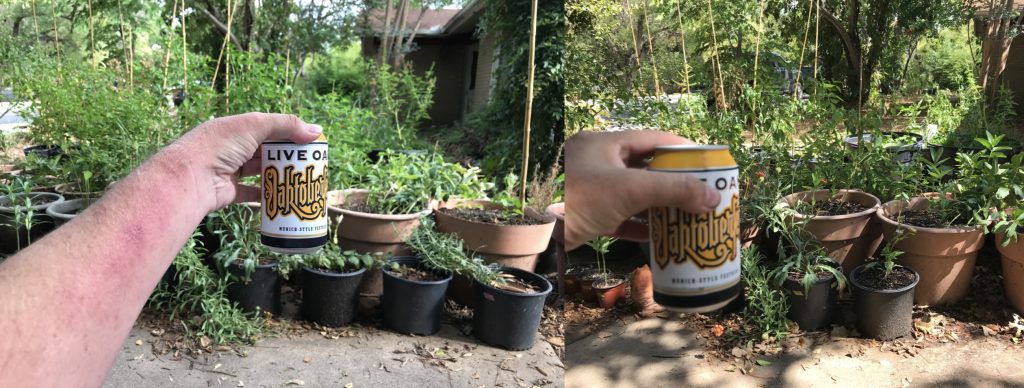
It’s not a tent in Munich, but I like my beer garden. Despite the name, Live Oak’s Oaktoberfest does not have any oak character. My arm has some poison oak character in this photo, unfortunately.

The best Octoberfest beers are malty, without any caramel or biscuit notes — just a smooth maltiness that mostly comes from Munich malt. (10 °L). The malty character may be accentuated by dark Munich malt (20 °L), melanoidin, or aromatic malt. Also, some Vienna malt (6 °L) — which is intermediate in kilning between Pilsner malt (2 °L or lower) and the Munich malts — may be present. However, a fantastic Octoberfest can brewed from a grist if 100% Munich malt. Neutral hops — noble hops in the case of actual German beers — provide just enough bitterness to make a well-balanced beer. The beer is not sweet, but it isn’t dry either. It has just enough body to feel a little more filling than a Pilsner, but not by much. Festbier types, brewed with mostly Pils malt, are generally a bit drier. The level of carbonation is within the usual range of lager beers. Overall, the Märzen style of Octoberfest is a malty lager beer with a bit more color and “heft” than a Pilsner, and with less hop bitterness. 

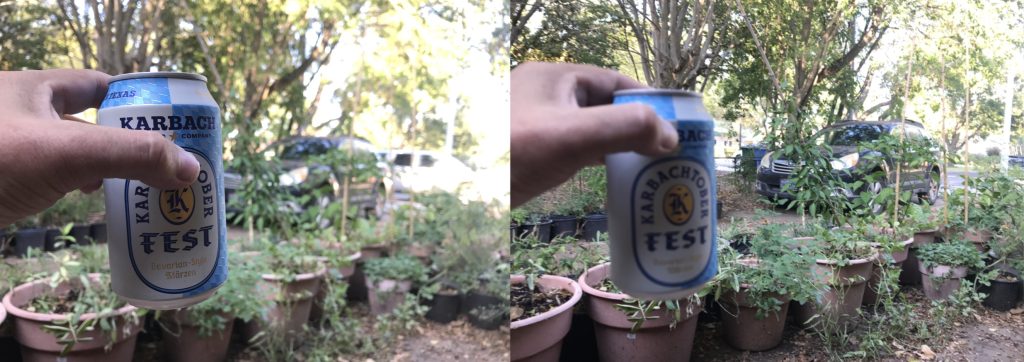
Another great local — or at least regional — Octoberfest lager.

US craft brewers have came a long way when it comes to producing Octoberfest beers. In the late 1980s through the early 2000s, most US “Octoberfests” were amber colored ales made with crystal malt in the grist and often showing a strong biscuit malt character. Sadly, some breweries still produce this type of beer. Many of these were also over-hopped, based on the target style. The best US breweries, however, started making lager beers that aligned with the traditional Octoberfest Märzen style and now there are many great examples. I live in Texas and the regional breweries Live Oak, Karbach, and Real Ale all make excellent interpretations of the style. (For what it’s worth, Real Ale was never a real ale brewery in the sense of brewing cask conditioned ales. They make both ales and lagers, including Hans Pils — which is one of my “go to” beers.) From discussions on social media, many homebrewers report local and regional breweries near them producing fine examples. 

For me, Octoberfests are an “indicator beer.” If a brewery or homebrewer can produce a nice Octoberfest, I have some confidence that the rest of their beers are decent. If you are brewing an Octoberfest, here is my advice. First, be fanatical about cleaning and sanitation. Even a hint of contamination — below the level that noticable off flavors are produced — can rob a malty beer of its malt flavor and aroma. Secondly, run an orderly fermentation — pitch enough yeast, aerate adequately, and hold the fermentation temperture in the proper range. Thirdly, if you are brewing an Octoberfest on the darker end of the scale, adjust your water chemistry. Make your water with just slightly more bicarbonate than the color would indicate is optimum. Not enough to throw your pH out of whack, just a bit. If you calculate residual alkalinity (RA), shoot for 1.3–1.4 for a beer that’s 13–15 SRM. Add calcium chloride such that you have 100–150 ppm calcium ions. Taste your treated water to ensure that it tastes good  — and of course eliminate any chlorine compounds through carbon filtration or with Campden tablets first. And finally, use  fresh, high-quality Munich malt.

With Octoberfest season winding down, winter warmers are up next. Prost!

Welcome to Beer and Gardening Journal

Welcome. Today, I’m launching this website that will, as the name implies, cover two topics — beer and gardening.

Malt, hops, water, and yeast — in the hands of skilled brewer, that’s all it takes to brew beer.

My coverage of beer will mostly consist of how-to brewing articles aimed at home brewers. I will also post some general beer appreciation articles. As the successor to Beer and Wine Journal, there are already almost 600 articles on beer and brewing here. (There are fewer than 10 wine-related stories, which should be a tipoff as to why I changed the name and focus of the site.) I have been a homebrewer for over 30 years and have published 3 books — and literally hundreds of magazine articles — on brewing. I will continue to cover beer and brewing in a way that I intend to be accessible to beginners, but with enough advanced content to keep long-time brewers engaged.

Tomatoes and melons are a few of my favorite garden vegetables

On the gardening side, I will cover both vegetable gardening and growing native plants to attract pollinators. Over the years, I have grown a lot of different types of vegetables. These include tomatoes, peppers, pumpkins, squash, cucumbers, watermelons, cantaloupes, sweet corn, green beans, snap beans, broccoli (and most of the other major _Brassica_ vegetables), and others. More recently, I have begun growing native plants to feed the native bees and other pollinators in my area. In Beer and Gardening Journal, I will discuss these as well as pest management and plant diseases.

Native flowers blooming in my garden

This spring (2023), a major focus will be on growing plants to attract and host monarch butterflies. I have set a goal to raise and release 240 monarch butterflies in 2023. My previous record, set in 2021, is 77. I will, of course, be growing milkweed to feed the caterpillars. I have several species growing in my garden already and will add two more new ones in the spring. I will also have numerous native plants flowering when the adult monarchs arrive. These will draw the butterflies into the garden where they will discover the milkweed. Throughout the Texas stage of their migration, I hope to have at least three types of flowers in bloom at three different heights.  I will have weekly posts updating my progress on this once the monarchs arrive.

The number of monarch butterflies in the main North American population has been declining since the 1970s.

I will also discuss growing poisonous plants. Poisonous plants are fascinating, often beautiful, and — grown responsibly — they are not a threat to anyone. (When’s the last time someone ate leaves from your garden?) Each has its role in nature, too. For example, my monarch butterfly project relies heavily on milkweeds, which are poisonous. Also, roughly half of the plants in my garden that attract hummingbirds are poisonous.

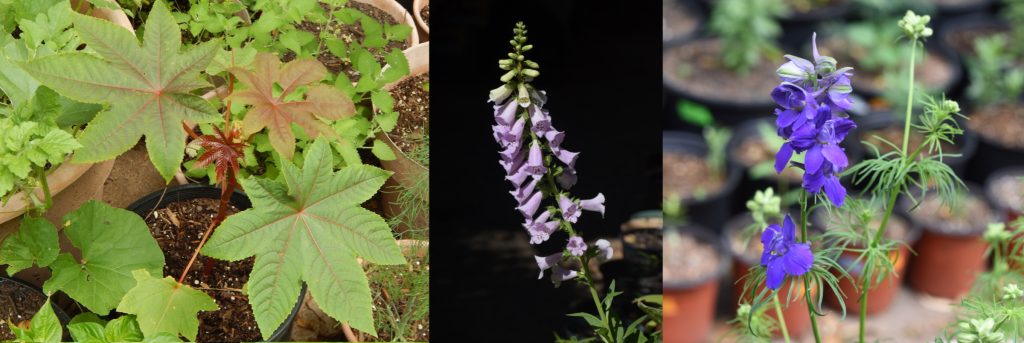
Castor bean, foxglove, and larkspur are wonderful plants. They are, however, toxic.

At my home in Bastrop, Texas, I have an in-ground garden and several container gardens — or one large container garden spread out over multiple locations, if you prefer. In addition to being an avid gardener for over 20 years, I have a PhD in biology and an amateur interest in botany. As such, there will be a fair amount of science-heavy posts including those on botany, garden insects (both pests and predators), garden spiders, plant diseases, pest control (esp. for those wanting to avoid or minimize the use of synthetic pesticides), GMO plants, and plant development, and evolution. As with the beer content, I will strive to make the science-heavy posts accessible and relvant to all gardeners, without “dumbing down” the material. So if you are serious about gardening, you will learn things.

Here’s to beer! Here’s to gardening! Here’s to beer and gardening. Skål!

In the beginning, I will be posting a variable number — most likely 3–4 — articles per week. I will initially post more gardening articles, as the site already has 600 beer pieces, but that will even out over time. So please bookmark this page and stop by often.

Contest Karate (IV)

This is part four in this series — part one, part two, and part three can be found by following the appropriate links. in it, I examine ways to increase your chances of winning medals at homebrew contests. It all starts with brewing good beer, but for the brewer who really wants to make a splash in his local homebrew circuit, there’s more to it than that. 

There are different levels of contest competitors. Some brewers simply want to brew a few beers and win some hardware at their local competition — and maybe send a beer or two to the National Homebrew Competition (NHC). Other brewers may wish to enter several competitions or compete in a “circuit” of homebrew competitions. In a circuit, brewers score points for every beer that medals at each circuit competition. At the end of competition season, there are awards for the brewers who scored the most cumulative points. No matter how competitive you wish to be, a little planning can go a long way.

If your main concern is your local homebrew contest, you will know (at least roughly) when it is held each year. If you have your sights set on more than one contest, you should likewise determine when they are held. Most contests are held in the spring while the fewest are held in summer. Thus, many of the contests you wish to enter may be relatively close together. How does knowing this help you? It gives you time to plan your brewing. [Read more…]

Contest Karate (III)

In the first installment of this article, I discussed brewing quality beer and entering as many beers as possible as ways to use “contest karate” to win medals at homebrew contests. In the second installment, the metaphor somehow changed to Sun Tzu’s opinions on waging war and I stressed the importance of brewing your beer to stand out in a flight of similar beers. In this installment, I’ll inexplicably switch to talking about — oh, why don’t we make it ninjas? — and give further advice on entering homebrew contests. [Read more…]