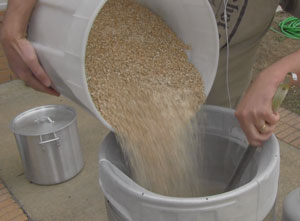
Pouring in 20 pounds of grain to get the process started.
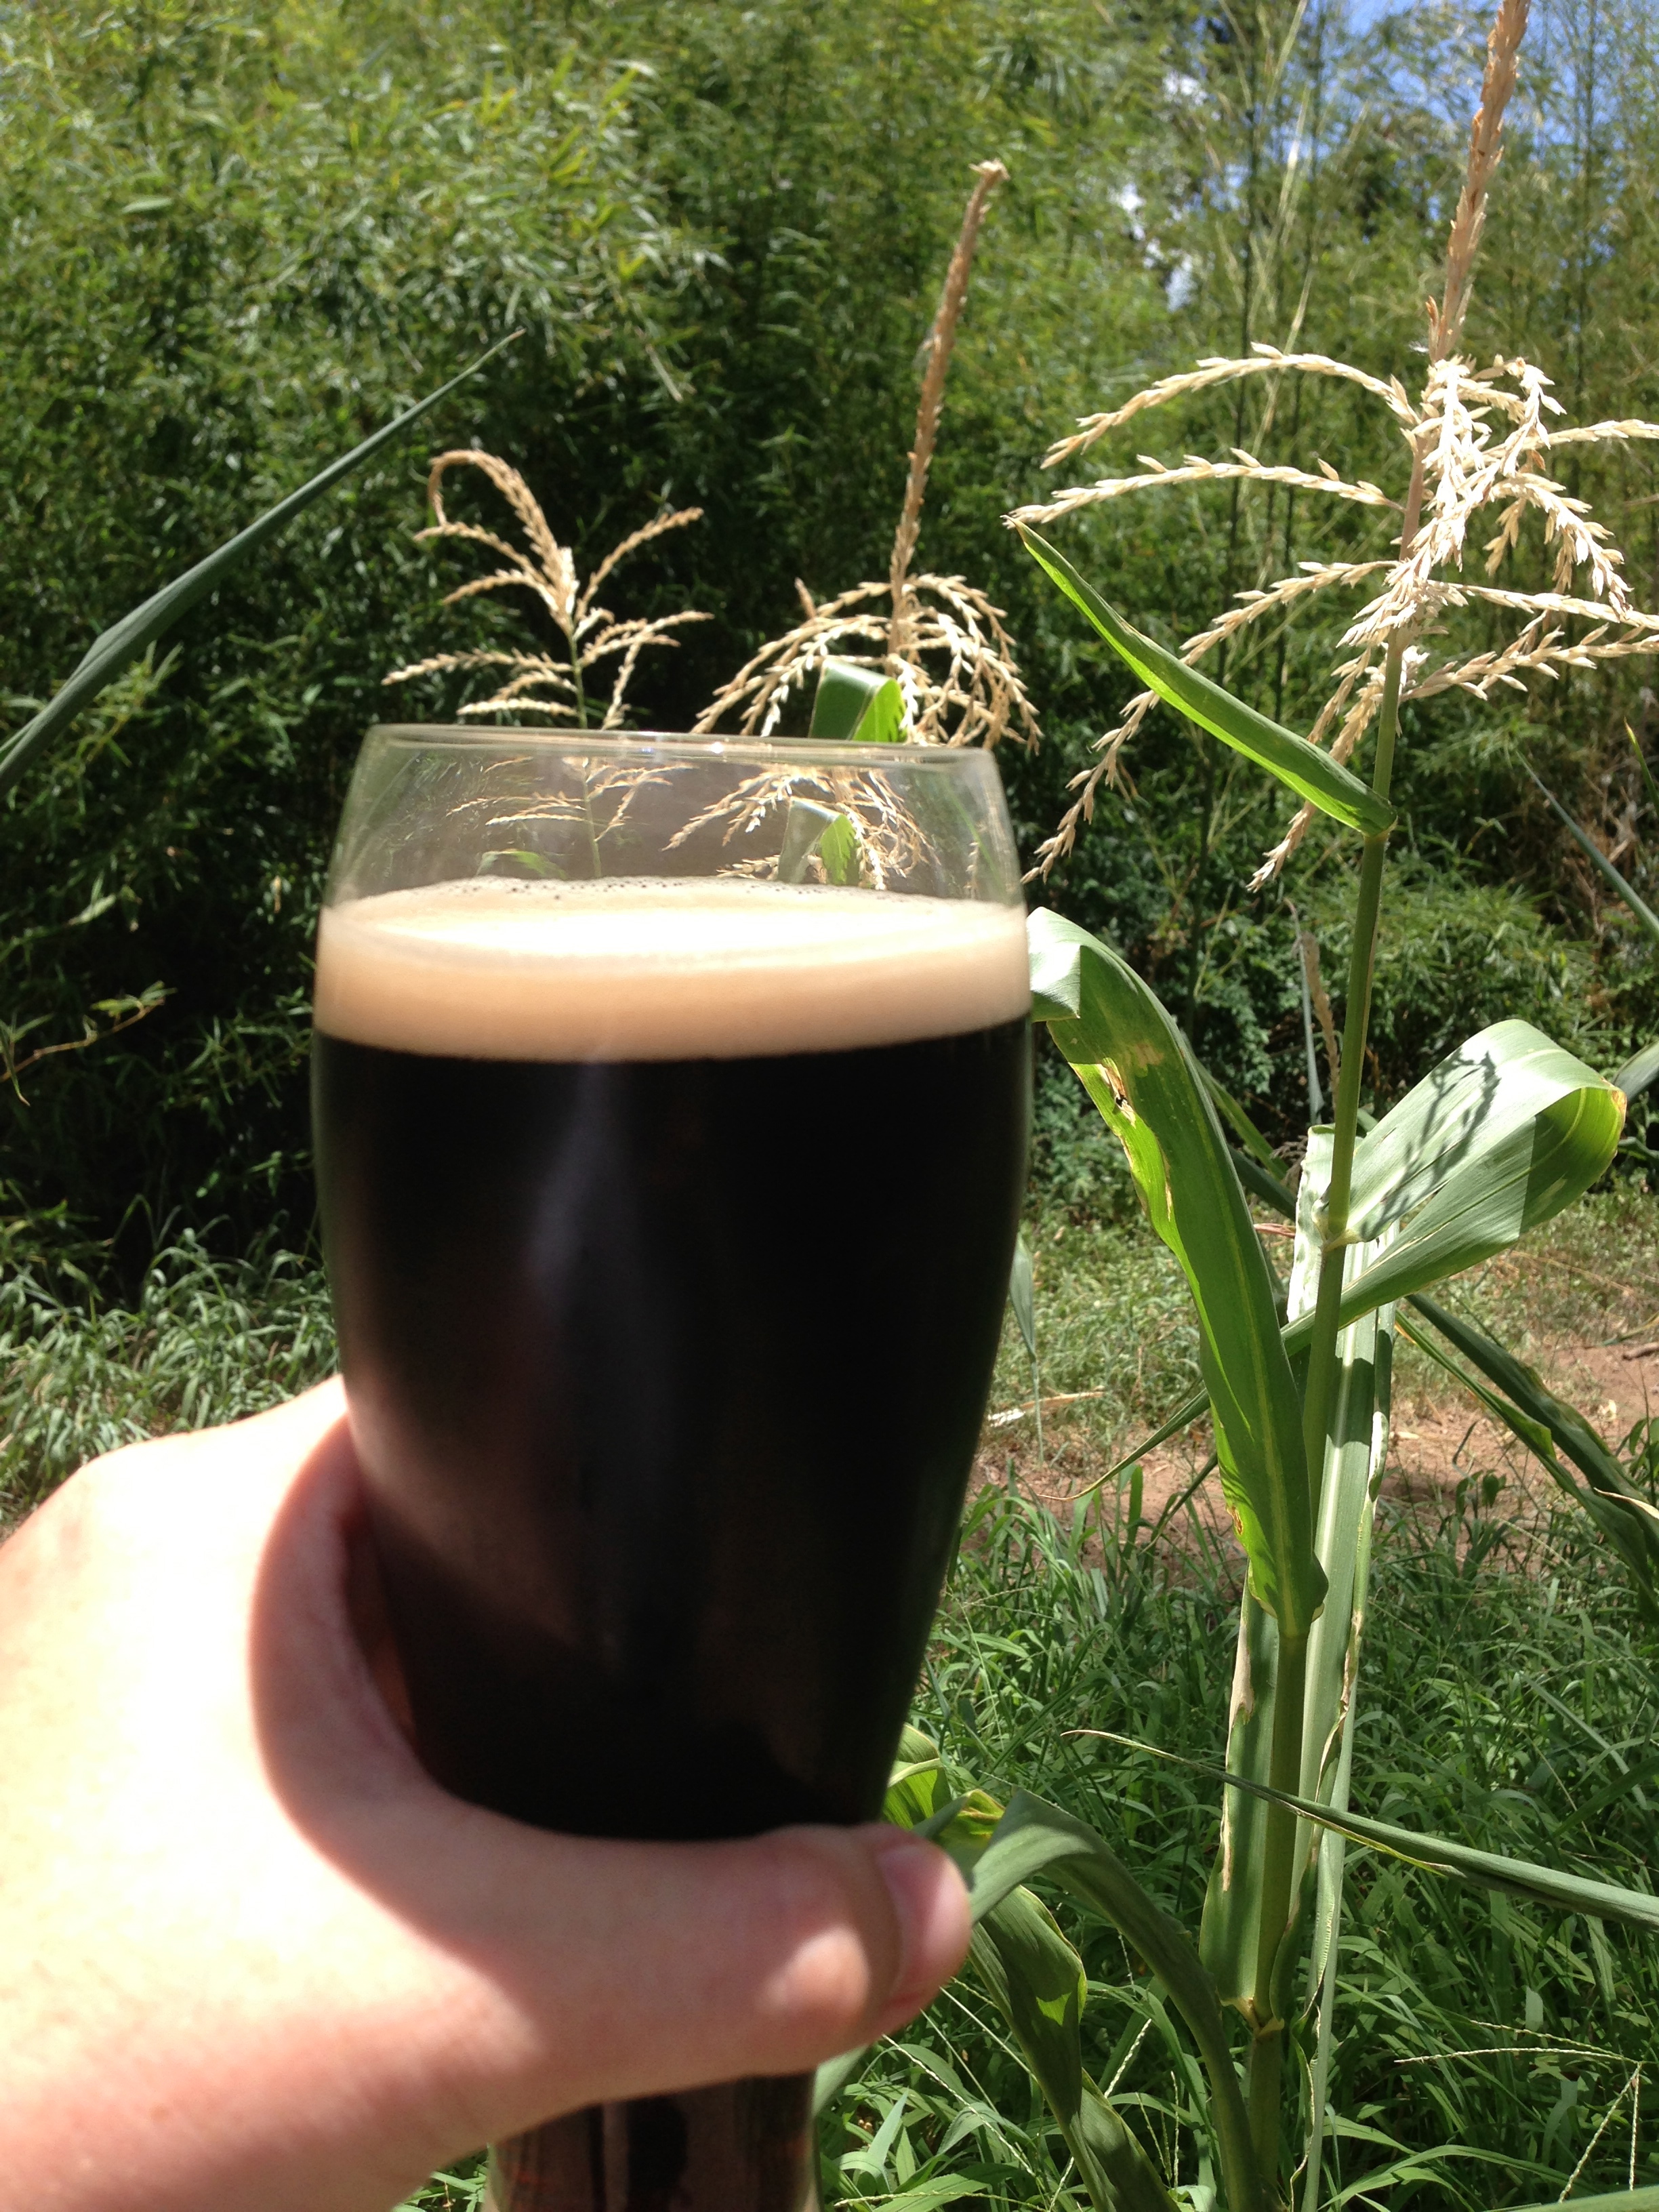
I’ve long been a champion of small batches, but every now and then I find a recipe that I want to brew a lot of. My Cream Ale recipe is one of those. Thanks to demand from friends (and myself), a batch of this stuff tends to go pretty quickly.
To brew 10-gallon (38-L) batches, I don’t have an elaborate brewing “sculpture,” but I do have a stainless steel keg that has been converted into a kettle.* Using the Brew in a Bag (BIAB) technique, that “keggle” can double as a mash tun and kettle, all in one. [Read more…]


Recent Comments