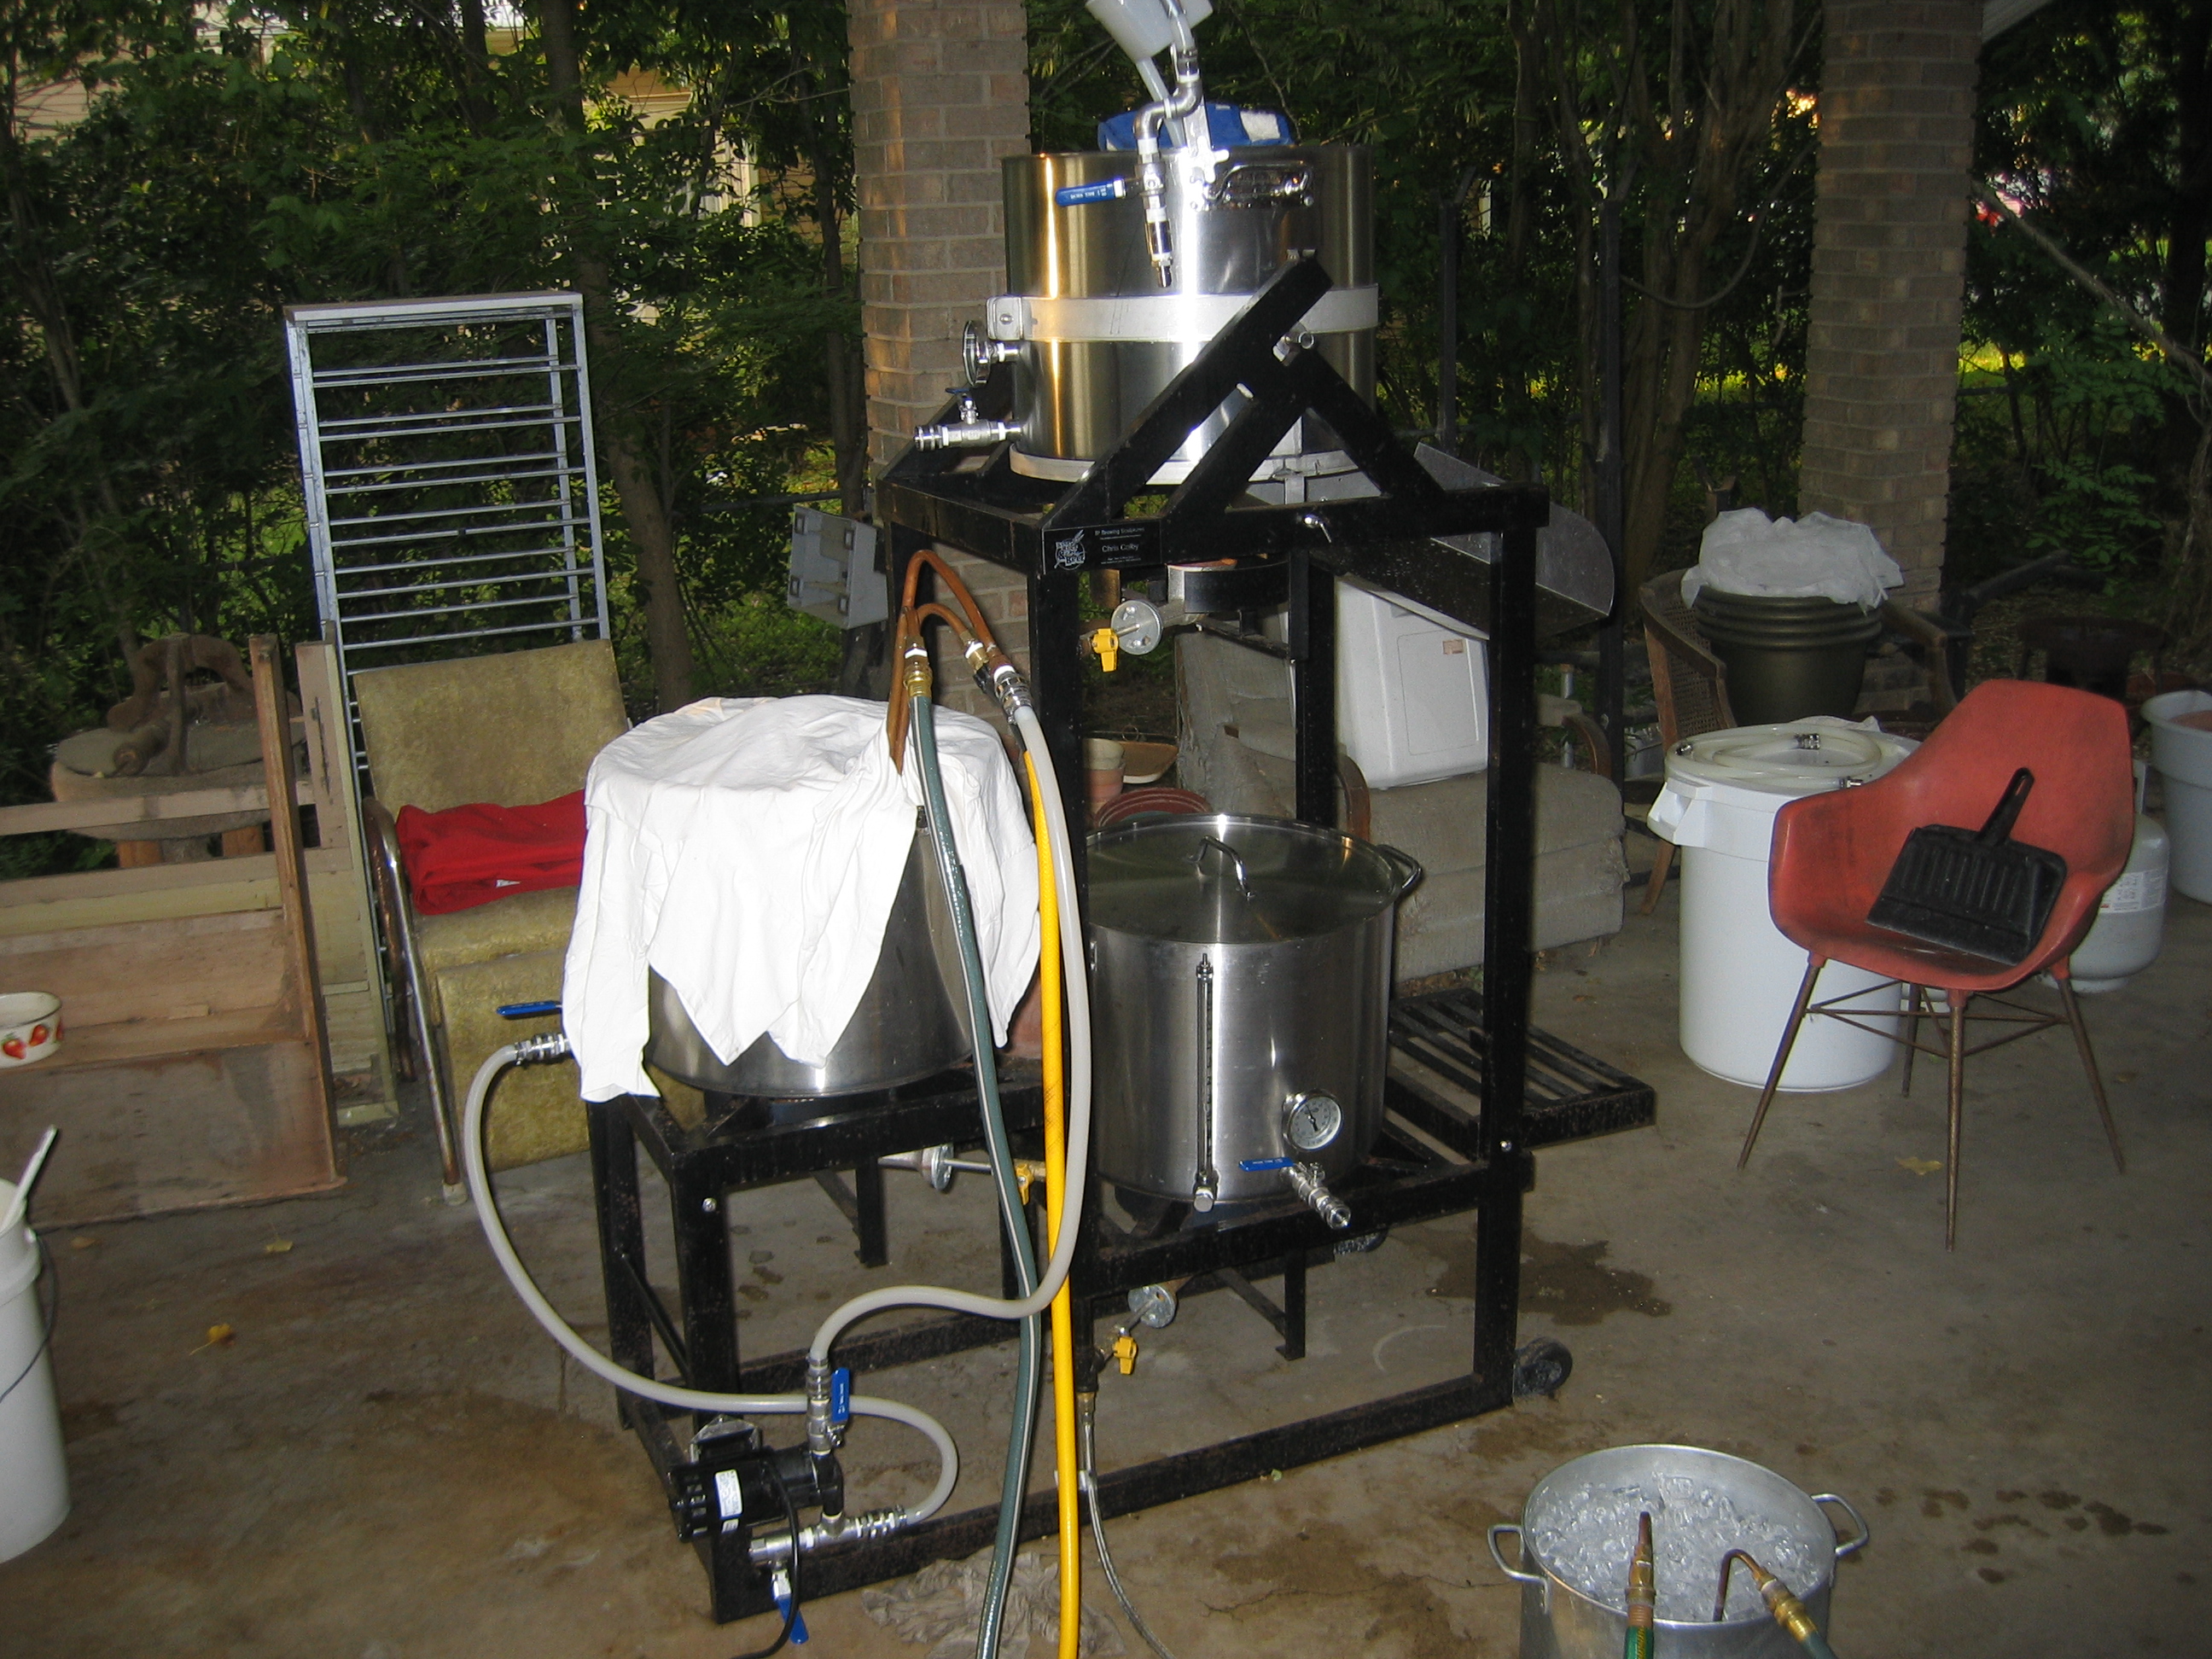
Wort chilling — on my rig, a pump circulates the wort, so it flows past the cooling coils. This speeds cooling.
This is the eighth installment in the All-Grain Brew Day Walkthrough, which started with a post on strike water preparation.
After the wort has been boiled, it’s time to chill it. In some cases, the brewer may first employ a whirlpool step, but we’ll save that topic for another day. Chilling brings the wort temperature down to a point that yeast can be pitched to it. It also forms the cold break.
Most all-grain homebrewers chill their wort either with a copper coil immersion chiller or some form of counterflow wort chiller. This includes the coiled “tube within a tube” type counterflow chillers as well as plate chillers. Today I’ll discuss using an immersion chiller. In the next installment of this series, I’ll cover counterflow chillers.
Immersion Chiller
Immersion chillers are relatively inexpensive and effective when used properly. When wort is chilled with an immersion chiller, the cold break forms in the kettle, sentiments, and can be left behind when the wort is transferred to the fermenter. Immersion chillers are also fairly easy to clean, and all their working services can be visually inspected.
The downside to immersion chillers is that they use more water than counterflow chillers, and the wort is exposed to airborne contaminants while it is being chilled. However, the extent of contamination can easily easily be managed, and good beer is produced every day by homebrewers using immersion chillers.
Using an Immersion Chiller
To sanitize the chiller, submerge the clean chiller in your wort while it is still boiling. At boiling temperatures, the metal will be sanitized within a second. When submerging your immersion chiller, it’s best to have the input and output hoses already connected. If not, hot water can be expelled from the chiller, scalding the brewer.
When the boil is over, cut the heat and begin running water through the immersion chiller. Be sure you have the outlet hose positioned somewhere that can accept very hot water. You may want to collect some of the hot water for use in cleaning your brewing equipment later.
Covering your kettle, especially when the temperatures are in “the danger zone” limits the number of air-borne contaminants that can fall in your wort.
Swirling the chiller in the wort will make your cooling more efficient. This causes wort to flow past the chiller coils rather than cool wort collecting around the coils. Be sure to wear gloves when handling the chiller, however, as the copper on the output side will be hot enough to burn you. (Some immersion chillers have a loop that allows wort to be circulated in the kettle via a pump.)
When the wort temperature drops below 160 °F (~70 °C), it passes through a zone where airborne contaminants may not be killed and may establish themselves in your wort.
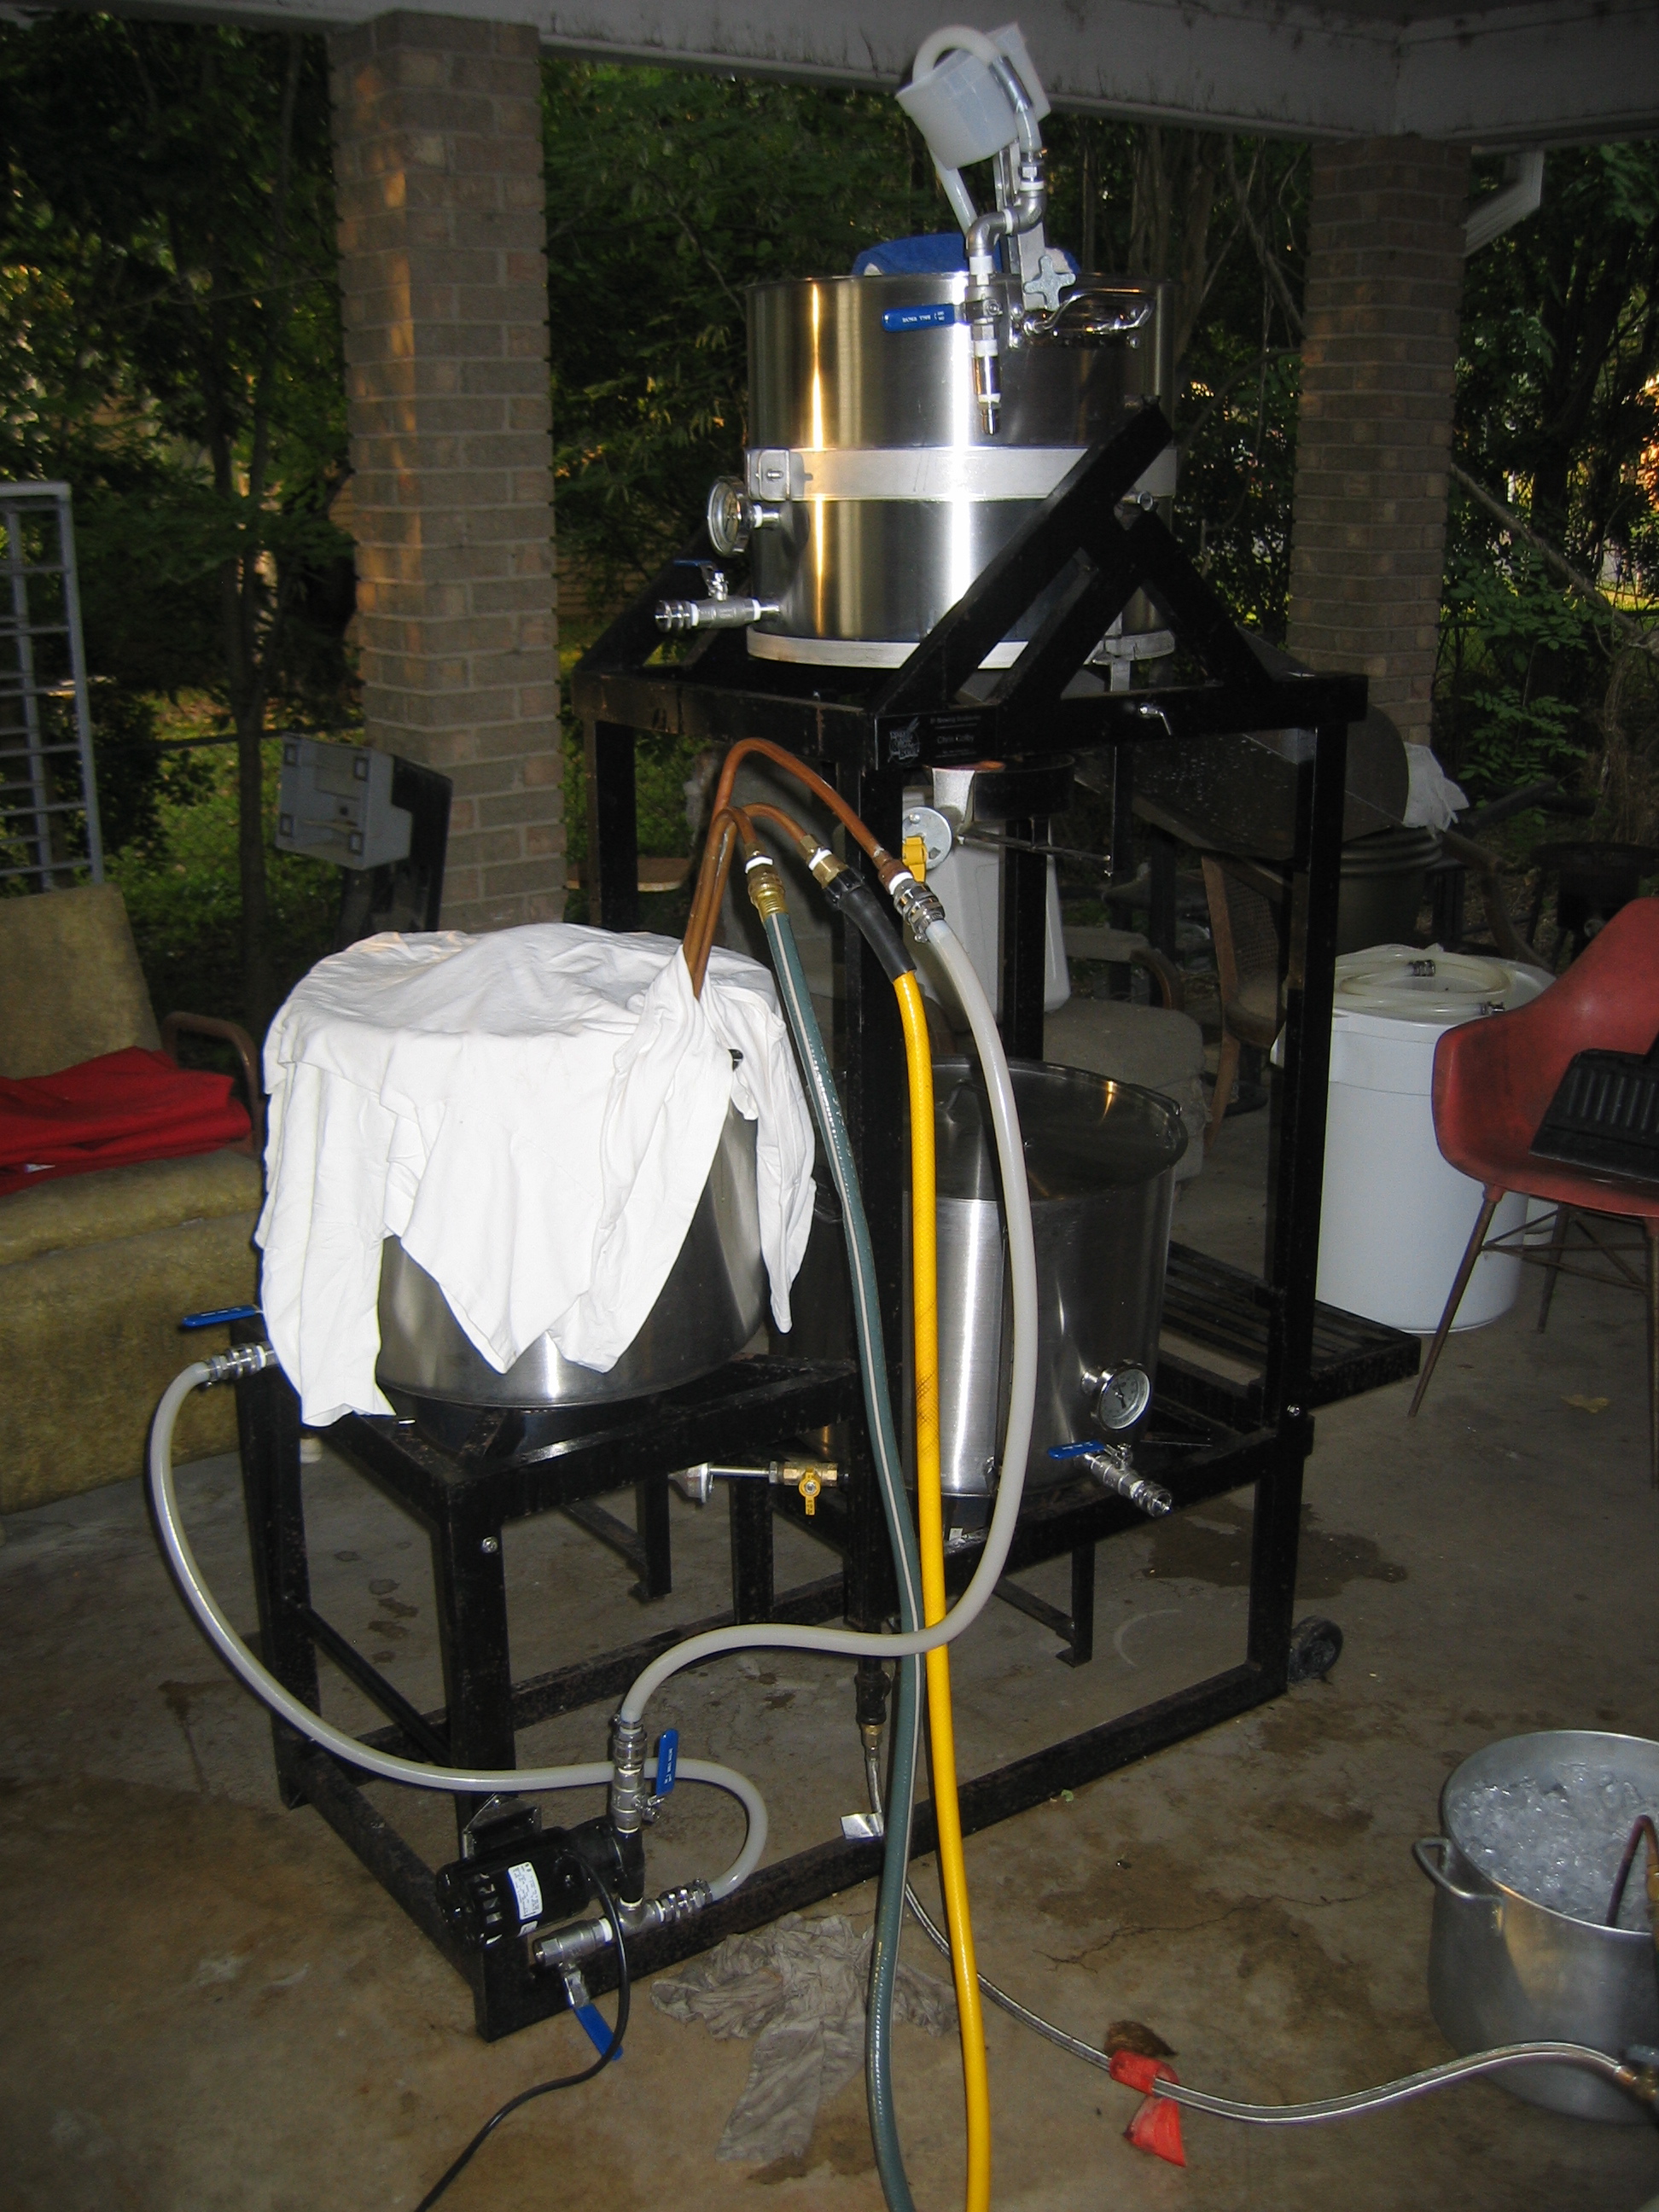
I like to cover my kettle with the lid immediately after knockout. If the lid is clean, the steam should sanitize it almost instantly. The covering minimizes the amount of airborne contaminants falling into the wort. (I also drape the kettle with clean T-shirts to screen larger particles from being sucked into the kettle as it cools.)
Keep swirling the chiller every few minutes until the wort has reached fermentation temperature, or a couple degrees below this. Once the wort is cooled, letting it sit undisturbed will give the cold break time to sediment. With a covered kettle, I sometimes let the break material settle for as long as a couple hours before transferring it to my fermenter. However, as short as 20 minutes is frequently enough for most of the larger bits of “gunk” to settle.
Trub Carry Over
After chilling your wort, it will be a mixture of wort, hot break and cold break. The hot break — and given enough time, the cold break — will have settled to the bottom of your kettle. Collectively these and anything else that drops out of the wort is called trub. Transfer your wort to the fermenter, leaving as much of the trub behind as feasible.
Excess break material in your fermenter can lead to hazy beer and biological instability. The proteins can become a food source for contaminating microorganisms. However, allowing a small amount of trub to be carried over to your kettle can provide nutrients for the yeast. If you allow just enough trub to carry over to just make the wort slightly cloudy, you’ll be fine.
Pre-Chillers
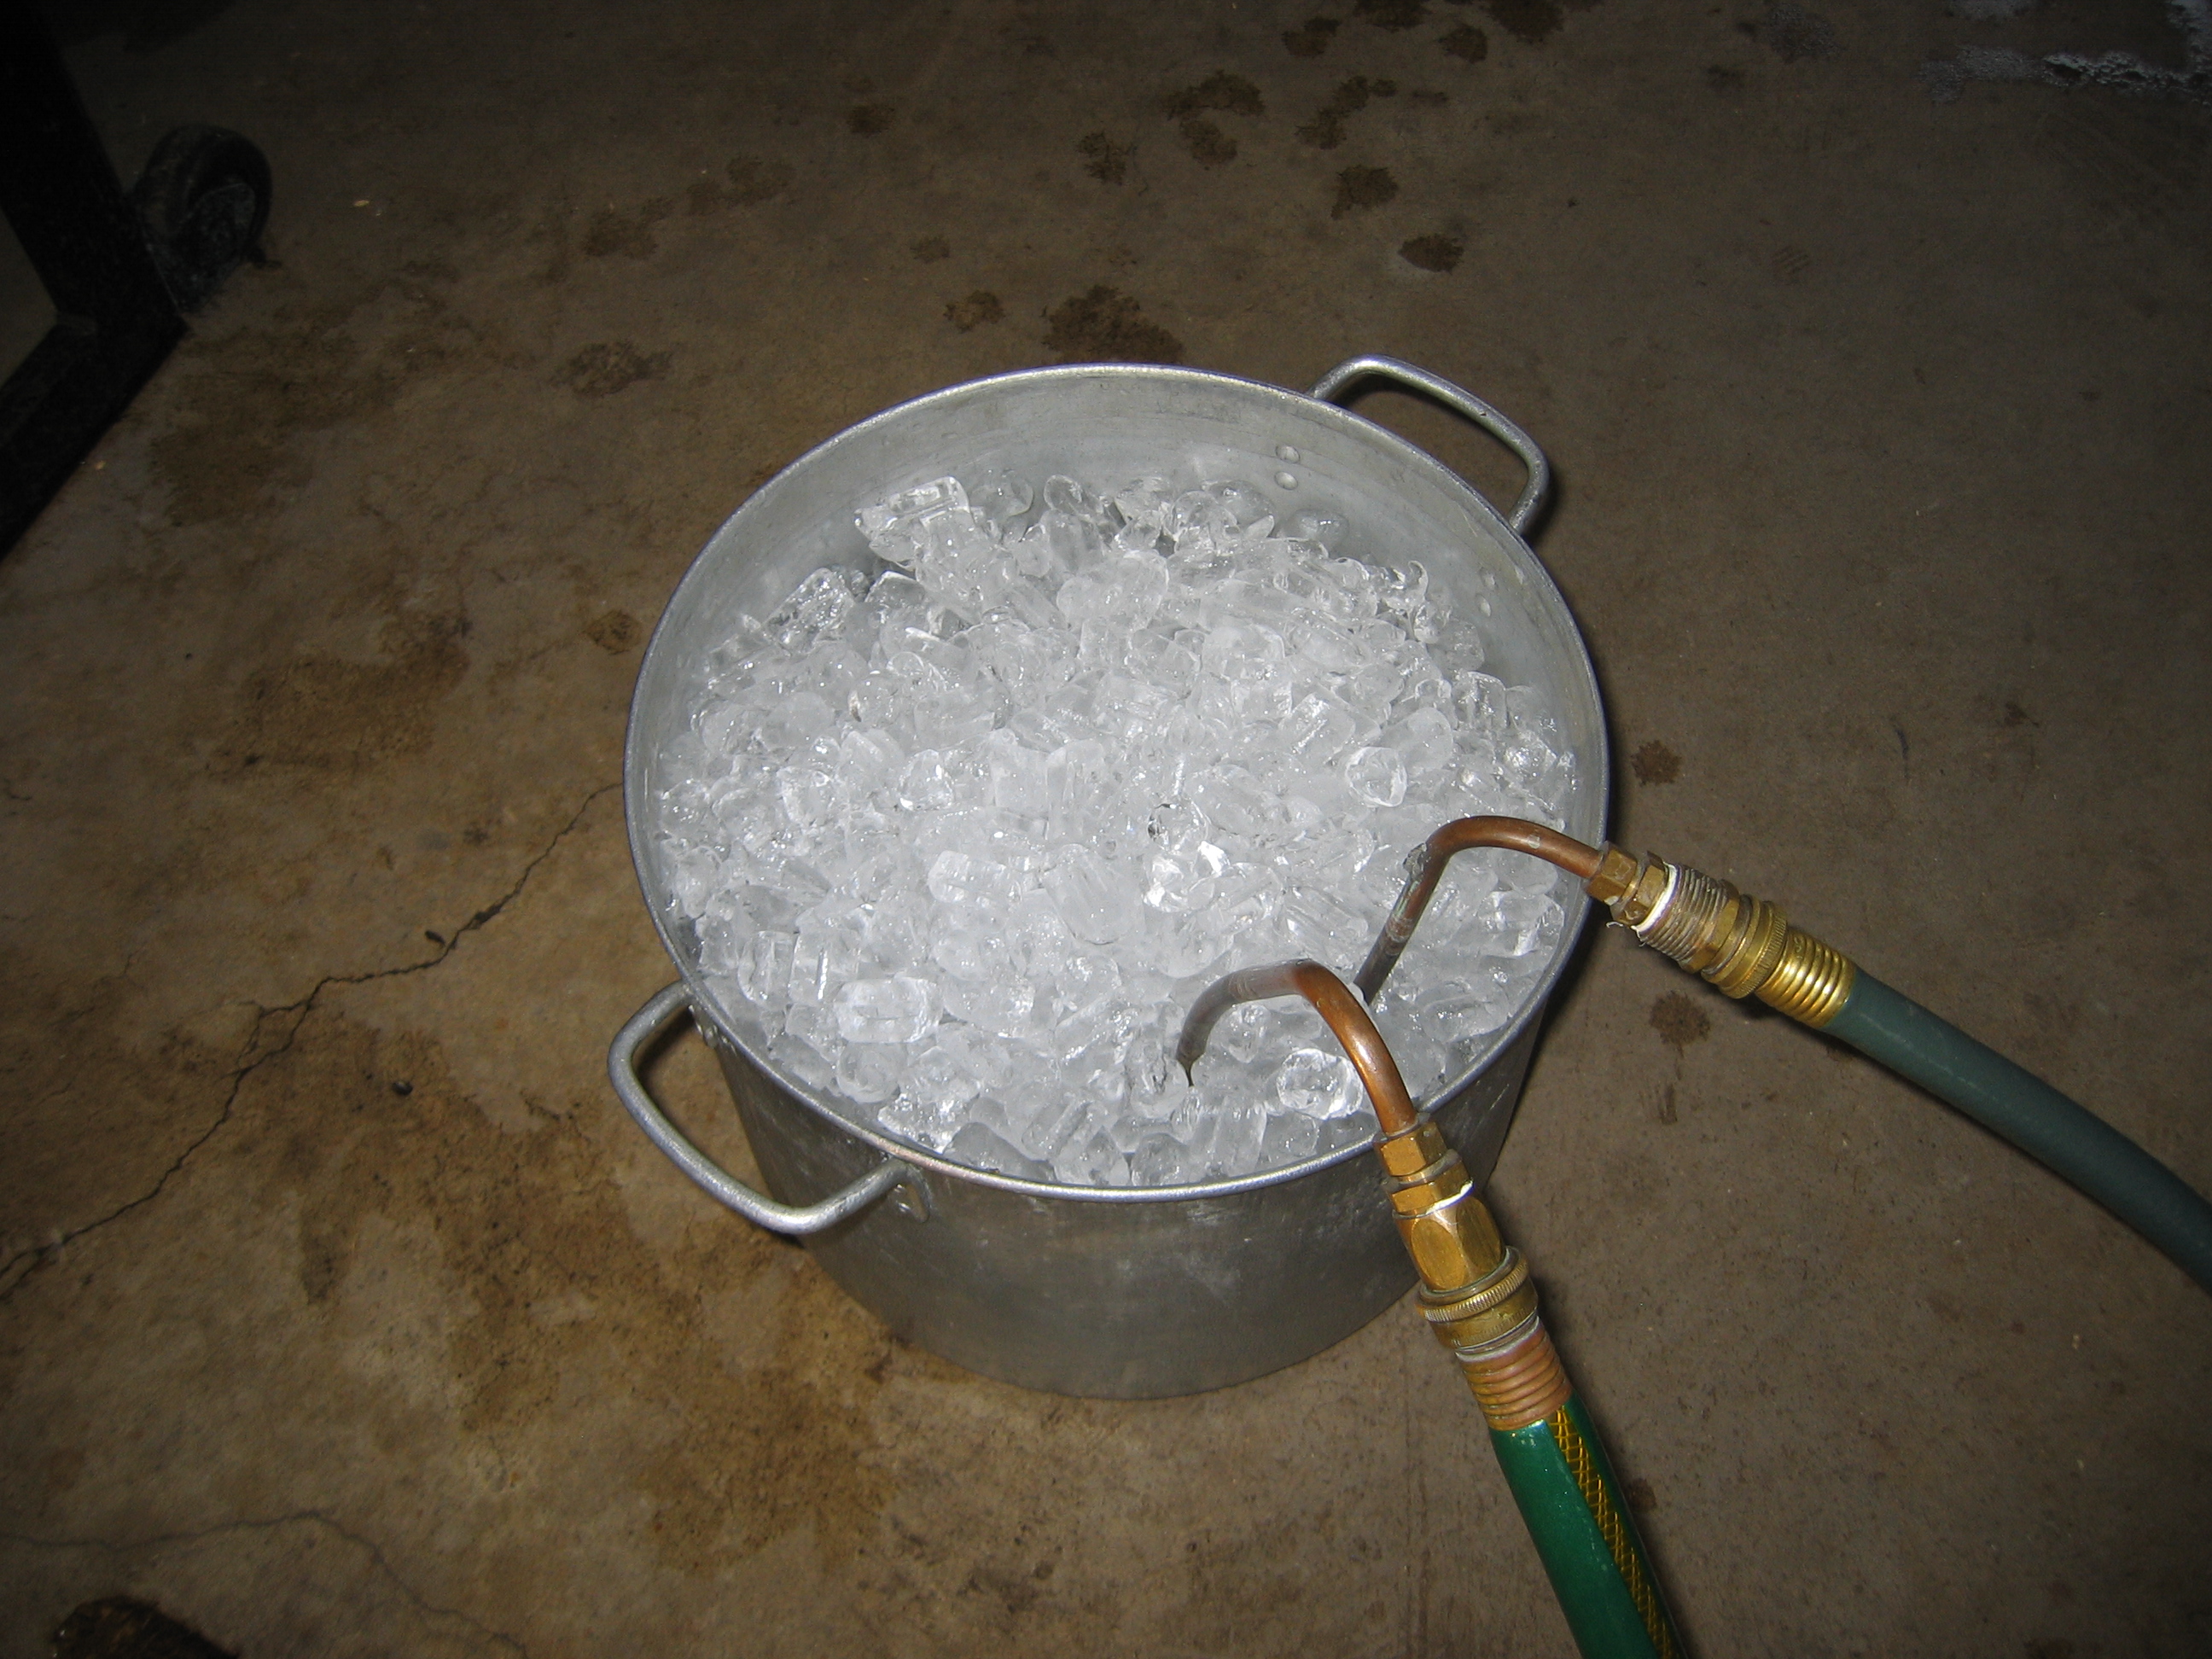
A pre-chiller cools the water supplying the main chiller. When using an immersion chiller, wait until the tap water has cooled the wort substantially before adding ice to the pre-chiller bath.
If you live where your tap water temperature is fairly high, you may need to employ a pre-chiller. A pre-chiller is a second chiller placed before the water inlet of your main chiller. (Most often it’s a small immersion chiller sitting in a pot of ice water.) It cools the water leading to the main chiller so that you can reach your target temperature.
If your main chiller is an immersion chiller, begin chilling wort with your tap water. When the rate of work chilling begins to slow, add ice water to the bath that your pre-chiller is sitting in. Adding the ice when the tapwater is still effectively chilling the wort just melts ice.
If you are using a pre-chiller with a counterflow chiller, you will need the pre-chiller to be sitting ice bath the entire time the wort is flowing through the main chiller.
There are many other ways that homebrewers have come up with chill wort. For example, some homebrewers run their wort through the inside of an immersion chiller sitting in an ice bath to cool the wort. Still others use recirculating ice baths as part of the routine. Still others seal their hot wort in sanitized cubes and let it cool overnight.
In the next article in this walkthrough, I’ll discuss counterflow and plate chillers.
—
Related articles

Appreciate all your articles! I however will never chill my wort after brewing in these methods. I still prefer the Aussie no chill methods and I personally use these Winpak US Plastics containers rated at 180 degrees or less: http://www.usplastic.com/catalog/item.aspx?itemid=31615&catid=459
I just wait the 15 minutes to lower from boiling to 180 and into the no chills they go. I let them come to room temperature over night and pitch the yeast (I have even let them sit in the no chill containers over 6 months before pitching the yeast and had zero issues). I buy extra caps and use blow off to ferment right in these no chill containers. I also adjust my hop schedule about 20 minutes later for all additions to compensate for the extra time it sits in hotter liquid while naturally cooling. I have yet to experience any problems associated with the myths on the no chill method.
Just thought I would give another option for people to speed up the brew day. 🙂