This is the tenth, and final, installment in the All-Grain Brew Day Walkthrough, which started with a post on strike water preparation.
A yeast starter can be used to raise the number of yeast cells to the proper amount for pitching.
Once the wort is chilled, aerated, and in your fermenter, your last task is to pitch the yeast. (This ignores the cleaning that you’ll need to do after you wrap up.) Homebrewers may use dried yeast, liquid yeast, or repitched yeast to pitch their worts. To determine how much yeast you will need, consult a pitching rate calculator several days before your brewday and determine how much yeast to purchase, how large of a yeast starter to make, or how much yeast slurry to harvest from another fermentation.
Dried Yeast
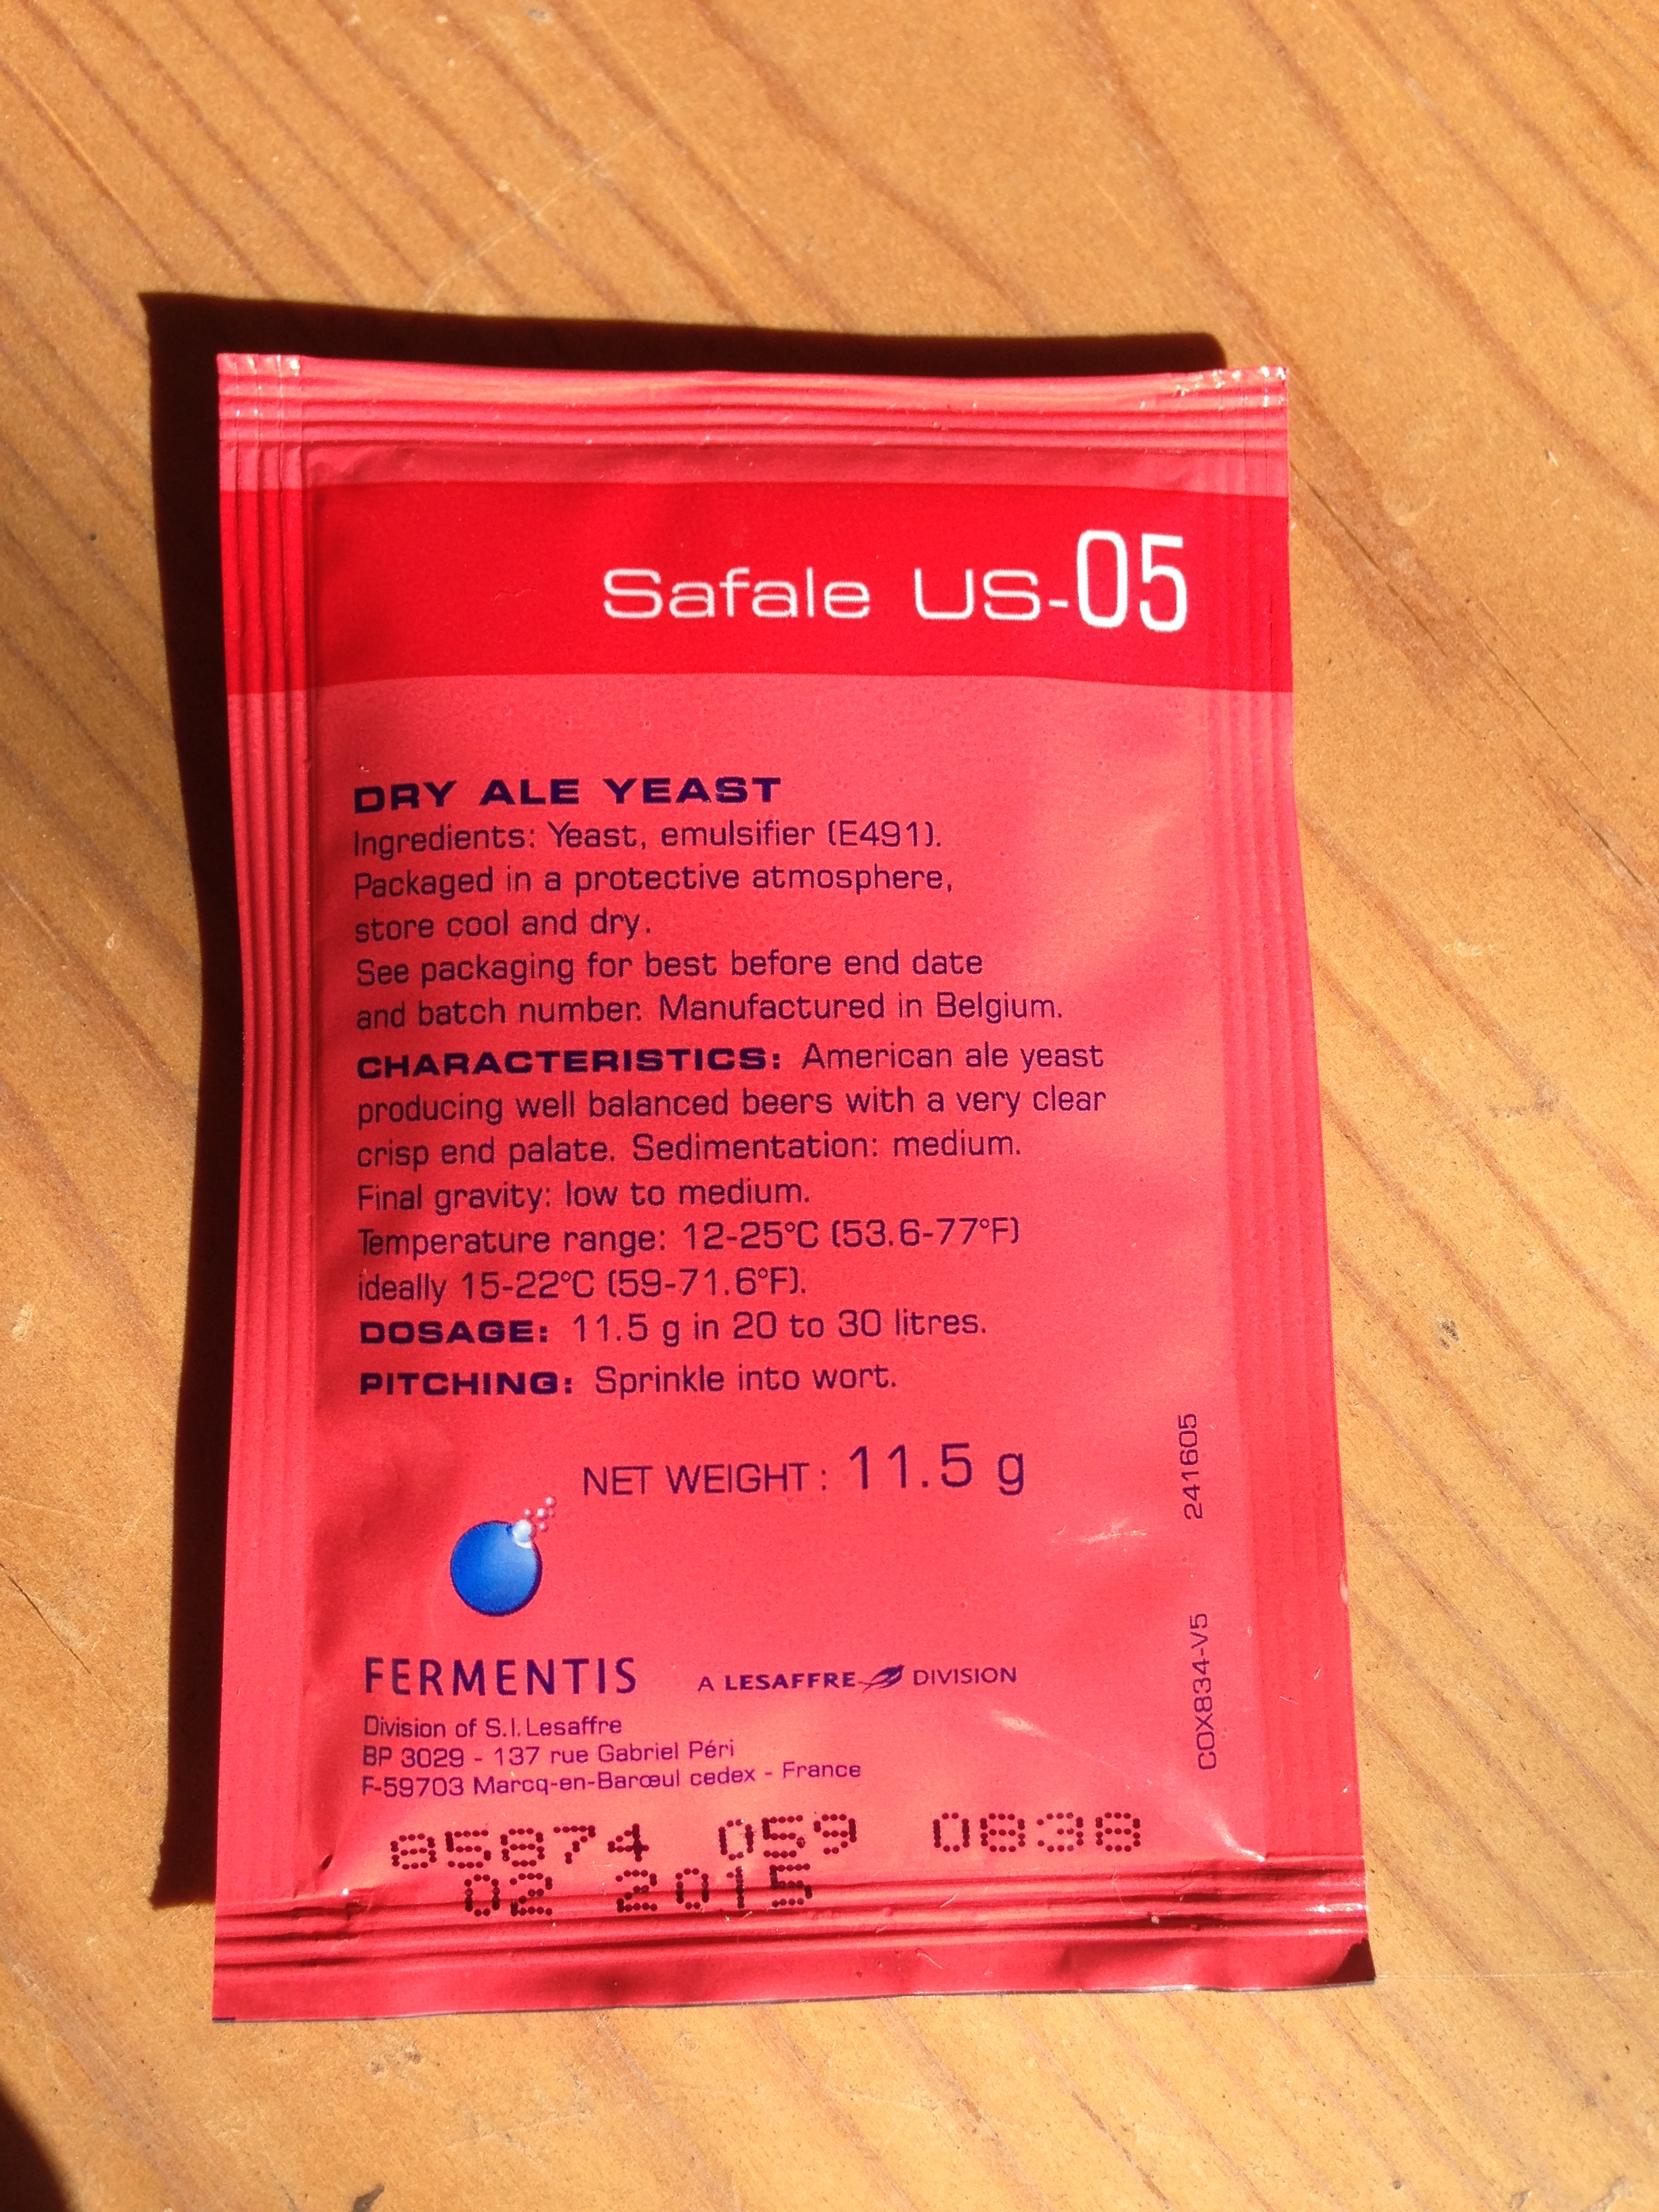 Dried yeast can simply be sprinkled on the top of chilled, aerated wort. Sprinkle it as evenly as possible across the surface of the wort. Then, let the cells take in water until they no longer appear dry, about 15 minutes. Next, you can gently stir them in with a sanitized spoon or just leave them to colonize the wort. Although sprinkled yeast has a slightly lowered viability, compared to rehydrated yeast, an 11.5 g sachet of dried yeast has (just about) enough cells to pitch 5 gallons (19 L) of a 16 °Plato (OG 1.064) ale. If you’re brewing a beer at a lower gravity, you do not need to worry about not rehydrating.
If you rehydrate dried yeast, it will have a slightly higher viability. Rehydrating involves sprinkling the yeast in hot water, and letting the cells rapidly take in water. The volume and temperature of the water required depends on the yeast strain, and is given by the manufacturer. If you rehydrate your yeast before pitching, there are two things to remember. First, water is the best solution for rehydrating the yeast. Wort will work, but you’ll get a higher percentage of cells properly rehydrated with water. Secondly, you need to let the yeast slurry cool down to almost the temperature of the wort before you pitch. The yeast should not be more than 10 °F (~5 °C) warmer than your wort when you pitch them. You can do this by letting the slurry sit, covered, and occasionally stirring it with a sanitized fork. Or, you can gradually stir in small amounts of wort to lower the temperature of the slurry. Don’t change the temperature of the slurry by more than 10 °F (~5 °C) at a time and give the yeast at least a couple minutes to recover before adding more wort. If you choose to cool the slurry with wort, be sure to rehydrate in a container large enough to hold both the rehydrated yeast and the wort it will take to bring the slurry’s temperature down.
Liquid Yeast
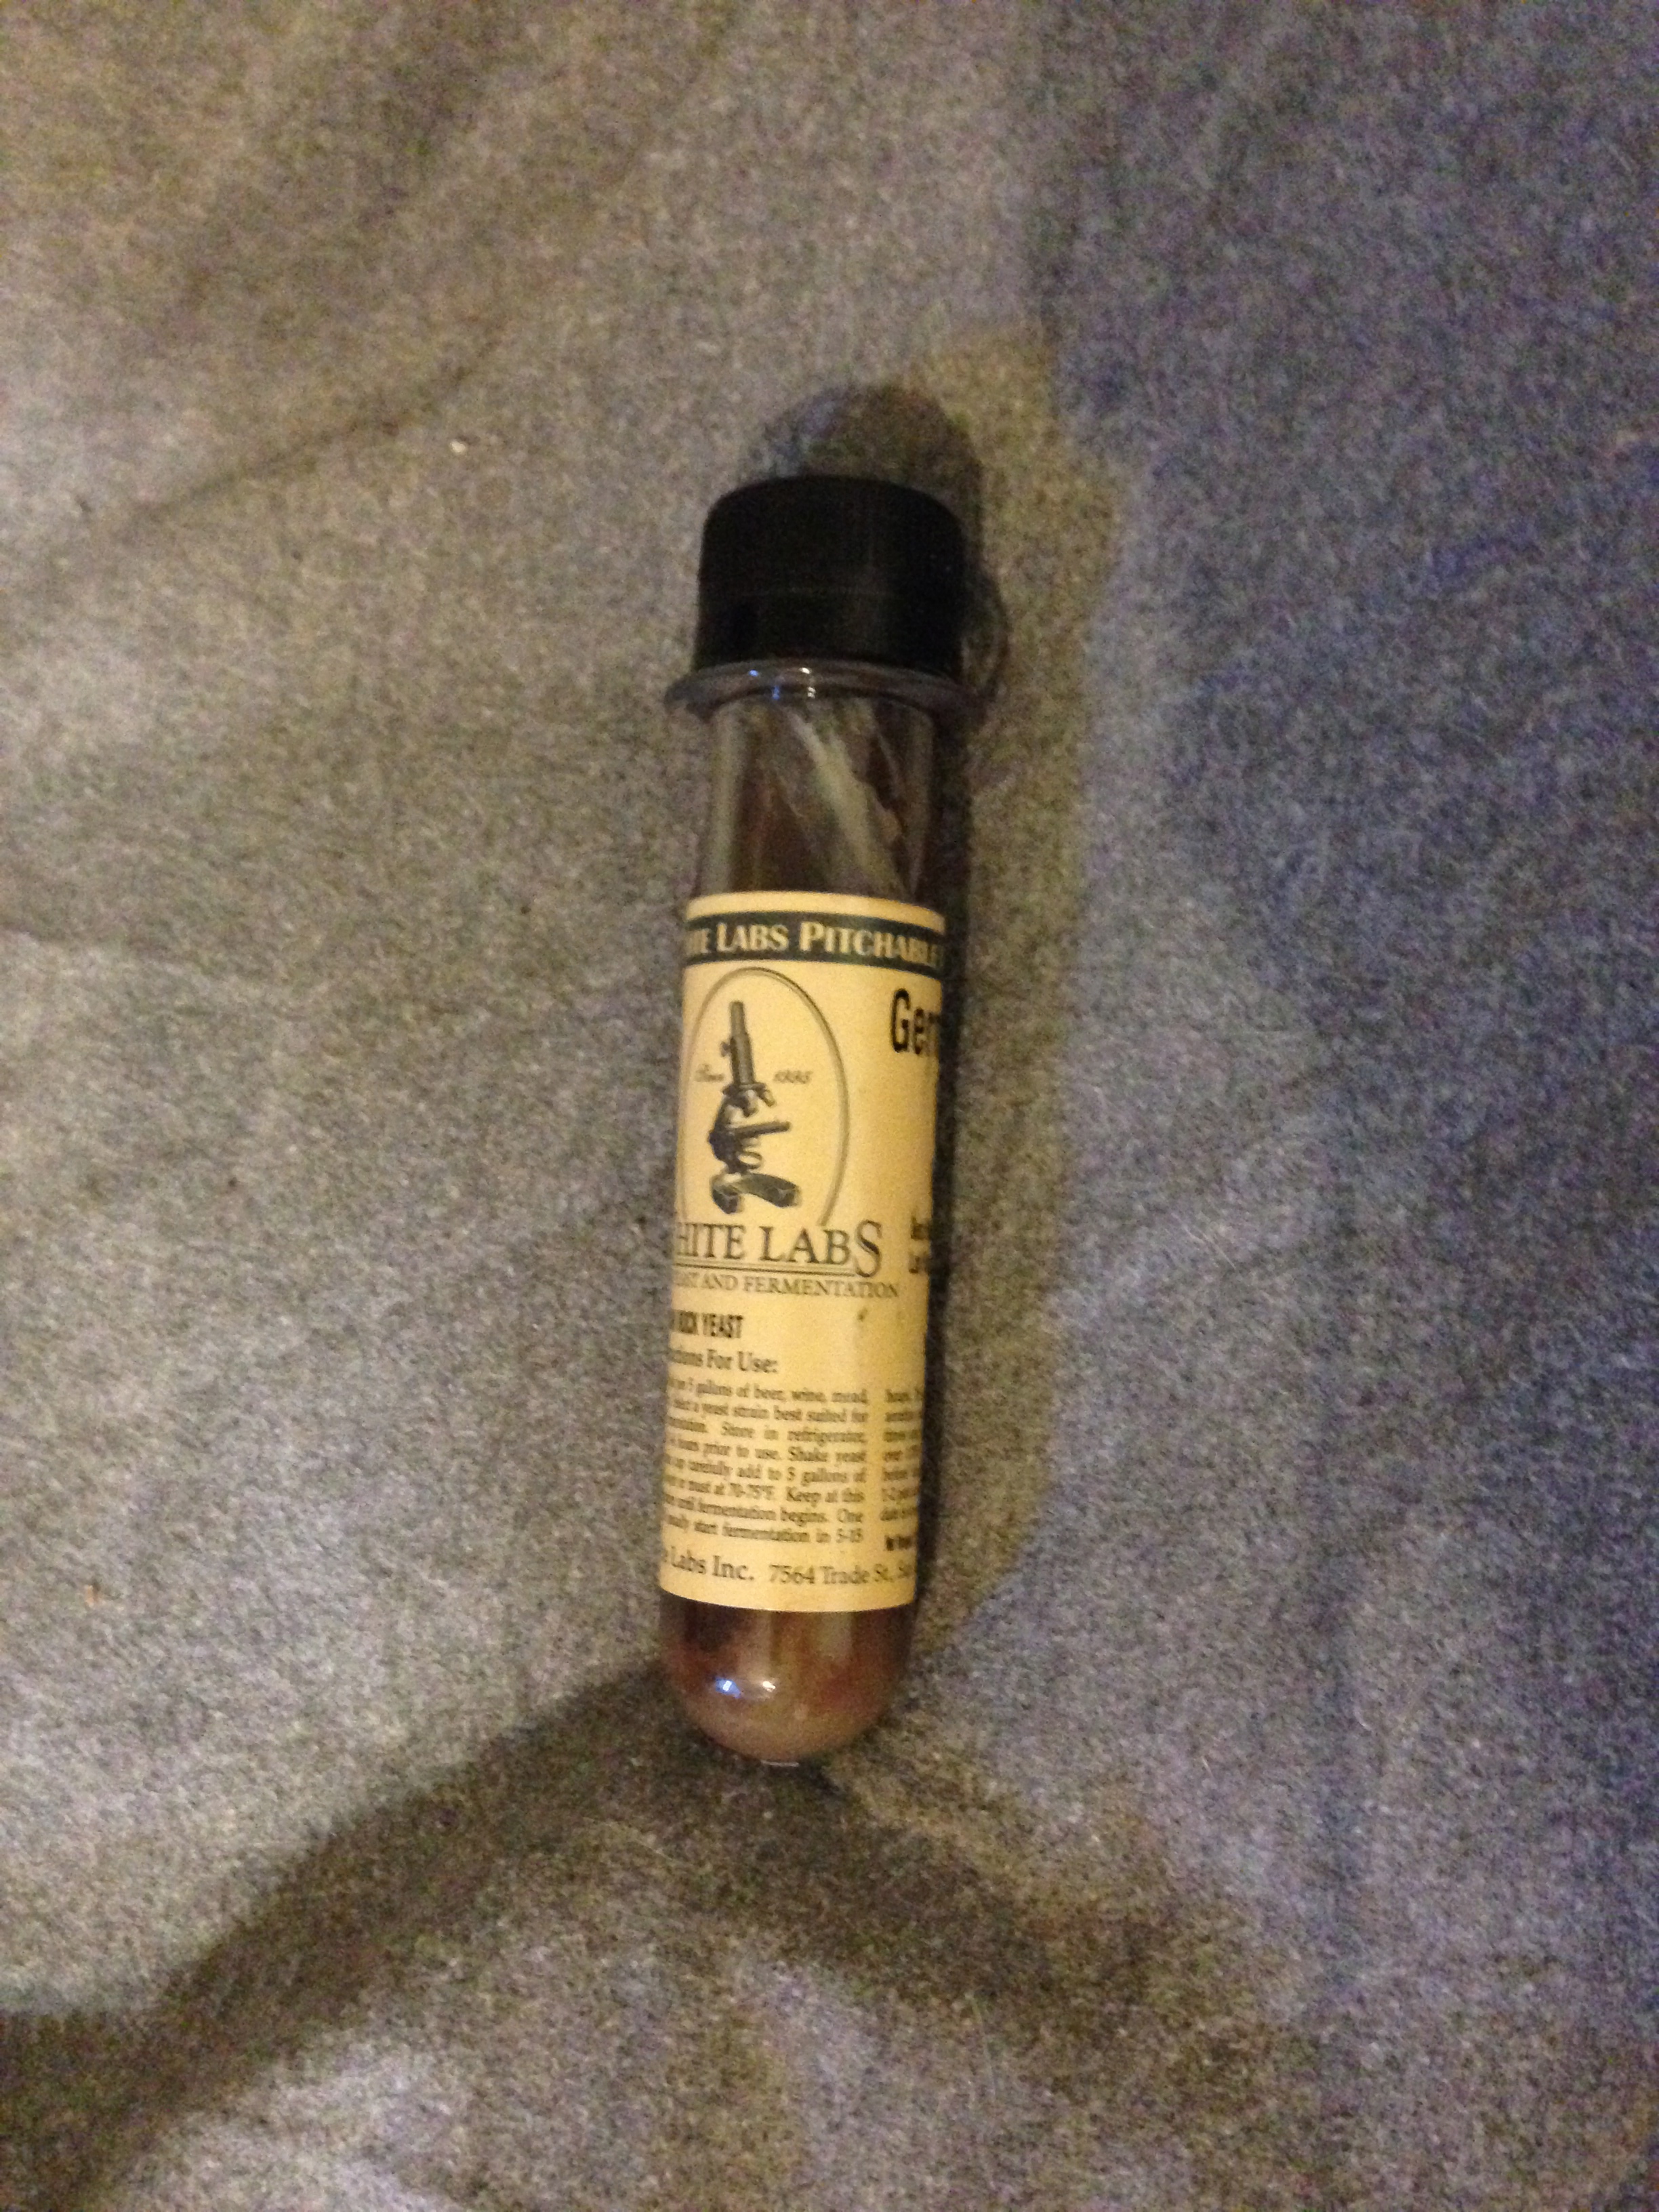
Liquid yeast can be pitched directly from the tube or smack pack. At 100 billion cells per package, one can supply an optimal amount of cells to 5 gallons (19 L) of ale wort at 7 °Plato (OG ~1.028) or below. That’s below the gravity of most session beers, but if you double that to 14 °Plato (~OG 1.056), the yeast only need to replicate once to reach the optimal number of cells. Anecdotal evidence suggests that good beer can be brewed from moderate-strength worts and liquid yeast without making a starter. (This assumes the liquid yeast is fresh and hasn’t been mishandled.)
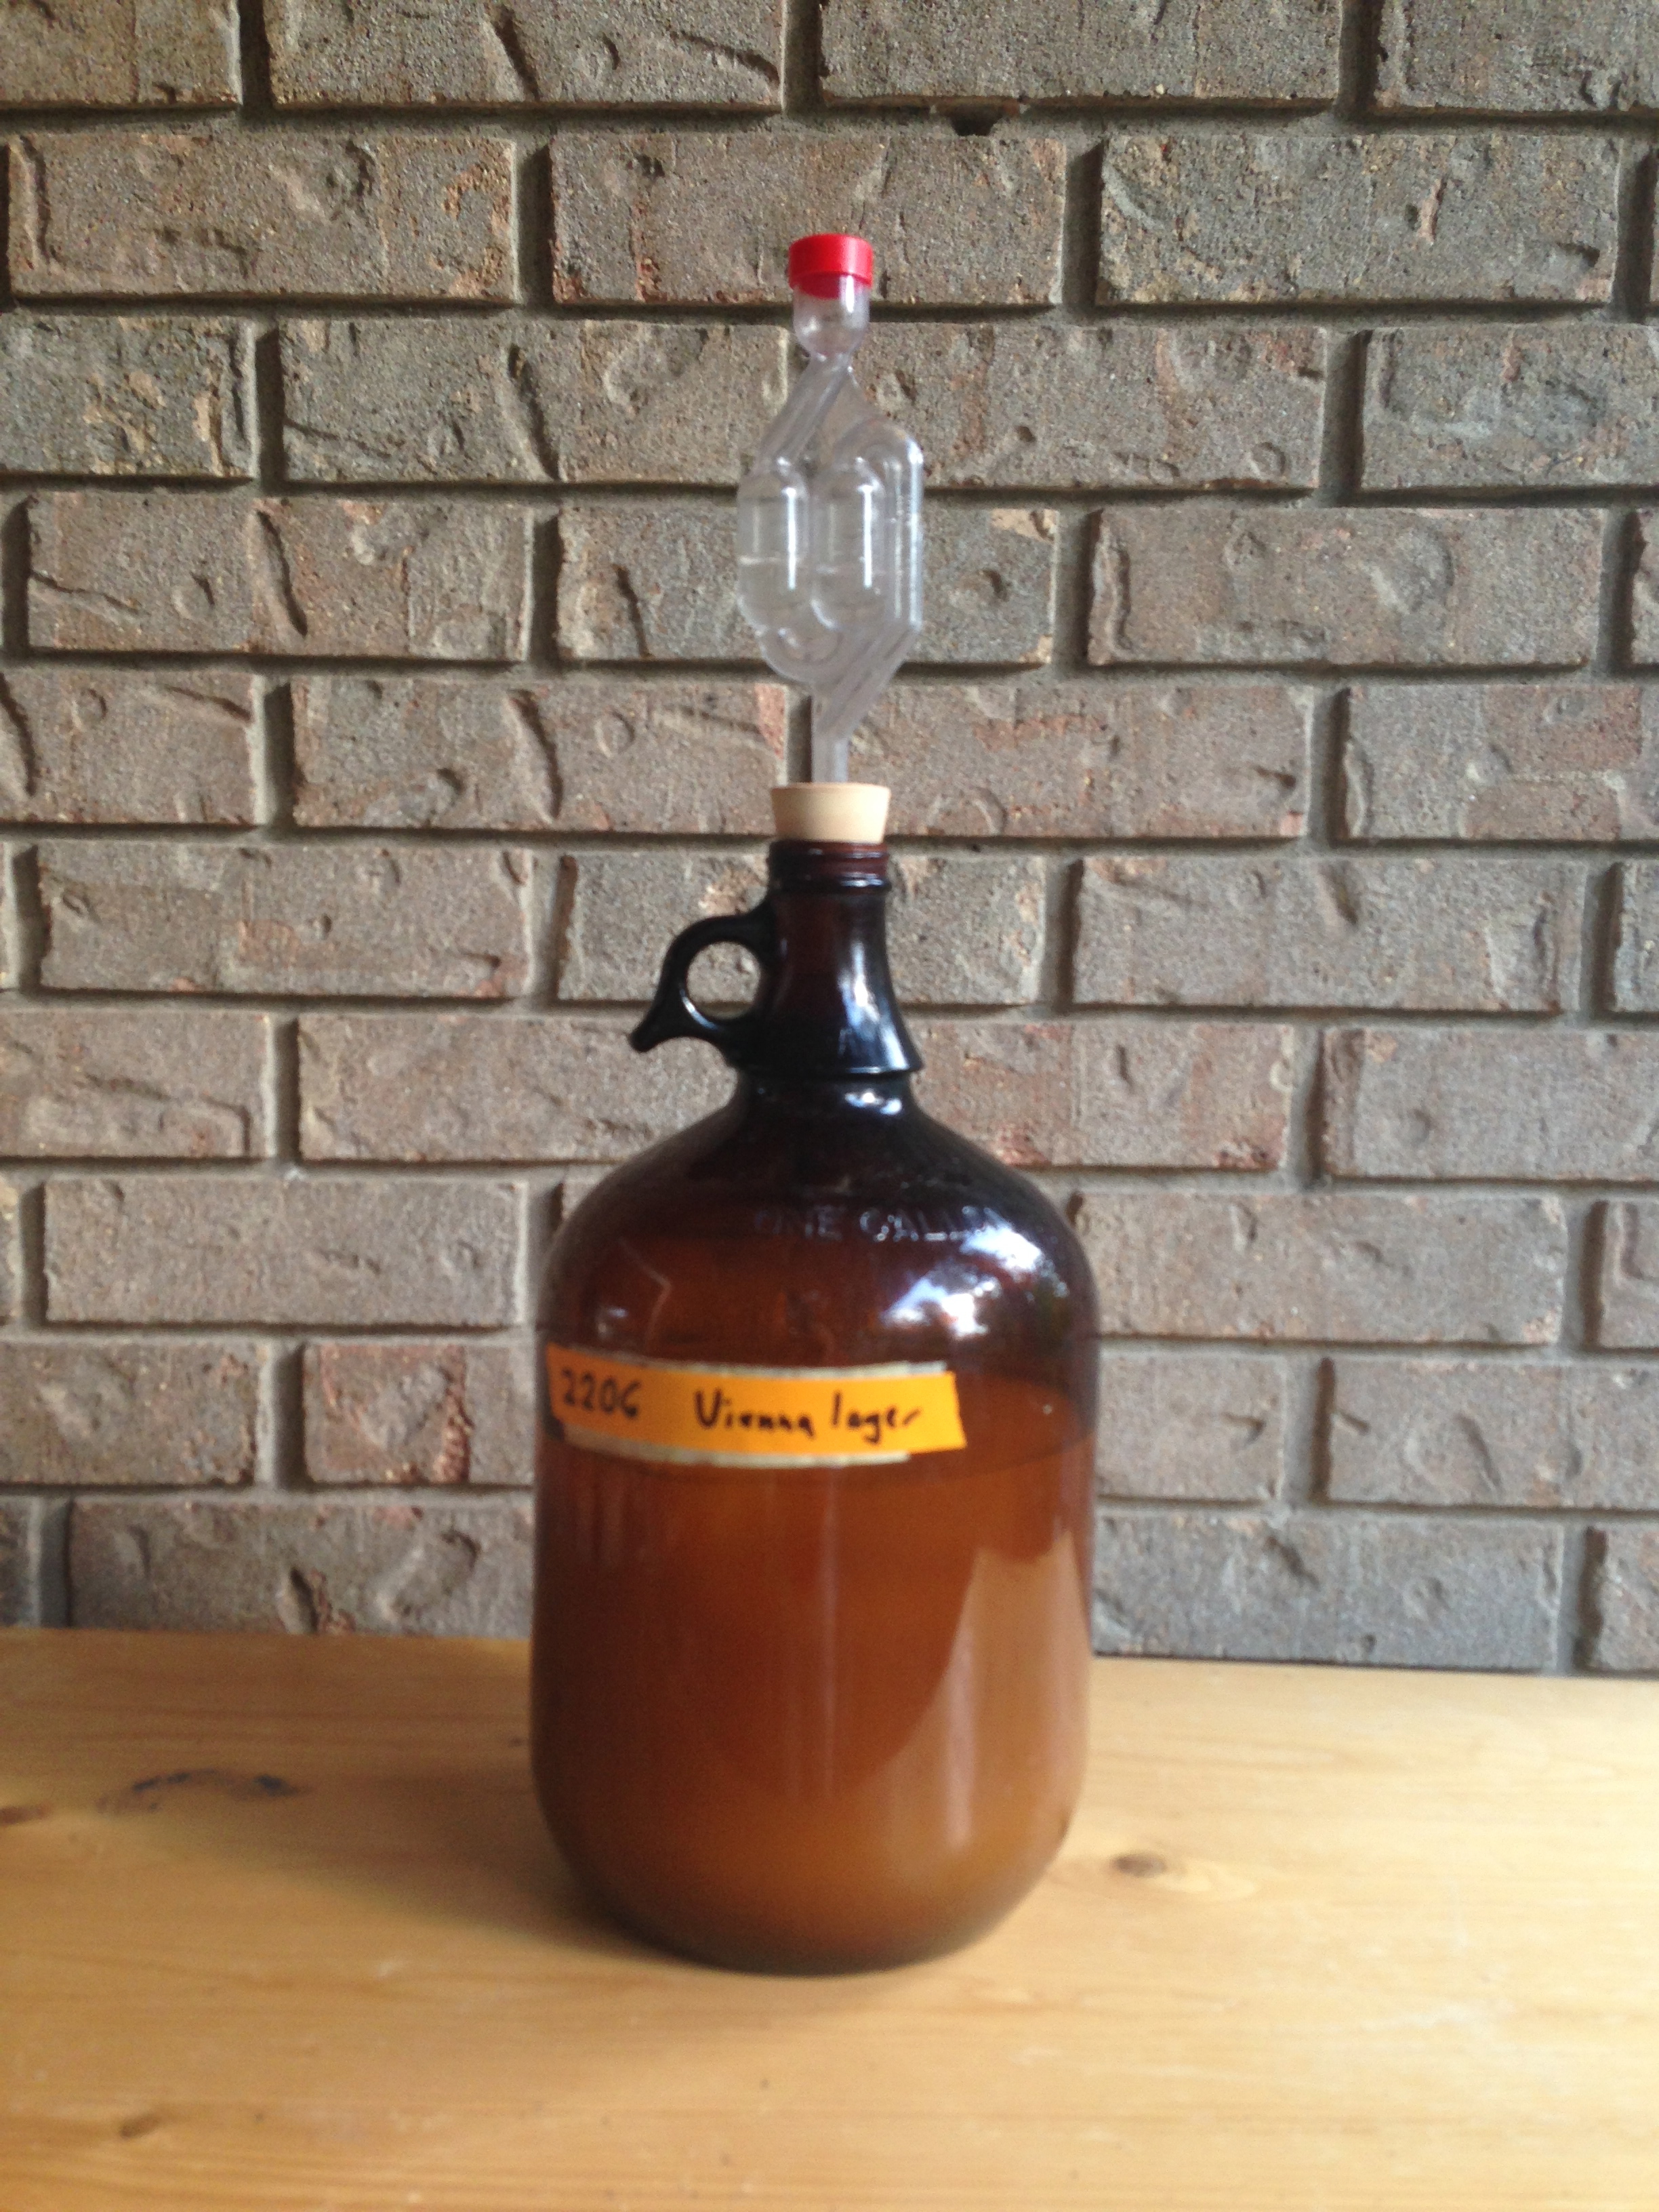
If you’ve made a yeast starter, generally you will want the starter to have fermented to completion, so you can pour off the starter beer and pitch only the slurry of yeast on the bottom. If your starter beer tastes fine, you can also pitch it; this can come in handy if your fermenter volume is a little low. Generally, if you only aerated the yeast starter prior to fermenting it, the starter beer should be fine. If you’ve continuously aerated your starter wort, don’t pitch the starter beer. (It likely will contain a lot of diacetyl.)
 Although you can raise your yeast at a higher temperature, you should cool your yeast starter down to near fermentation temperature before using it. Your yeast slurry should not be more than 10 °F (5 °C) warmer than the wort you are pitching it too. If you are brewing a lager, but raised the yeast at ale temperatures, place to yeast starter in your fermentation chamber several hours before you start brewing.
Before removing the airlock from your yeast starter, check to see that it looks clean around the opening. You may want to flame the opening, with the butane lighter, for a couple seconds before pouring out the yeast. The flame will kill any contaminants around the opening.
Once the yeast has been pitched, you can stir the wort gently with a sanitized spoon, or swirl the fermenter to distribute the yeast throughout the volume of wort. (Or, you can just them diffuse throughout the wort on their own.)
Repitched Yeast
Probably the most common way that homebrewers repitch is to rack fresh wort onto the yeast cake from a previous fermentation. This can work well when the first beer is a low to moderate strength beer and the second beer is of high gravity. For example, when some homebrewers make a barleywine, they will brew an ordinary bitter as the “yeast starter.” On the barleywine brew day, they will rack the bitter to a keg while the wort is chilling, the transfer the wort into the fermenter that held the bitter. Reusing yeast this way generally results in pitching rates way over the optimal level. However, this almost never causes a problem. (If you use an estery, “characterful” yeast, expect it to ferment on the cleaner side due to the elevated pitching rate.)
Yeast can also be harvested from a previous fermentation and allowed to settle, refrigerated, in a sanitized container, such as a mason jar. An advantage of this is that the fresh yeast will sediment into a distinct layer, separate from other components of the trub. The milky, off-white yeast can then be separated and the pitching rate controlled more carefully.
After Pitching
Once the wort is pitched, the fermentation lock should be affixed (unless you are planning to do an open fermentation). The fermenter should be placed somewhere where the temperature will be in the right range, and free from vibration. If you are fermenting in carboys, the fermenting beer should be protected from light. Once the fermenter is tucked away, clean your equipment, and enjoy a beer — you’ve earned it!
—
Related articles
10 Tips for Better Yeast Starter

Speak Your Mind