 So you started brewing awhile ago, and you’ve gotten pretty good at it. You’ve brewed some ales, and some more ales. You’ve added more hops, and even more hops, to some of your beers and they were great. But maybe you’ve been noticing a certain sameness creeping into your brewdays and want to try something new — but what is there?
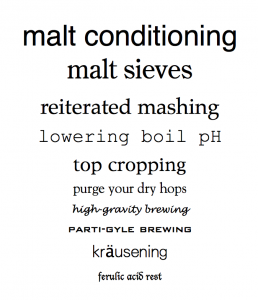
For intermediate brewers, there are a ton of “new” things you can try. Few of these are new to brewing as a whole, but most are underappreciated in the homebrewing community and mostly attempted only by advanced homebrewers. If you’re looking to try something new to you, consider the following options. [Read more…]


Recent Comments