Whether on paper or on a computer or tablet, a brewing notebook is a repository of your accumulated brewing knowledge.
Learning how to brew better beer involves learning not only the abstract concepts, but the practical details of how things work in your brewery. One of the best ways to find out how your system works and have a repository of this information is to keep a brewing notebook. A brewing notebook is not just a place to store all your recipes — if you take detailed notes on your brewdays, it will contain a wealth of information. This information will allow you to check on information from prior beers. In addition, and perhaps more importantly, it can help you plan your future brew days and make future brewdays run more smoothly. In general, there should be a point to every measurement you record. On the other hand, measuring and recording various things during your brewday doesn’t take long and may be useful later. Here are some of the things you can record in your brewing notebook and how they can help you.
Times
When you brew, the overall amount of time it takes plus the time it takes to complete various tasks is good to know. If you record the start and stop times of your brewday, and of all the major components of your brewday, you will be able to plan future brewdays better. For example, I like to record when I start heating my strike water and when it reaches the correct temperature. The same thing goes with sparge water. If you have a handle on how long it takes to heat water with your burner, you’ll know how far ahead of time to start. Of course, the volume of water you heat and the beginning and ending temperatures are also important to record.
Other important times to record are the beginning and ending of the mash (and perhaps when the wort tested negative with the iodine test), including when each different rest starts and stops in the case of a step mash. For fly spargers, the beginning and end of wort collection is a good thing to record. I also like to record when I start and stop chilling, along with the volume of wort chilled and the final wort temperature.
If you write a plan for your brewday, you can simply write the time by each step as it begins and after it when it is finished.
The length of your mash and boil are usually given by the recipe, and these are (arguably) the most important brewday items to time. However, knowing how long water heating, wort collection and cooling steps take — along with the overall length of your brewday — will let you plan future brewdays more comfortably.
Propane
If you weigh your propane tank before and after each brewday, you can learn how much gas you consume on a typical brewday. This will let you know if you need to fill the tank before you brew.
Volumes

It takes many volumes of water to make one volume of wort. Record the volumes of strike water, sparge water, and any other additions of water to keep track of your water usage.
Especially for brewers new to all-grain brewing, recording the volume of water used in each step will be a big help when planning future brews. You should record how much brewing liquor you prepare — the volume of water and the weight of the minerals added to it. You should record how much strike water and sparge water you used. If you added water to increase the temperature of your mash, record that (along with it’s temperature). You should also record how much wort you have at the beginning of the boil, at the end of the boil and at the end of cooling. Knowing the rate of evaporation during your boil can help you plan how long it will take to boil your wort for big beers, like barleywines. (Recording the volume after cooling will show you how much the wort contracts as it cools — for large volumes (15 gallons (57 L) and above), you will need to take this into consideration.)
If you’re looking to conserve water, record how much (if any) water is left behind in your lauter tun or anywhere else in your system (hoses, etc.). In future brews, you can try to empty those spaces completely.
If you brew mostly hoppy beers, measuring the amount of trub and hop debris in your kettle and correlating it to how much hops you use can help you know how much excess wort you’ll need to boil to yield your target volume in the fermenter.
Your wort yield and strike water volume are two of the more important volumes to measure and record. But keeping track of every bit of water you use when you first start brewing will ensure that you aren’t caught short at some later date.
Temperature
Mash temperature is important, but the mash is not the only time you’ll use your thermometer.
Many brewers record their mash temperature, but there are a few other times during the brewday when it pays to record the temperature. As I mentioned before, recording the beginning and ending temperature of your strike water will help you estimate how long it will take to heat water in the future. One thing you should find out by trial and error is how hot your sparge water needs to be to maintain the grain bed temperature at 168–170 °F (76–77 °C). Another temperature to record is the temperature of the water running through your wort chiller. If the temperature of your tap water changes over the course of your year, so will your chilling time (although of course the flow rate of water also plays a role here).
Finally, recording the ambient temperature — which is likely the temperature of your brewing equipment and grains before any heating or mixing with water takes place — may help you better predict when you need to heat your strike water a few degrees more or less.
You’ll also want to record the temperature your beer ferments at, including times and temperatures when the wort heats up or cools down. Fermentation temperature and mash temperature are (again arguably) the most important temperatures to record. However, taking the temperature of various volumes of water or wort only takes a second, and you may be interested in these observations later.
Tomorrow, I’ll discuss density (specific gravity) and pH and what helpful calculations you can do on or after brewday with the measurements you’ve recorded.

Excellent information as always, Chris. It should be added that good brewing software like Beersmith can really help with recording all the details as well as being a great repository for all your notes and observations. When I taste one of my brews months later it’s helpful to look back at my notes and try to figure out how it turned out so good (or bad!)
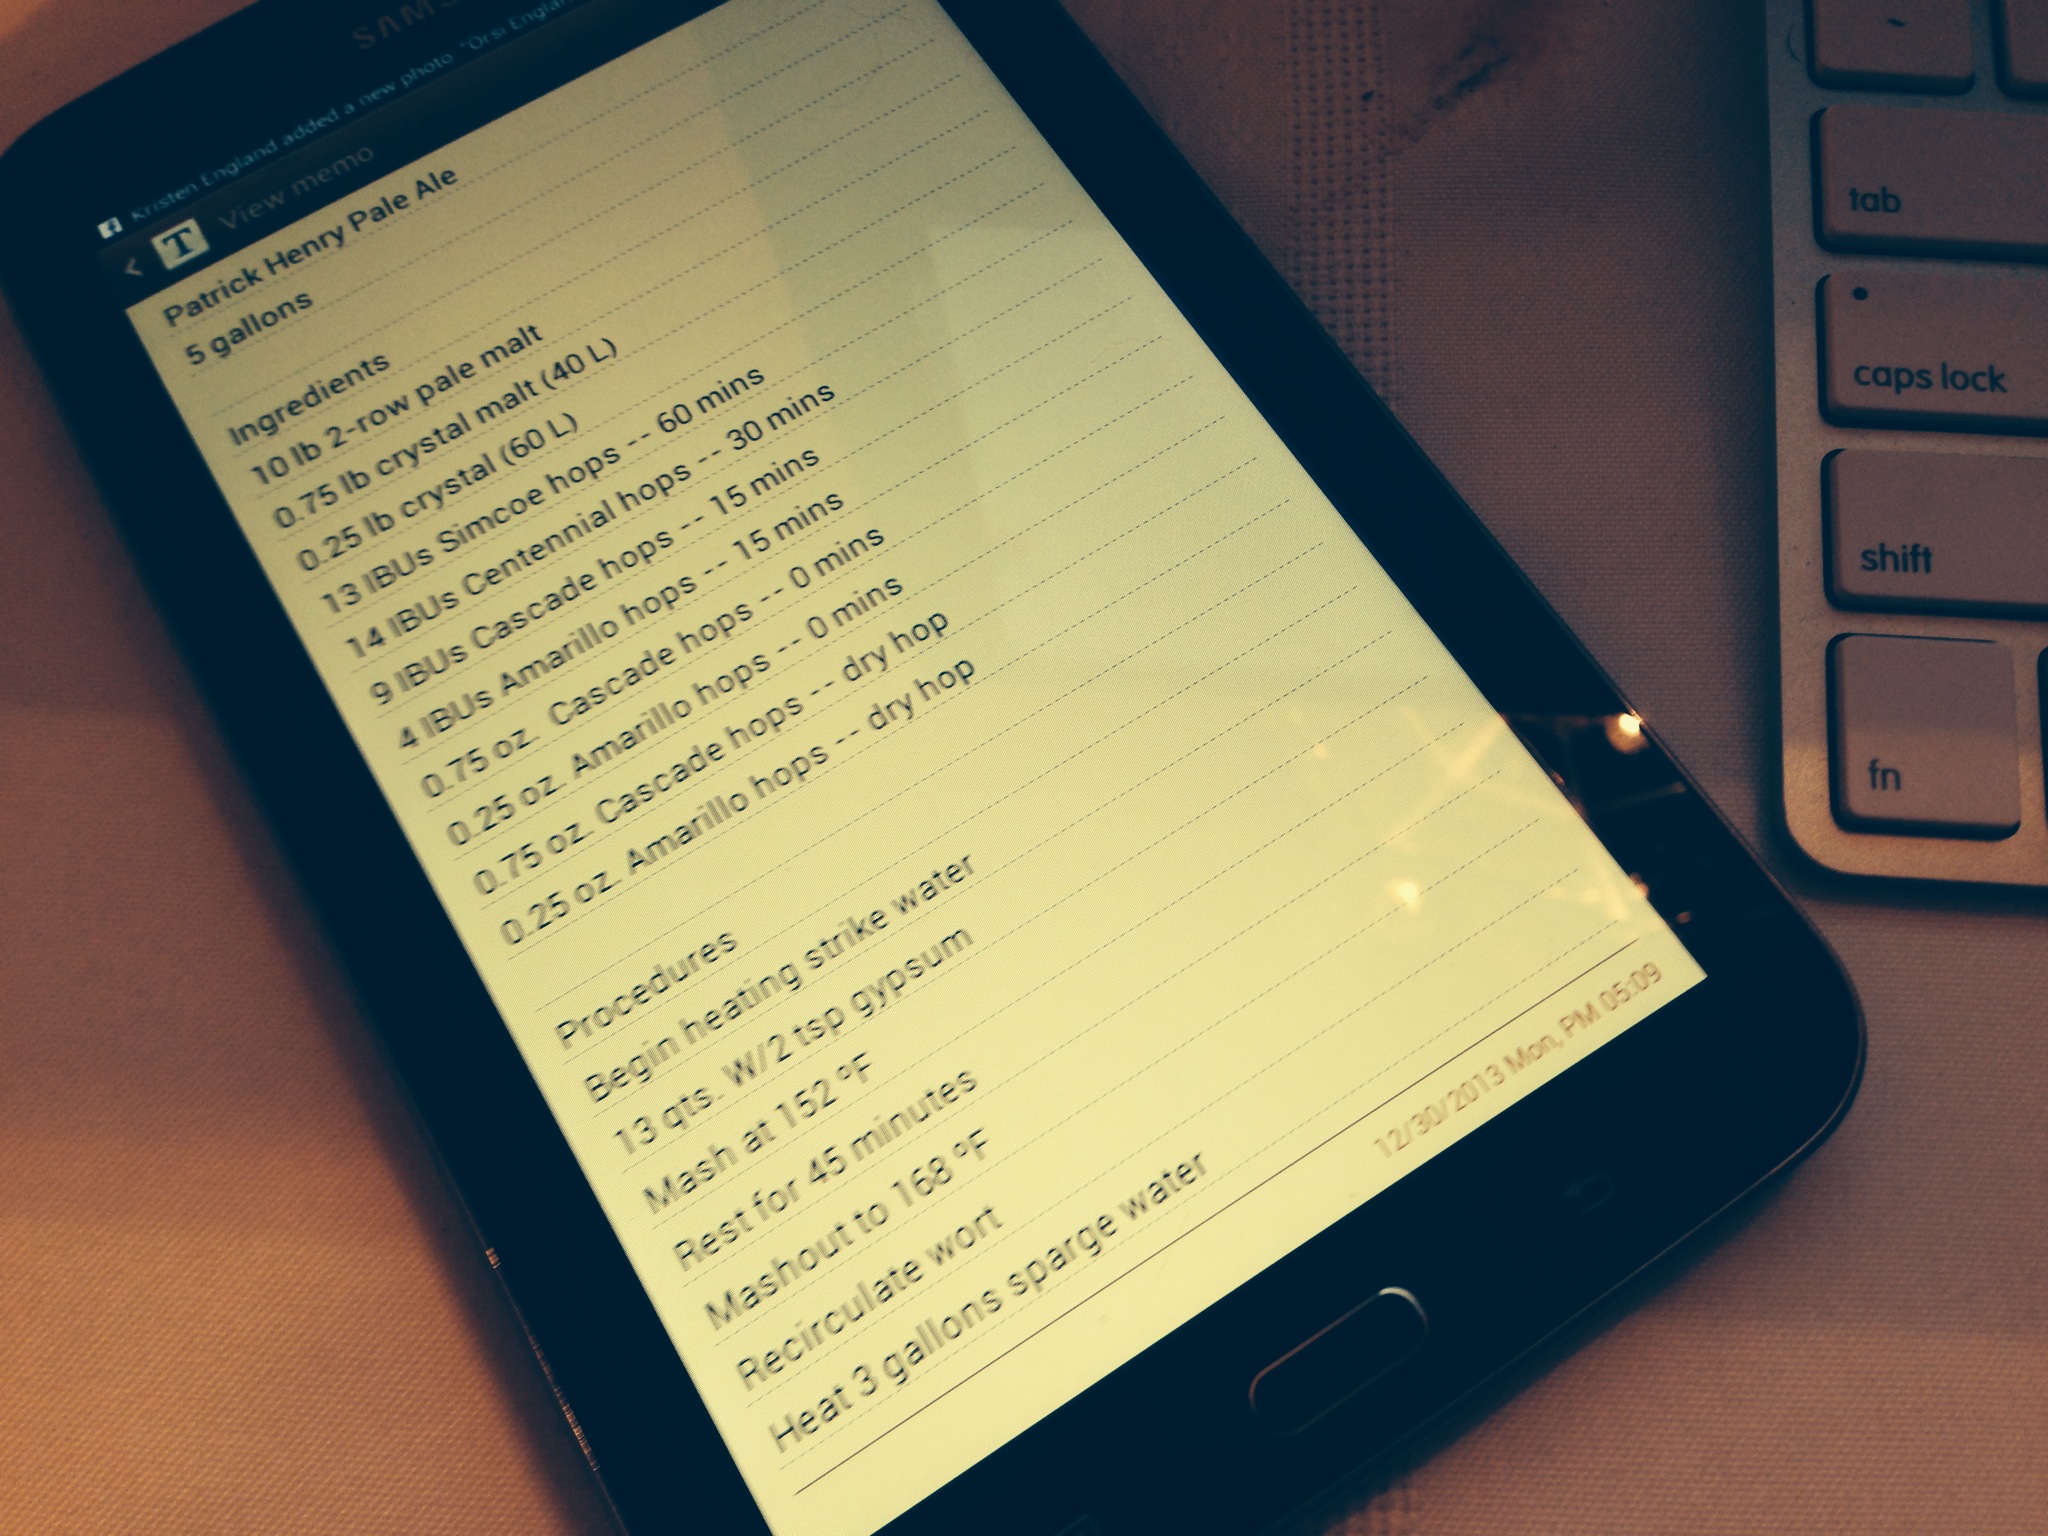
If you have a way to electronically record your observations, that’s great. The important thing is to take the notes, whether on paper or by computer. A nice tablet app would be great for this, I’ll bet.
One thing I wish I would have been tracking from the beginning is the brand of extract/ malt. Most of my notes just specify “pale malt” or “crystal 60,” but there are definite differences between maltsters that might prevent me from duplicating my recipes exactly, nailing the fermentability, or tracking down a particular flavor character brew to brew.
@ Terry: Be careful when storing your information with these programs. Frequently they store all information in a single database which, if corrupted somehow, can loose your complete brewing history. Sometimes programs can also change storage formats, making old recipes obsolete and unreadable. If using these programs for storage, I would advise exporting to a more universal format and backing it up (in case your computer craps out).
– Dennis, Life Fermented blog
Good advice, Dennis. Thank you!
I agree on writing down the maltster’s name for every malt. Every bit of information helps.