This is the second part of a two-part series on measurements to record on brew day.
 One piece of equipment that almost every homebrewer has is a hydrometer. In addition, many have a pH meter (or at least pH papers). Both of these tools can give you valuable information on brewday.
Density
Taking the original gravity (OG) of your wort is, of course, important. This measurement will factor into both the calculation of your extract efficiency and your estimated alcohol content. However, there are other times during your brewday when taking a hydrometer or refractometer reading of wort density can be worthwhile.
If you ever plan on brewing a very big beer, measuring the specific gravity of your first wort — the wort you run off before any sparge water has been applied — will give you useful information. Specifically, if you also know the volume of your first wort — calculated as the amount of strike water minus how much water is absorbed by your grain (or otherwise lost in your system) — you will know the concentration of volume of the first wort, which can help in recipe planning. (See this article for more information.) When recording the specific gravity of your first wort, you also need to record your liquor-to-grist ratio (in qts/lb or L/kg).
If you use continuous (for fly) sparging, measuring the gravity of your final runnings will give you an indication of when to stop sparging. (You should stop sparging when the pH of your final runnings is above 5.8; this usually correlates to an SG of 1.008–1.012.) Coupled with your recipe and the volume of wort you have collected, you will know how much volume of wort you can collect per weight of grain. This will give you an idea of how much wort to collect when formulating other recipes (presuming you plan to fully sparge the grain bed).
Measuring your pre-boil specific gravity will let you estimate your post-boil original gravity with enough time to make add malt extract if you are unacceptably low, or dilute the wort with water if you are unacceptably high.
Along with your OG, measuring your final gravity (FG) after fermentation will let you estimate your alcohol content.
pH
For all-grain brewers, the pH of their mash is most useful pH measurement. However, as with density, there are other useful times to measure your pH. For brewers who use continuous sparging, the second most important time to measure pH is near the end of wort collection. You should take samples of the runnings coming from the lauter tun and stop collecting wort when the pH rises above 5.8. As I mentioned above, know how much wort you collected from one grain bed will allow you to estimate how much you can collect from other grain beds.
Measuring your pre-boil and post-boil wort pH isn’t necessary, but it can be nice to confirm that your pH drops appropriately during the boil. Your pre-boil wort should be at or (more likely) slightly higher than your mash pH. Your total wort is a blend of first wort (at mash pH) and sparged wort (higher than mash pH). The buffering capacity of the first wort is higher than that of the sparged wort, so the pH should be closer to it. By the end of the boil, your wort pH should drop to 5.2–5.0. If it doesn’t, adding some calcium to the boil should help.
Recording the Information
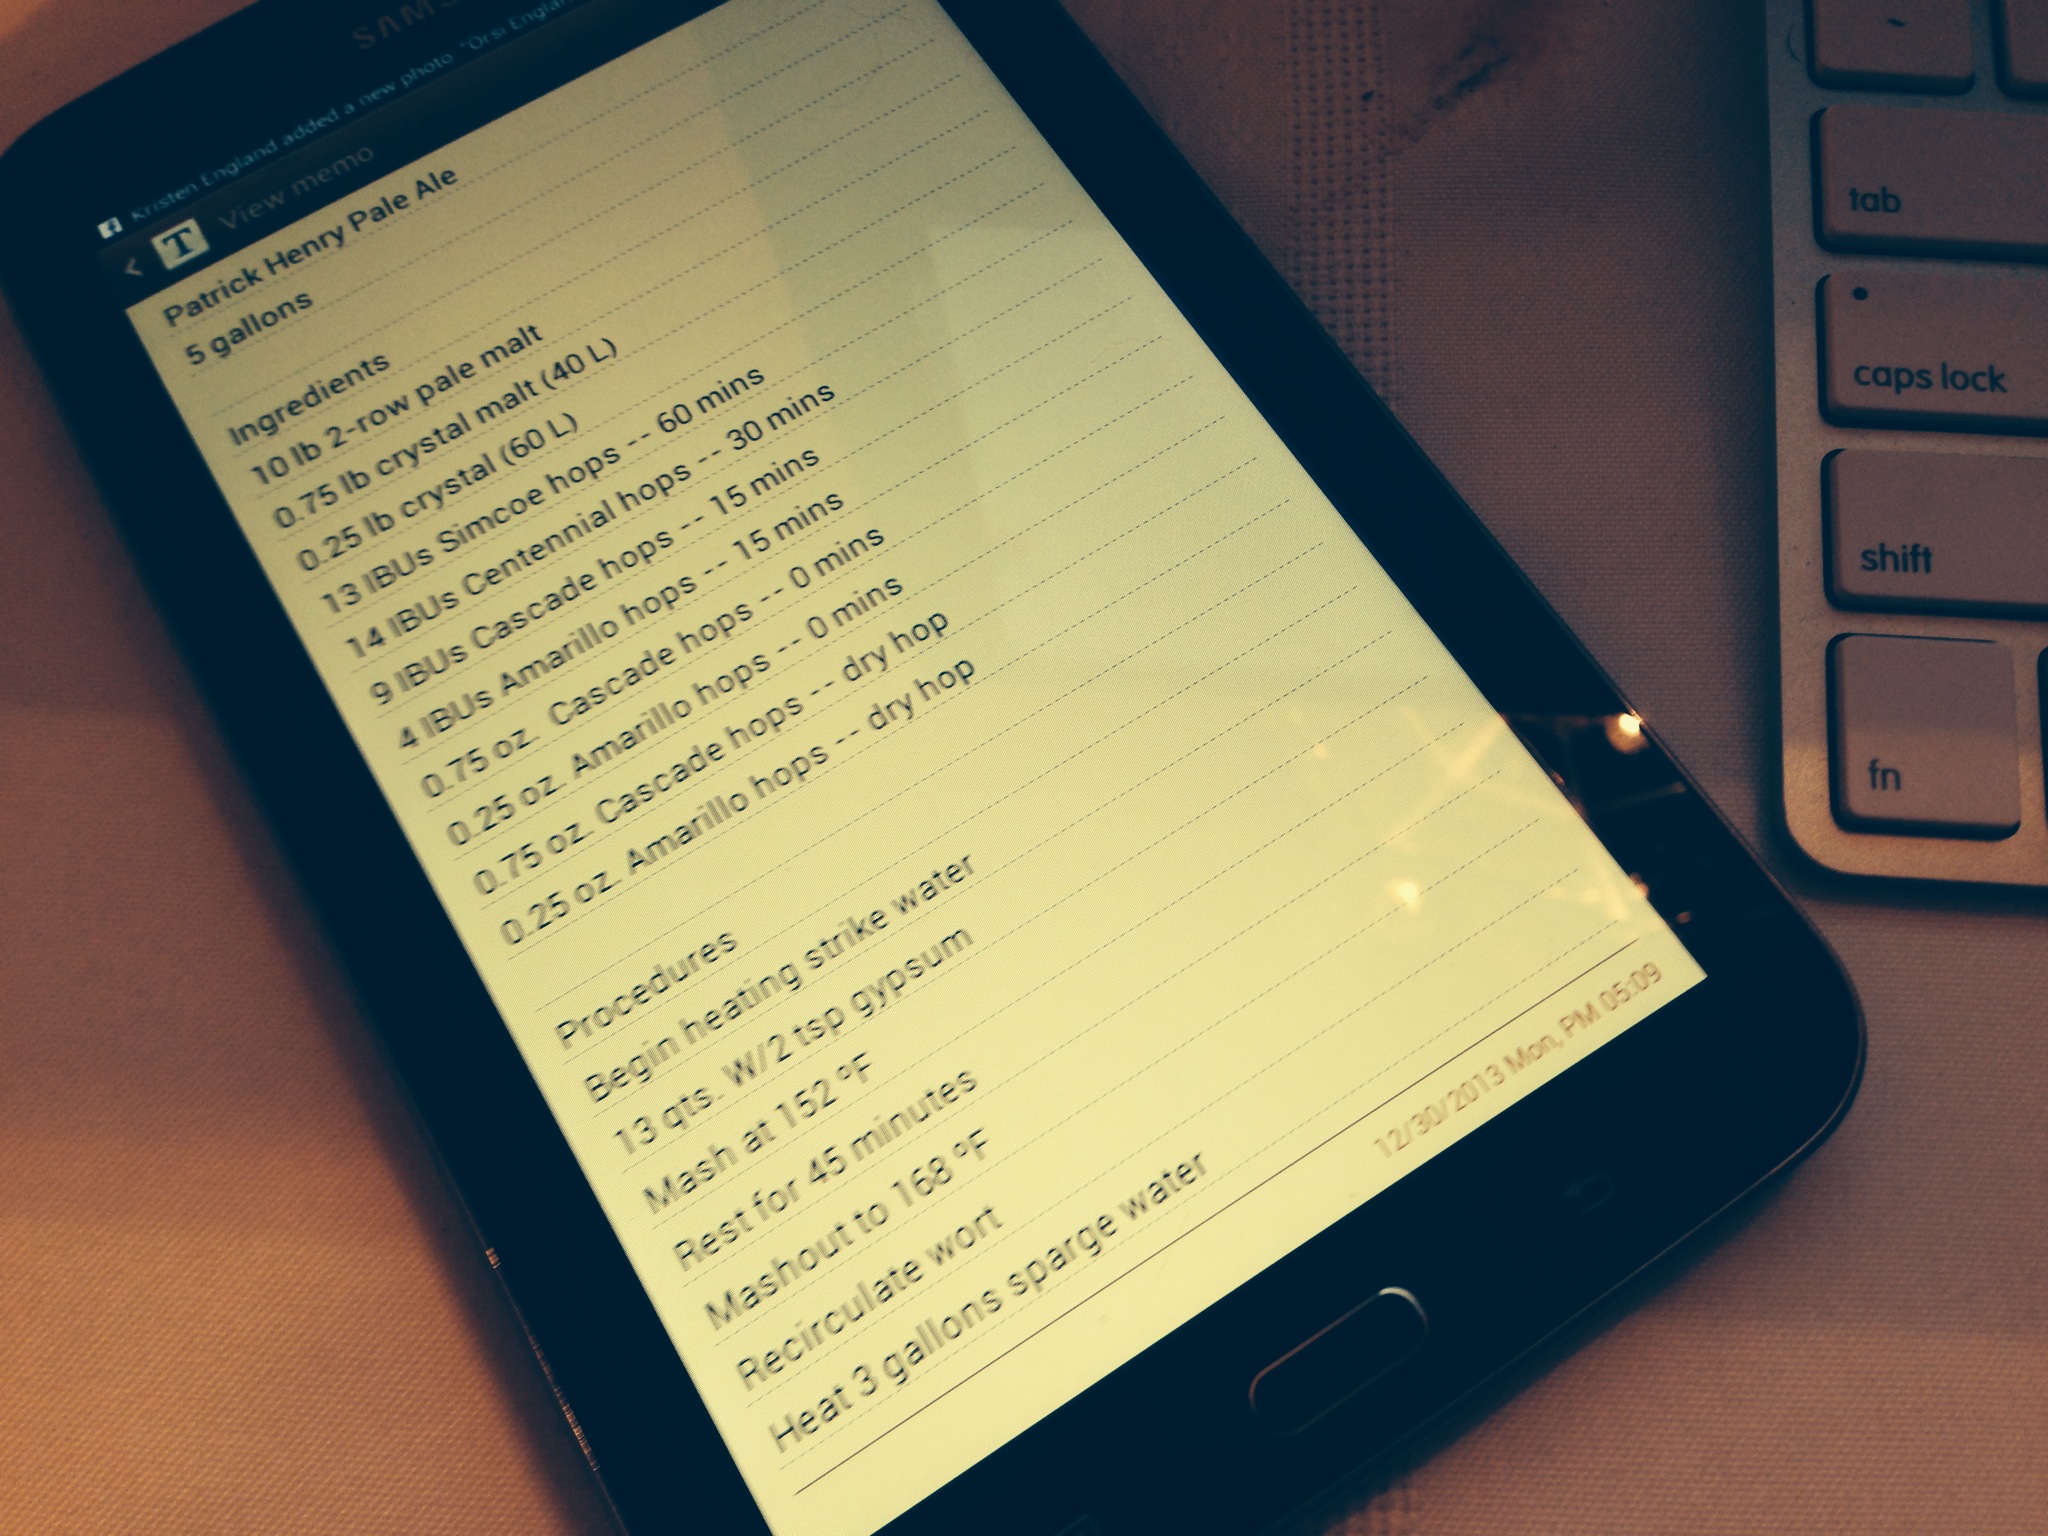
This is a lot of information to record each brewday. How can you remember it? I would advise you not to try to — instead, write down a brewing plan before your brewday and include blanks for the information you will record. One way to do this is wrote out your procedures, as you have planned them. Leave spaces, blanks or boxes around each entry to record any relevant data. Leave some room for added observations that don’t fall into any specific category. (E.g. “Spider fell into the wort.”) For example, you might have a section in your brewing notebook that says:
Boil wort for 60 minutes. Start Time = _________
Pre-boil volume: Target = 6.5 gallons, Actual = ________
Pre-boil specific gravity: Target = 1.043, Actual = _________
Hop addition at 60 minutes: 1.0 oz. Centennial (10% AA) _________
Hop addition at 15 minutes: 0.75 oz. Liberty (5% AA) __________
End Time = _________
Post-boil specific gravity (OG): Target = 1.052, Actual = _________
Post-boil volume: Target = 5 gallons, Actual = ________
Writing out your plan, with spaces left for observations, will guide you to recording the information you want without distracting you from brewing. Afterwards, you can do any of the calculations you want. For some of the information, you may only need to record it a few times. For example, once you figure out how long it takes to heat your strike water, you won’t need to time this each time. However, as long as writing down information is easy, I like to record as many details as possible. You never know what questions you might have later.
Many of the calculations that you can do with these numbers are handled by homebrew recipe calculators. If you don’t use that kind of software, you can always write a spreadsheet to do the calculations for you. This weekend, I’ll post a quick guide to all the handy brewing calculations.

What’s up, the whole thing is going nicely here and ofcourse
every one is sharing data, that’s actually fine, keep up writing.