You don’t have to let your mash go for 60 minutes. It may be done much earlier than that.
Yesterday, James posted an article about a speedy, small-batch brewday. In the next two days, I want to give a few tips on speeding up your all-grain brewday. Today, I’ll focus on mashing, and tomorrow I’ll discuss lautering.
Mash Times
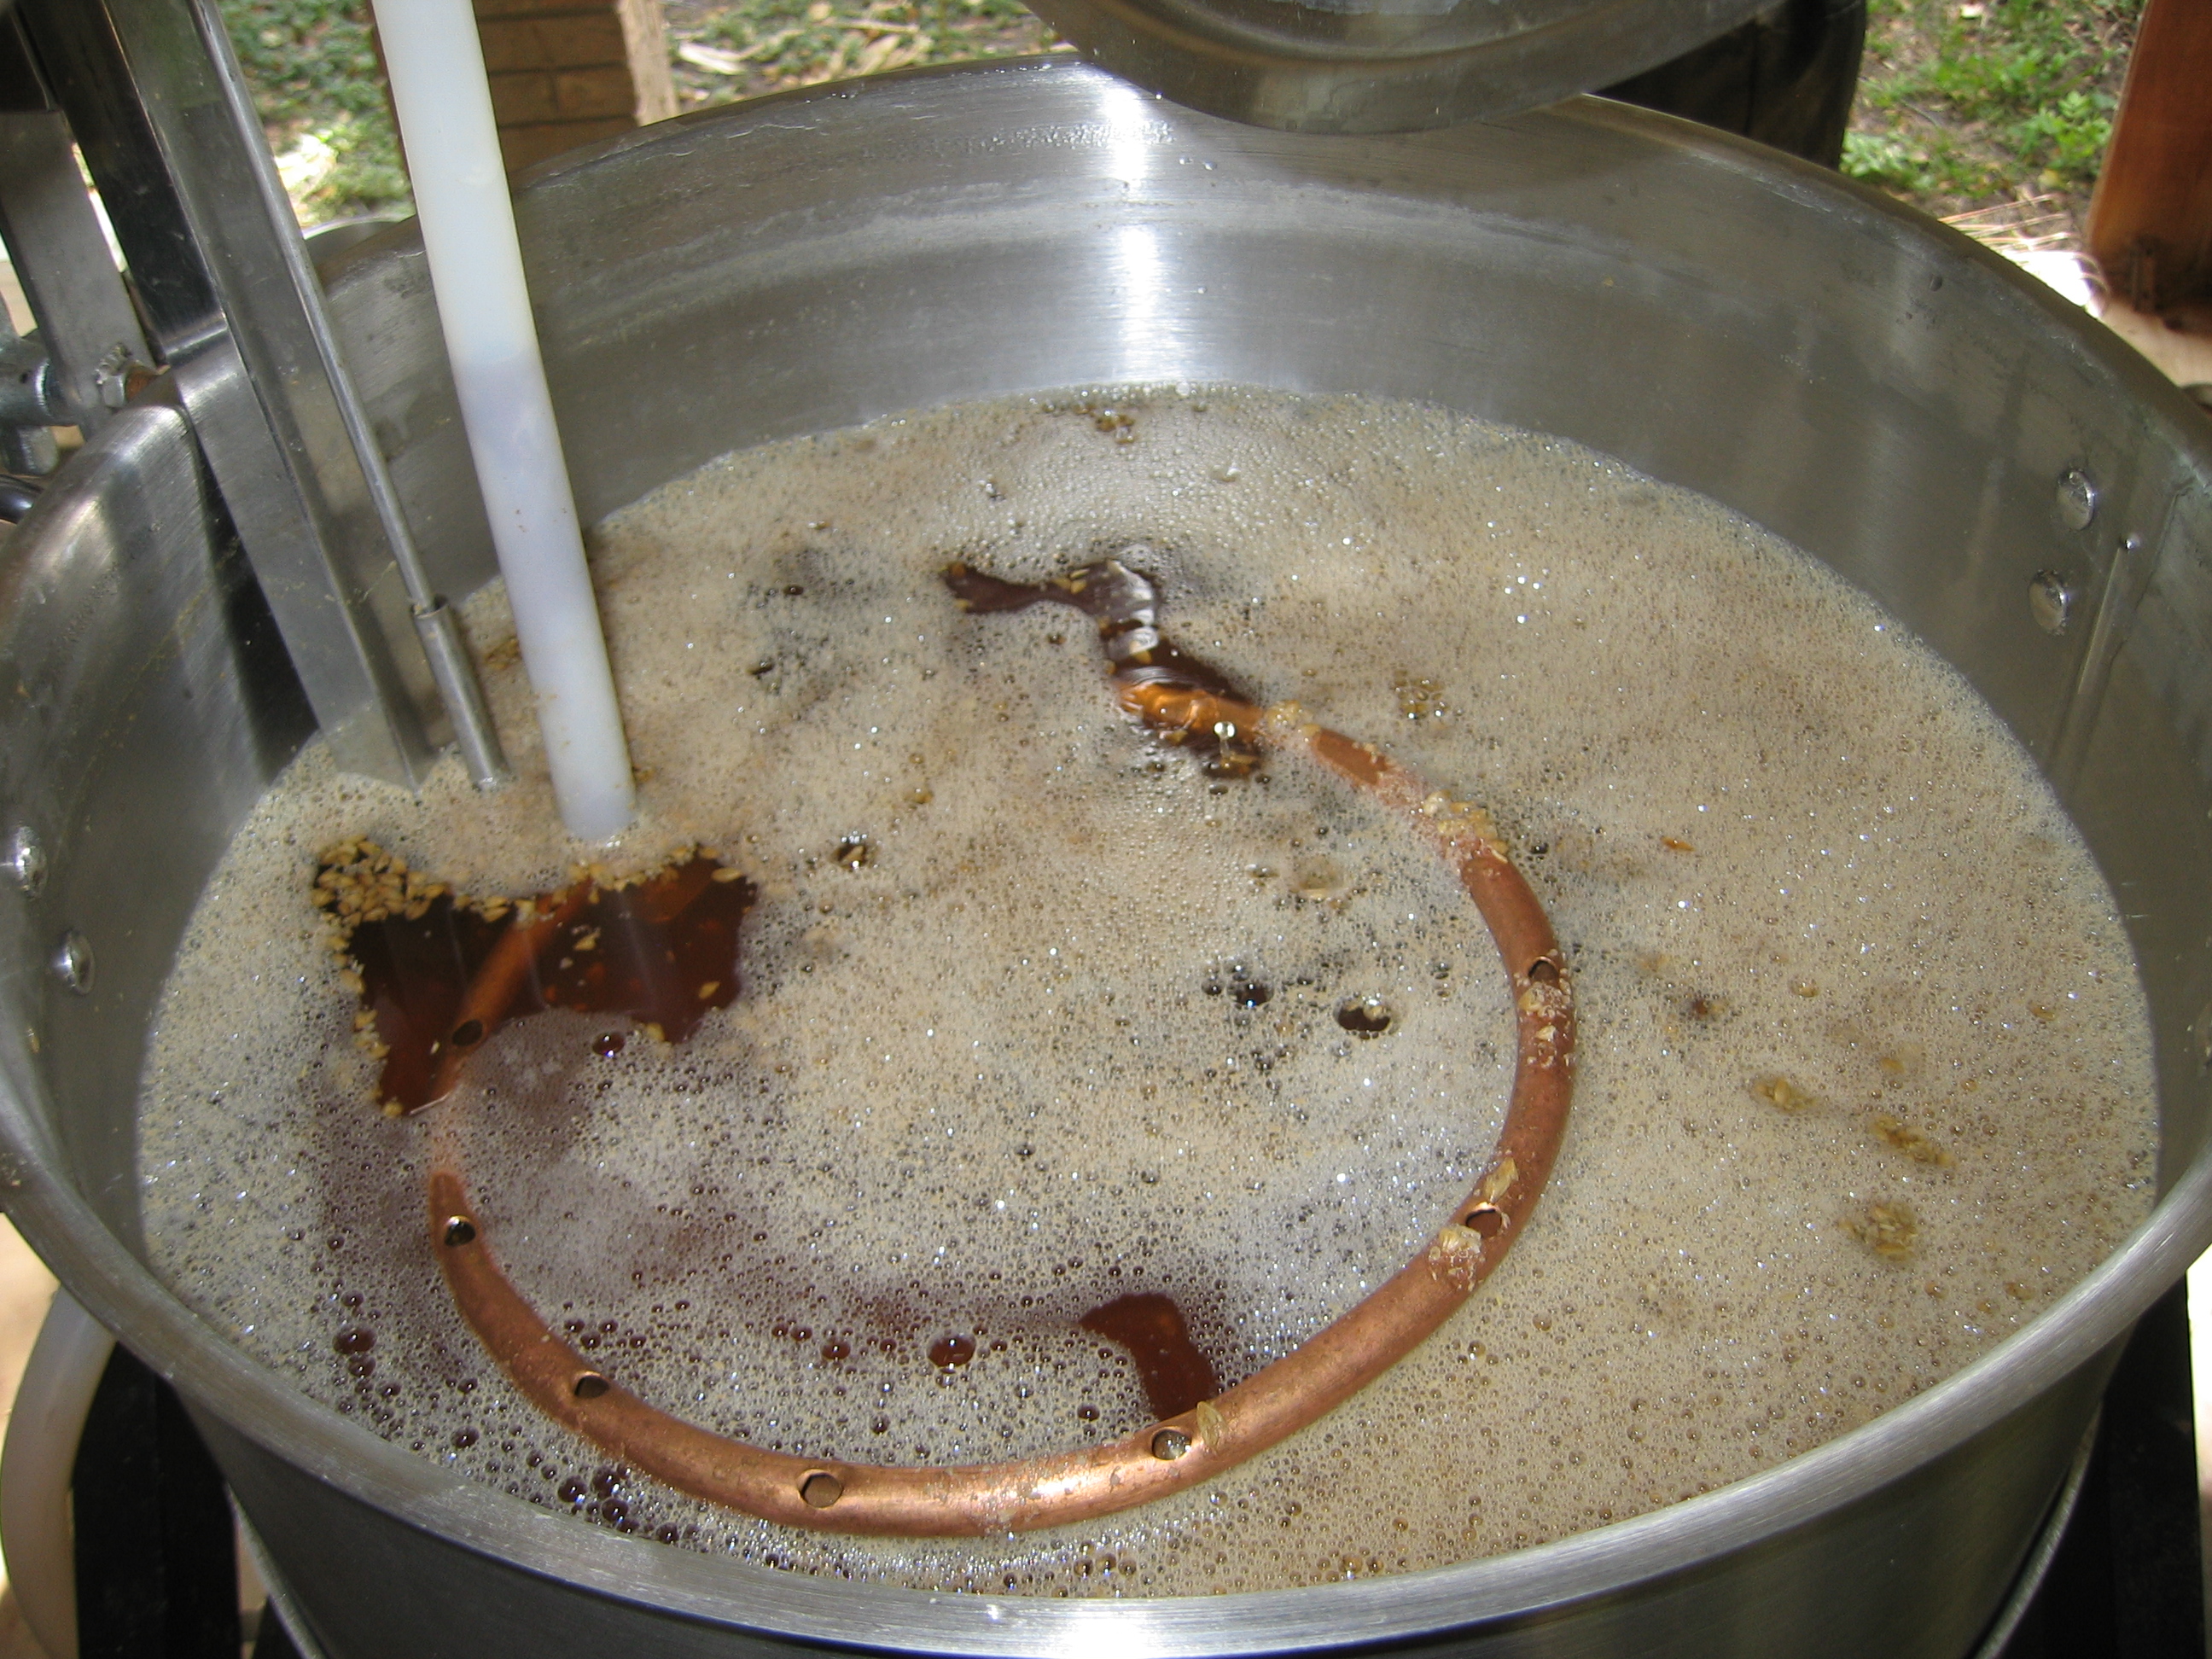
Many all-grain homebrew recipes specify a 60-minute single infusion mash. However, depending on the beer you are making and the malts you are using, you may not need to mash that long. In a single infusion mash, your goal is dissolve the starch granules from the malted barley, and allow the amylase enzymes to degrade the starch into simple sugars. The amount of time this takes depends on your mash temperature and the diastatic power of your malt.
Diastatic Power and Dextrinizing Units
Diastatic power (DP) is a measure of the enzymatic capabilities of both alpha amylase and beta amylase of the malt. Another measure, dextrinizing units (DU), measures the activity of alpha amylase alone. Diastatic power is usually expressed in degrees Lintner (°L) — not to be confused with degrees Lovibond, a measure of color, which is also written in shorthand as °L. Diastatic power is a function of the protein content of the malt, as enzymes are proteins, and also the relative amounts of alpha and beta amylase. It depends on both the variety of barley malted and how the malt was kilned. Longer kilning times and hotter temperatures result in a greater destruction of enzymes. So, in general, pale base malts have more diastatic power than more darkly-kilned base malts. Most specialty malts — and all roasted malts and grains — have no diastatic power. Likewise, unmalted grains — including flakes, torrefied grains, and raw cereal grains — have no diastatic power.
The malts with the highest diastatic power are North American 6-row pale malts, often measured at around 160–180 °L. Next in line is North American 2-row pale malts, which are frequently in the 120–140 °L range. European Pilsner malts and pale malts usually show around 90–110 °L. The lower diastatic power of European pale malts is mostly due to lower levels of beta amylase — their levels of alpha amylase are similar to North American malts. The high diastatic power of North American malts allows them to be used in brewing beers with high levels of corn or rice as an adjunct.

More darkly kilned malts have lower diastatic power. This Munich malt, for example, has a lower DP than Pilsner malt. Most specialty malts have little or no diastatic power. All their enzymes were deactivated in the kiln.
English pale malts may have a diastatic power as high as 80 °L, but the darker pale ale malts may only have 40 °L. This is largely a consequence of the varieties of barley chosen for malting and higher temperatures in the kiln.
Vienna malts vary quite a bit, but are often in the 50–80 °L range, with Munich and dark Munich malts being less than this. Some dark Munich malts can get as low as 20 °L. The numbers vary and should be reported on a malt analysis sheet. (Many maltsters give an average analysis of their malts on their website, and average diastatic power, or the usual range, is given.)
As a homebrewer, the important thing to know is that the standard 60-minute mash gives sufficient time for almost any base malt to completely convert an all-malt mash. If you add starchy adjuncts, the mash time may need to be extended for the malts with the lowest amount of diastatic power However, your mash may convert more quickly if you are using a high diastatic power (or “hot”) malt. A mash of just American 2-row can, in some cases, convert completely in as little as 5 minutes.
The Iodine Test
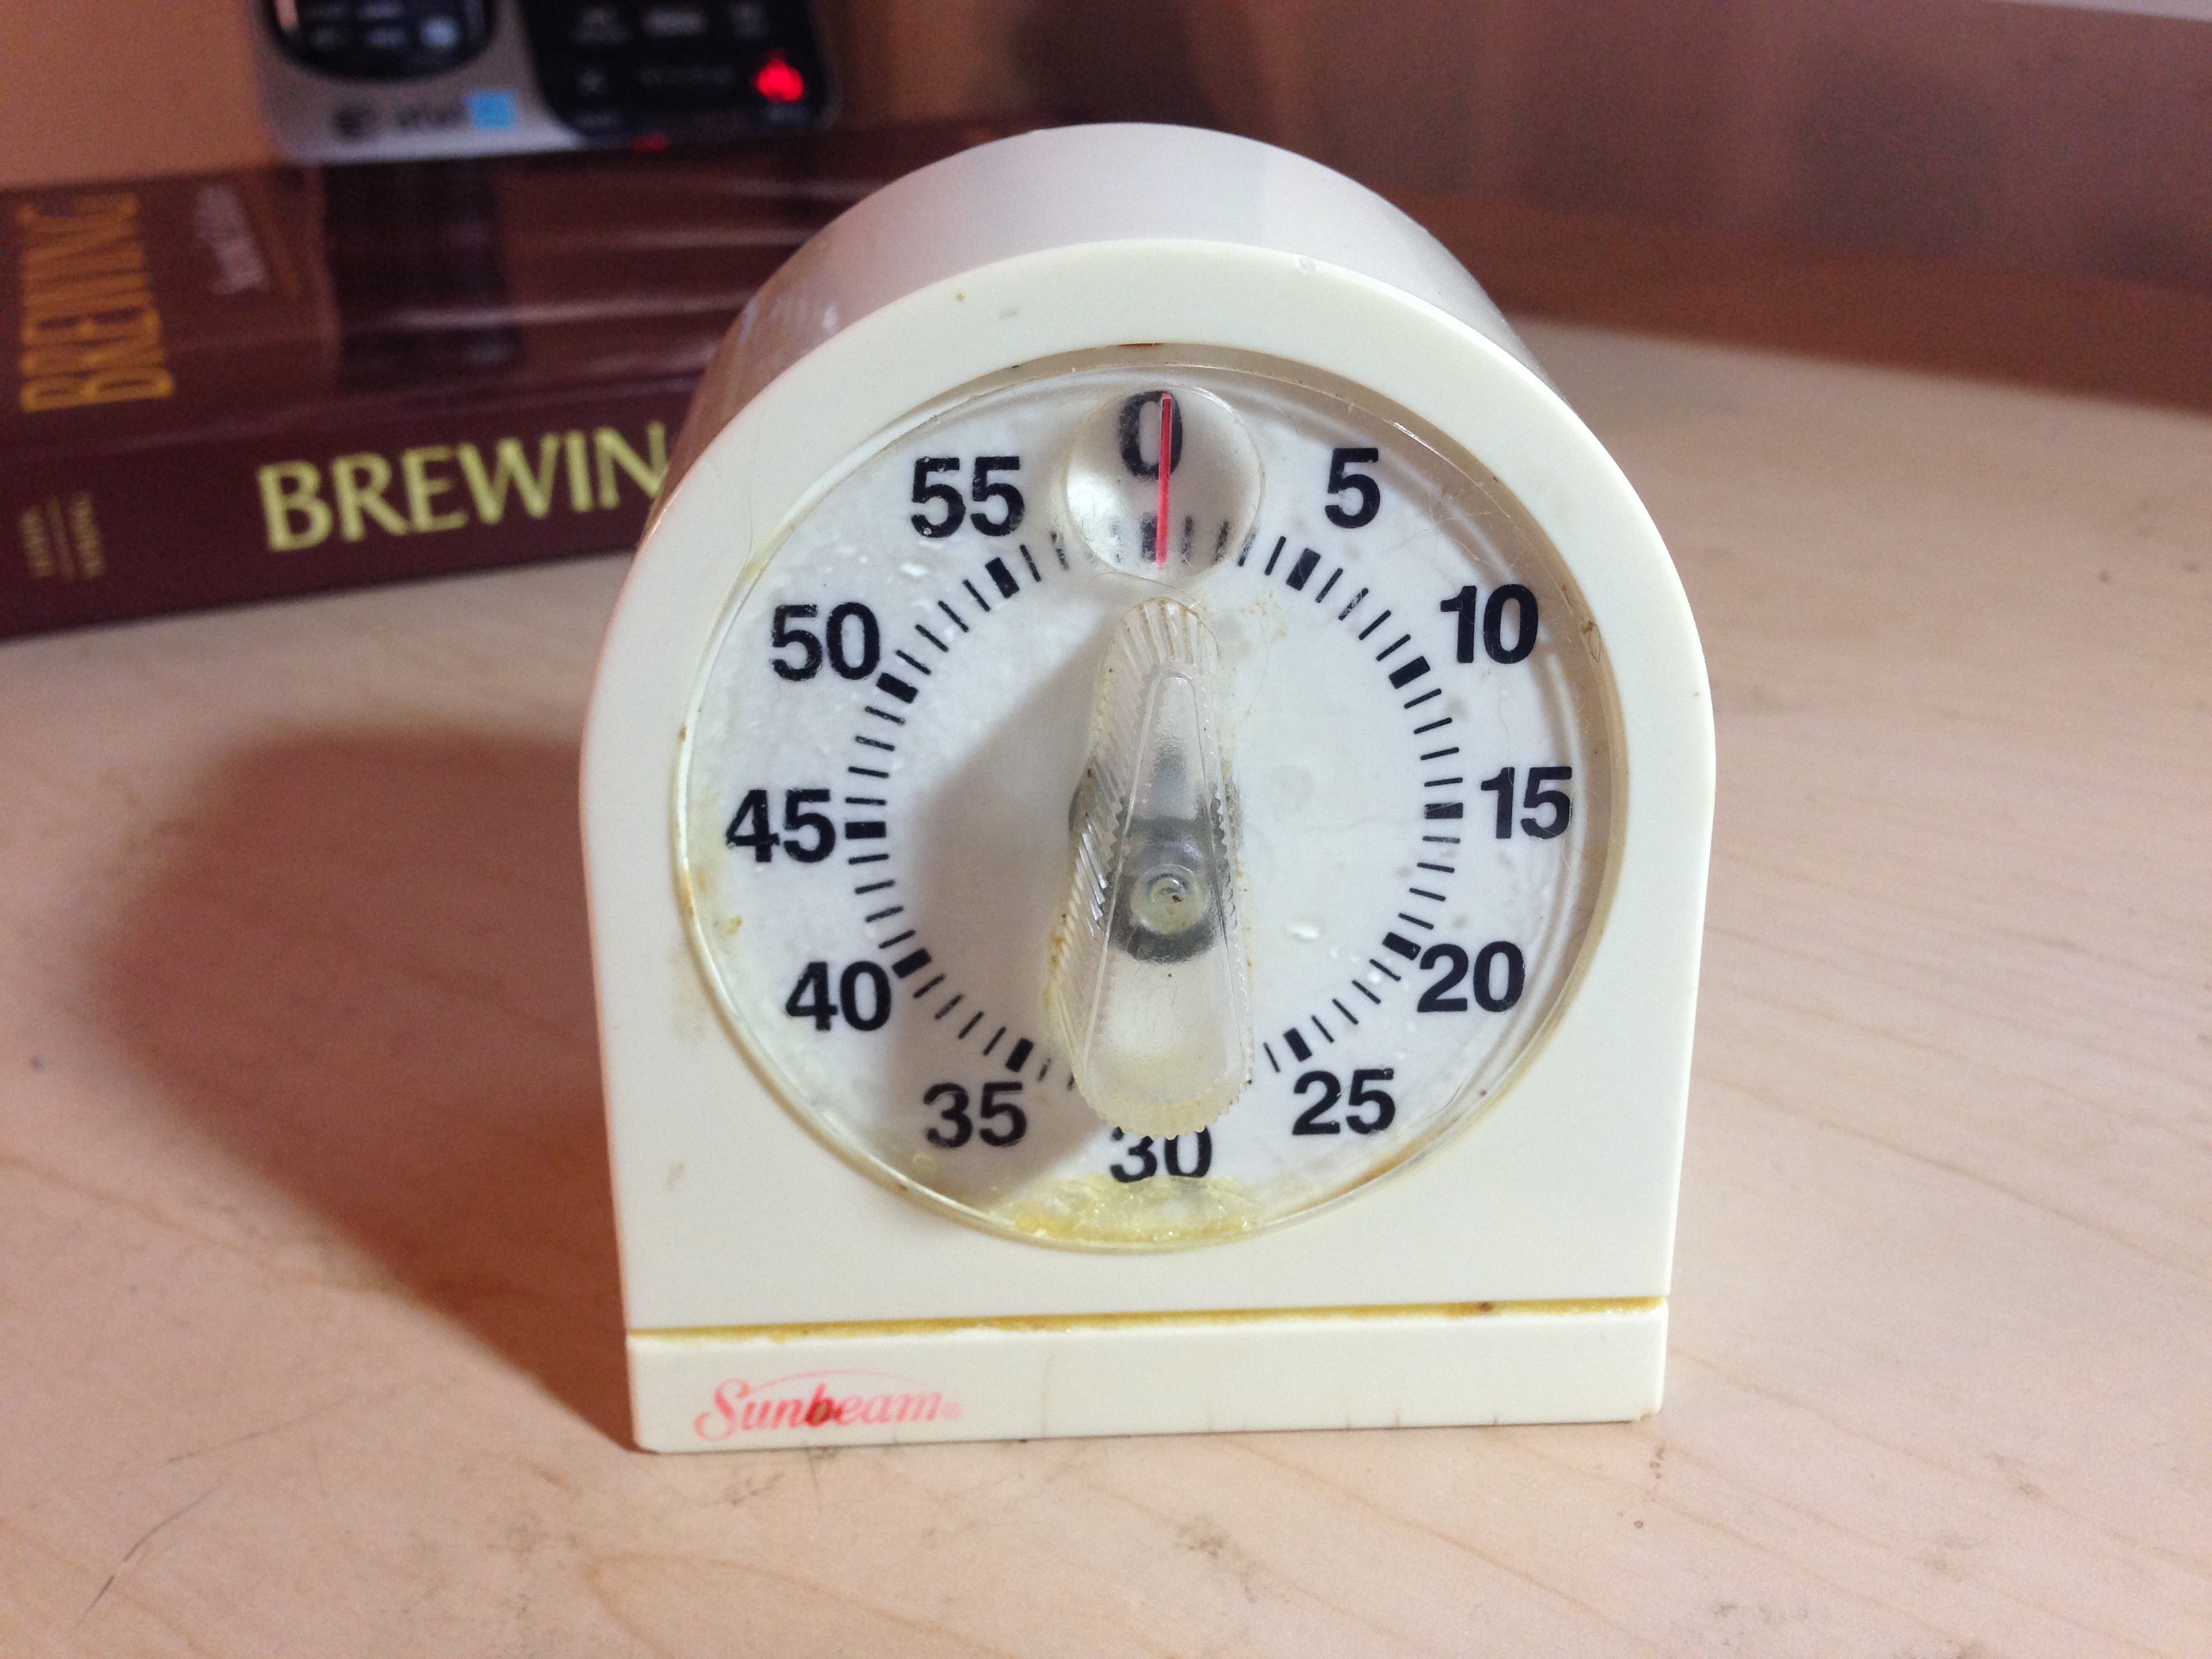
So how do you know if your mash is done? One indication is the iodine test. If the brewer takes a small sample of wort, cools it and adds a drop of iodine, the color of the mix is an indication of how much of the starch is degraded. A black or purple color indicates starch is present. In the absence of a color change, the level of starch is below detection.
A negative iodine test does not mean that absolutely every bit of starch has been degraded. However, a beer made from wort that showed a negative iodine test should not have any problems with starch haze or biological instability from excess starch. If you are brewing a moderate-bodied or full-bodied beer, you can proceed to mash out and recirculation once the iodine test is negative. When brewing a full-bodied beer, single infusion mash temperatures should be in the middle to high end of the saccharification range (perhaps 154–162 °F/68–72 °C), and the mash can convert fairly quickly. In fact, given that beta amylase is inactivated fairly quickly in this temperature range, extending the mash time beyond the negative iodine test is unlikely to have much of an effect. It’s not uncommon for a high-temperature mash to be finished in 20–30 minutes, even with European or English malts.
If you are brewing a dry beer, you may want to extend your mash beyond the time the iodine test gives a negative result. When brewing a dry beer, mash temperatures should be in the low end of the saccharification range (perhaps 148–150 °F/64–66 °C), and conversion may take slightly longer (although only rarely approaching a full hour). In addition, giving the enzymes extra time to work on larger carbohydrates in the wort — even after a negative iodine test — will help you achieve your goal. Experiments with longer mashes in this temperature range show that the extract efficiency does not improve much with time, but wort fermentability does increase.
And of course, for a very dry beer, you’ll probably want to choose a step mash with a rest in the low 140s °F (~61 °C) before ramping up to the normal saccharification range. This may take longer than 60 minutes. Choosing malts with a higher diastatic power is also advisable when brewing a very dry beer.
The Take Home Message
The amount of time you need to allot for the mash depends on the temperature of the mash, the diastatic power of the malt and the desired level of fermentability of your wort. Adding starchy adjuncts to your mash will also increase the required mashing time. An iodine test will tell you if the starch in your mash is degraded below the level it will cause haze or instability. Extending the mash time beyond the point that a negative iodine test is seen is not likely to have much of an effect in a high temperature mash. In a low temperature mash, extending the mash time will result in a more fermentable wort.
Mashing for a full 60 minutes doesn’t hurt anything, but you might not be accomplishing anything — especially in a high-temperature mash — after 20 minutes has elapsed.
With a standard 60-minute homebrew mash time, a iodine test is not needed. Almost any mash should convert in this time. However, if you are looking to shave time from your brew day, an iodine test can let you know when the bulk of the starch conversion is done. You can then decide how to proceed based on your goals for the fermentability of the wort.
If you enjoy Beer & Wine Journal, please consider supporting us by purchasing my book — “Home Brew Recipe Bible,” by Chris Colby (2016, Page Street Publishing). It is available from Amazon and Barnes & Noble. You can also find the nearest independent bookstore that sells it on Indiebound.
—
Related articles

The one thing I have heard is that even though conversion is complete in 20 minutes, you could be getting some flavor extraction with longer mashes. It would be interesting to use James’ six-pack technique to do a side-by-side comparison. I’ll have to try that.
That’s interesting. I’ve never heard that. Flavor comes from compounds from the husk of the malted grains. So does color. I wonder if one (color extraction) and the other (flavor extraction) are related.
Another way to tell when your mash is converted is by taking gravity readings. The gravity will continue to climb until conversion is completed.
You can also reference the chart below on Kai Troester’s website. It gives you the theoretical gravity of a fully converted mash based on your mash thickness. If your gravity reading matches the chart, you’re good.
http://braukaiser.com/wiki/index.php?title=File:First_wort_gravity.gif
That’s a cool chart. However, your specific gravity tells the amount of “stuff” dissolved in your wort, but not anything about the composition of that stuff. Dissolved starch or sugar will increase the specific gravity of a liquid. You could hypothetically extract a whole bunch of starch and get a high gravity reading, and not have much of it be converted into sugars.
What makes this work is that amylose is insoluble in water. So you will continue to see the gravity climb as amylose gets converted to soluble sugars in the mash. But yes, you could still see some enzymatic activity converting dextrins down to more fermentable sugars after you max out the gravity. But at that point the iodine test would be negative as well.
The intensity of the mash can hasten its conclusion as well. A single infusion, stirred once mash will take longer than a multi infusion stirred mash. Significantly longer. Few pro brewers are waiting 60 minutes since it’s not necessary, but they also agitate the mash and have greater consistence in process than homebrewers.
I’ve been doing a super long overnight mash for convenience rather than to achieve any particular objective. I just leave the mash pan(a large steel jam pan) plus lid in my electric fan oven, set at about 65C. I check the temperature in the oven is about right before going to bed. Next morning I measure the temperature inside the mash pan. It was around 63C the last two brews. It’s so convenient not to have to stand stirring the mash as I used to when using a mash bin fitted with an electric element. I do need a long mash to bring the temperature up by this gentle indirect heating method…it can take hours for the mash to equilibrate with the oven temperature. I do start with hot water but the grain cools it down a lot. I could try putting the grain and water in the oven before mixing them I suppose but that’s a lot more hassle. I might try that next time but generally I like to keep things simple! That’s why I let it stand in the oven overnight. I do get a very high yield of fermentables and a starting gravity of about 1.044-6 from only 2.6Kg of malted grain. Final gravity is 1.006-1.008 giving around 5% beer. I guess the beer will be dryer and thinner than it would be from a 1-2 hour standard mash but it tastes fine to me. I prefer the beer about 4% so can reduce the pale malt further.
I makes sense that you get high yields and high fermentability from such a long mash, especially since it starts cools and ramps up to you main mash temperature. If you like dry beers, then you method not only works with your brewing schedule, but gives you the kind of beer you like.
I used 3.1Kg of fermentable malt grain, not 2.6Kg…sorry for error.
Chris