You can start tomatoes from seeds, but many gardeners buy seedlings (or transplants) in the spring. Choosing the best transplants will result in tomatoes that rebound quickly from being transplanted, grow vigorously, and yield the best crop. Fortunately, choosing the right transplants is straightforward. Except for one thing, all of the criteria for choosing the best transplants are fairly obvious.
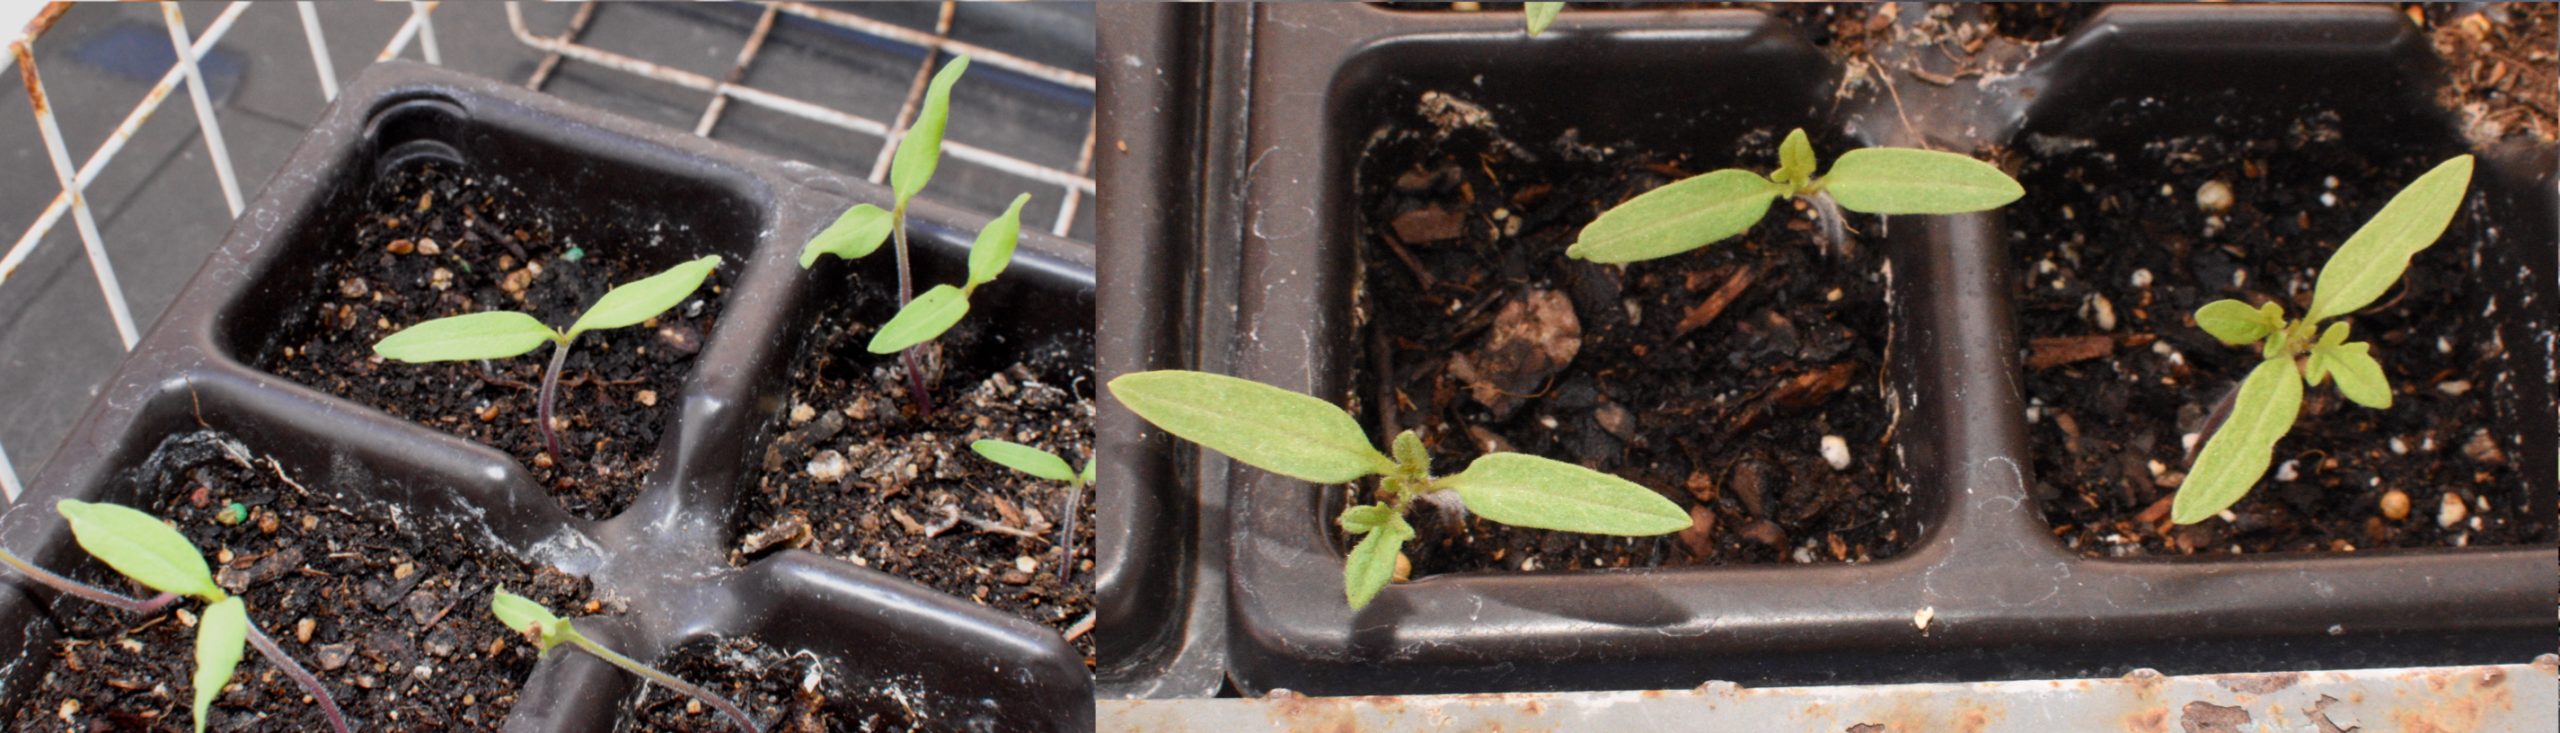
When looking through tomato transplants at a nursery, your first goal should be to identify the healthiest plants. Yellow leaves, which can often be found among the lowest leaves on the plant, indicate a lack of nitrogen. A purple cast, especially around the edges of leaves, is likely to be a phosphorus deficiency. This is less common than a nitrogen deficiency. Tomato seedlings should be a moderate to dark green — but not blue green, as that is evidence of too much nitrogen. And, obviously, they should not be wilted. Wilting could be due to a lack of water — in which case it is easily solved — but it could also be a sign of more serious problems. Young tomatoes — transplanted into well-drained, fertile soil — can quickly overcome early nutrient or water deficiencies, especially if they are minor. However, it’s best to start with the healthiest plant possible.
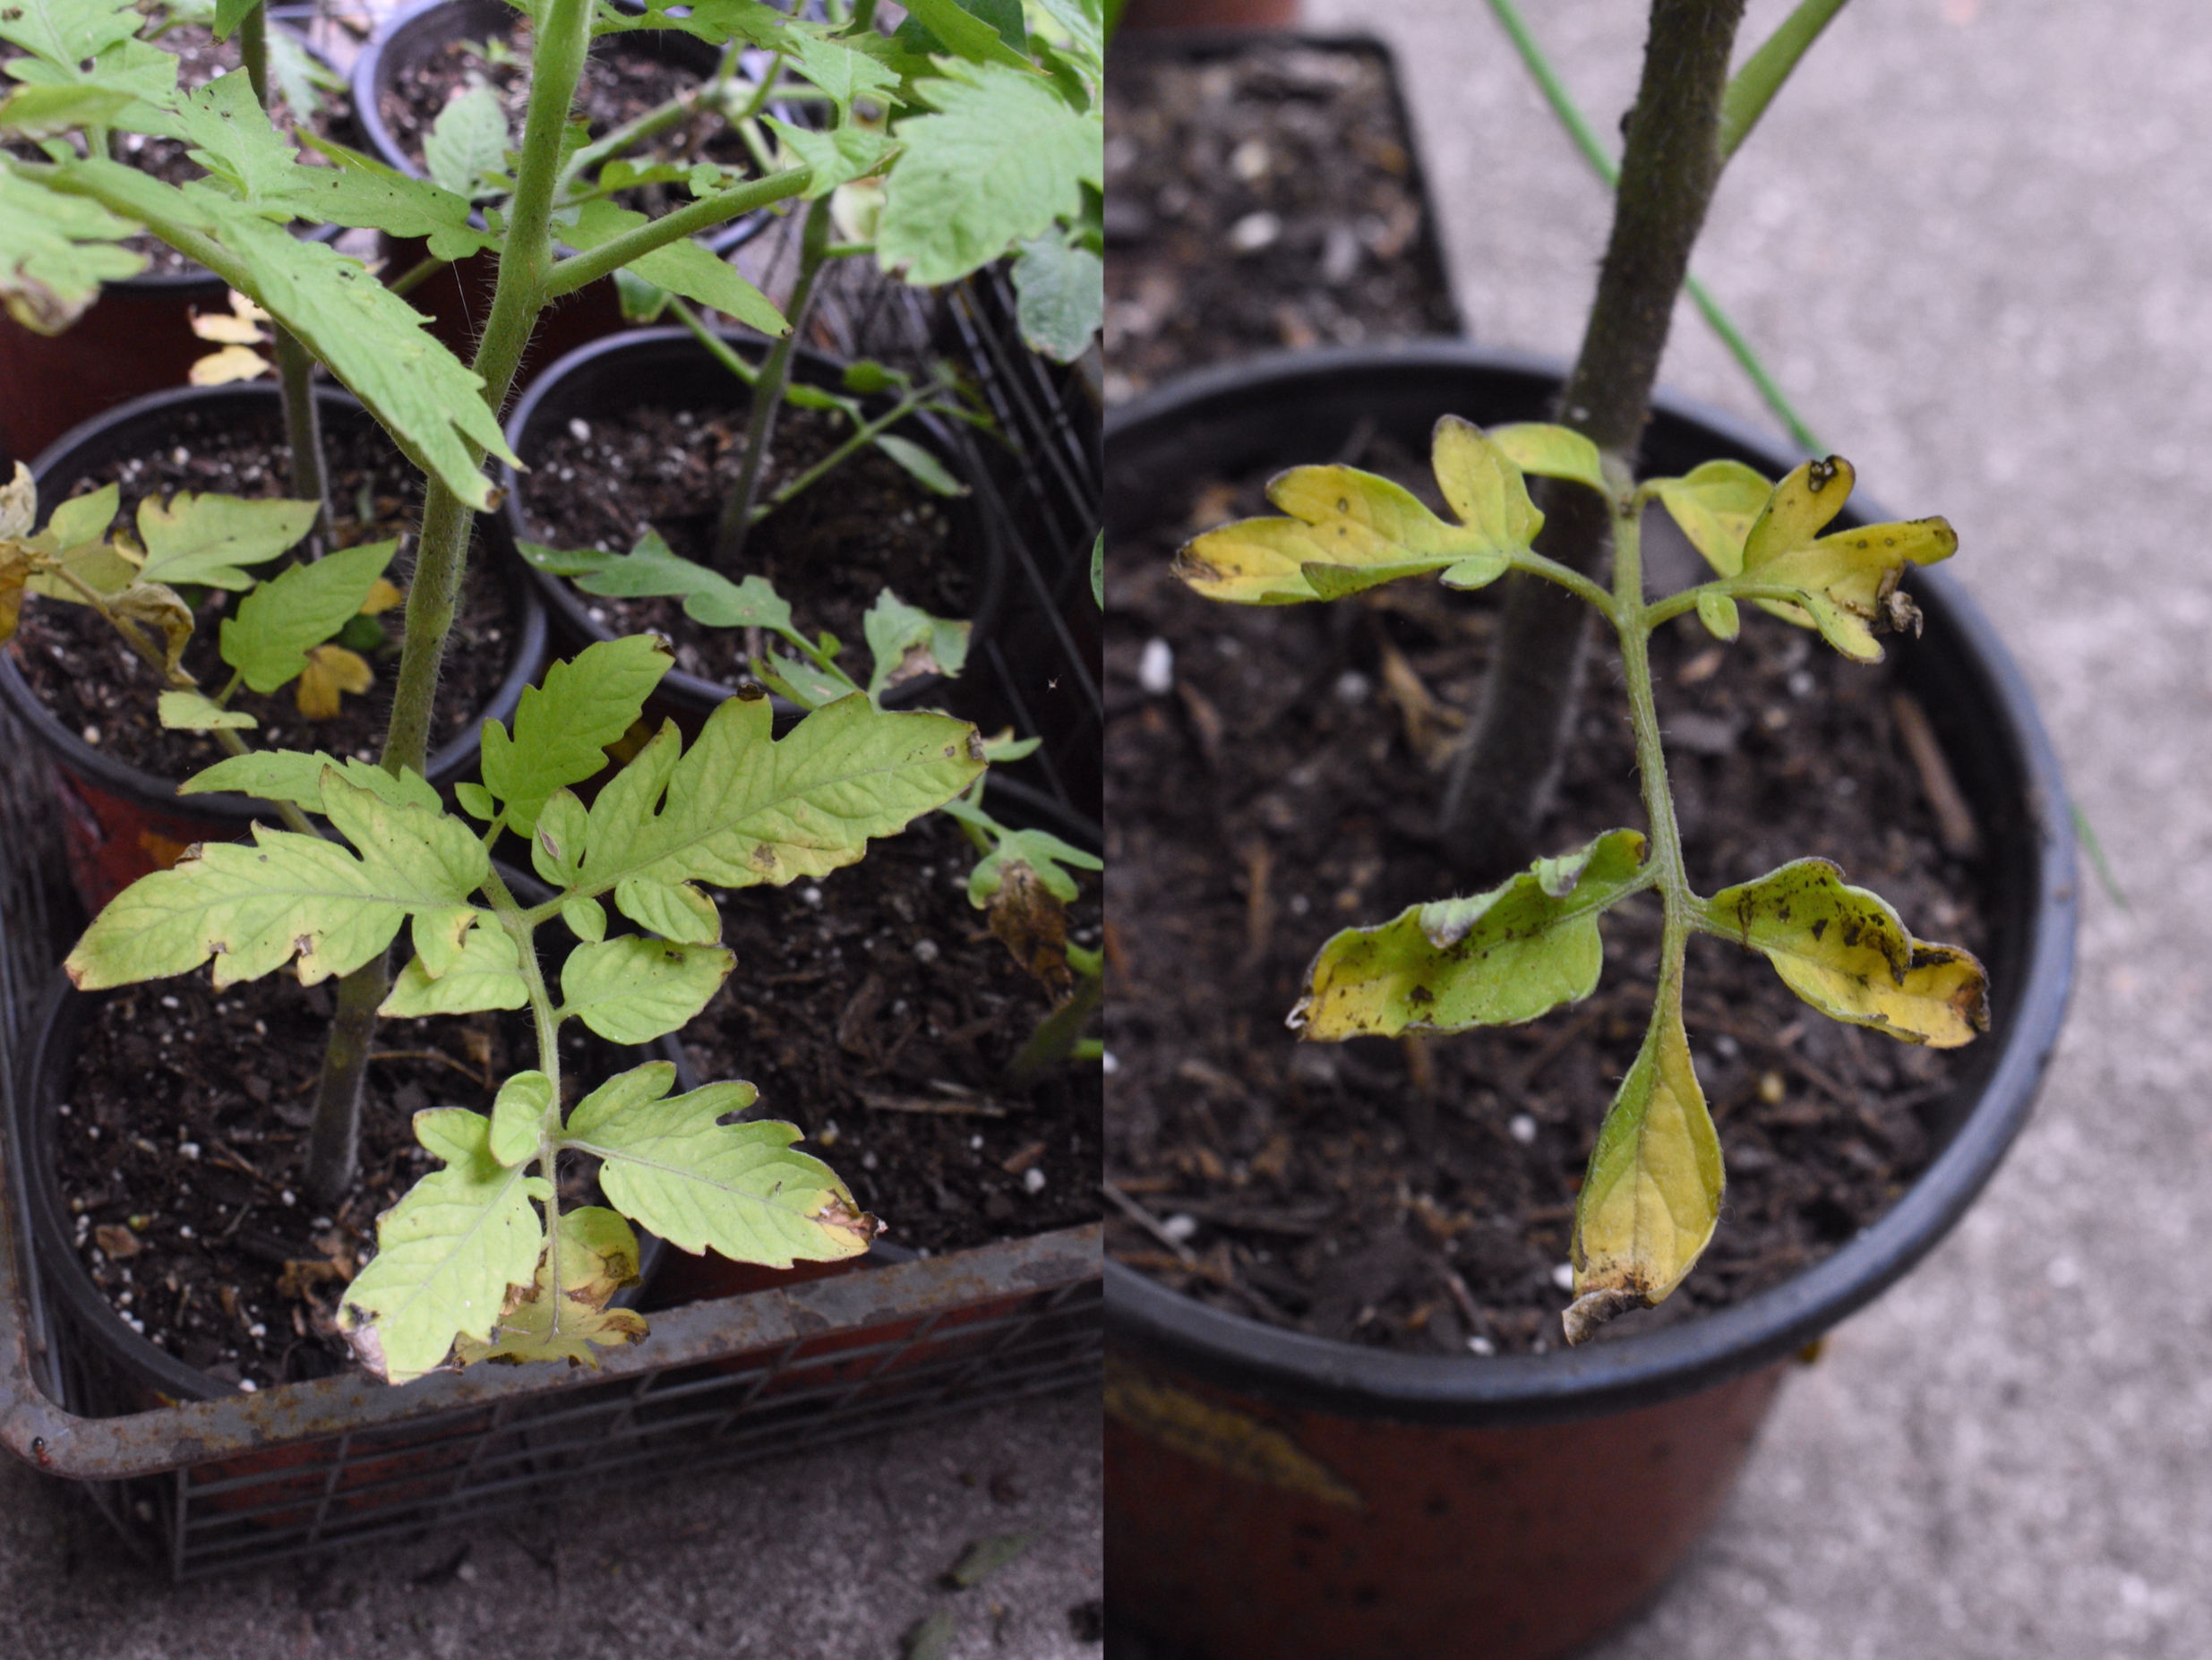
Yellow leaves, most often seen near the bottom of transplants, are a sign of a nutritional deficiency. Deformed leaves may be the result of disease. Transplants can quickly overcome mild nutritional deficits.
When looking at transplants, also look for holes in the leaves, which may be indicative of an insect infestation. The leaf damage in and of itself is not particularly worrisome. However, some insects — such as white flies — carry diseases that can manifest themselves when the plant is larger. Also look for leaves that are curled, blotchy, or malformed, as this may be the fist signs of disease. Avoid these plants.
The final thing to look for in a tomato transplant may seem counter-intuitive — look for the smaller transplants (among plants in same-sized containers). Tomatoes are often sold in tiny 4-well flats, 4″ planters, or in small cups that hold a little more soil. Much of the time, nursery transplants have overgrown their planter by the time they are on display. They can look healthy, but they are rootbound. Nurseries offer these transplants because people want to buy large plants. They think they are getting ahead that way. If there is a table of tomato transplants at a nursery, you almost always see people crowded around the largest plants.
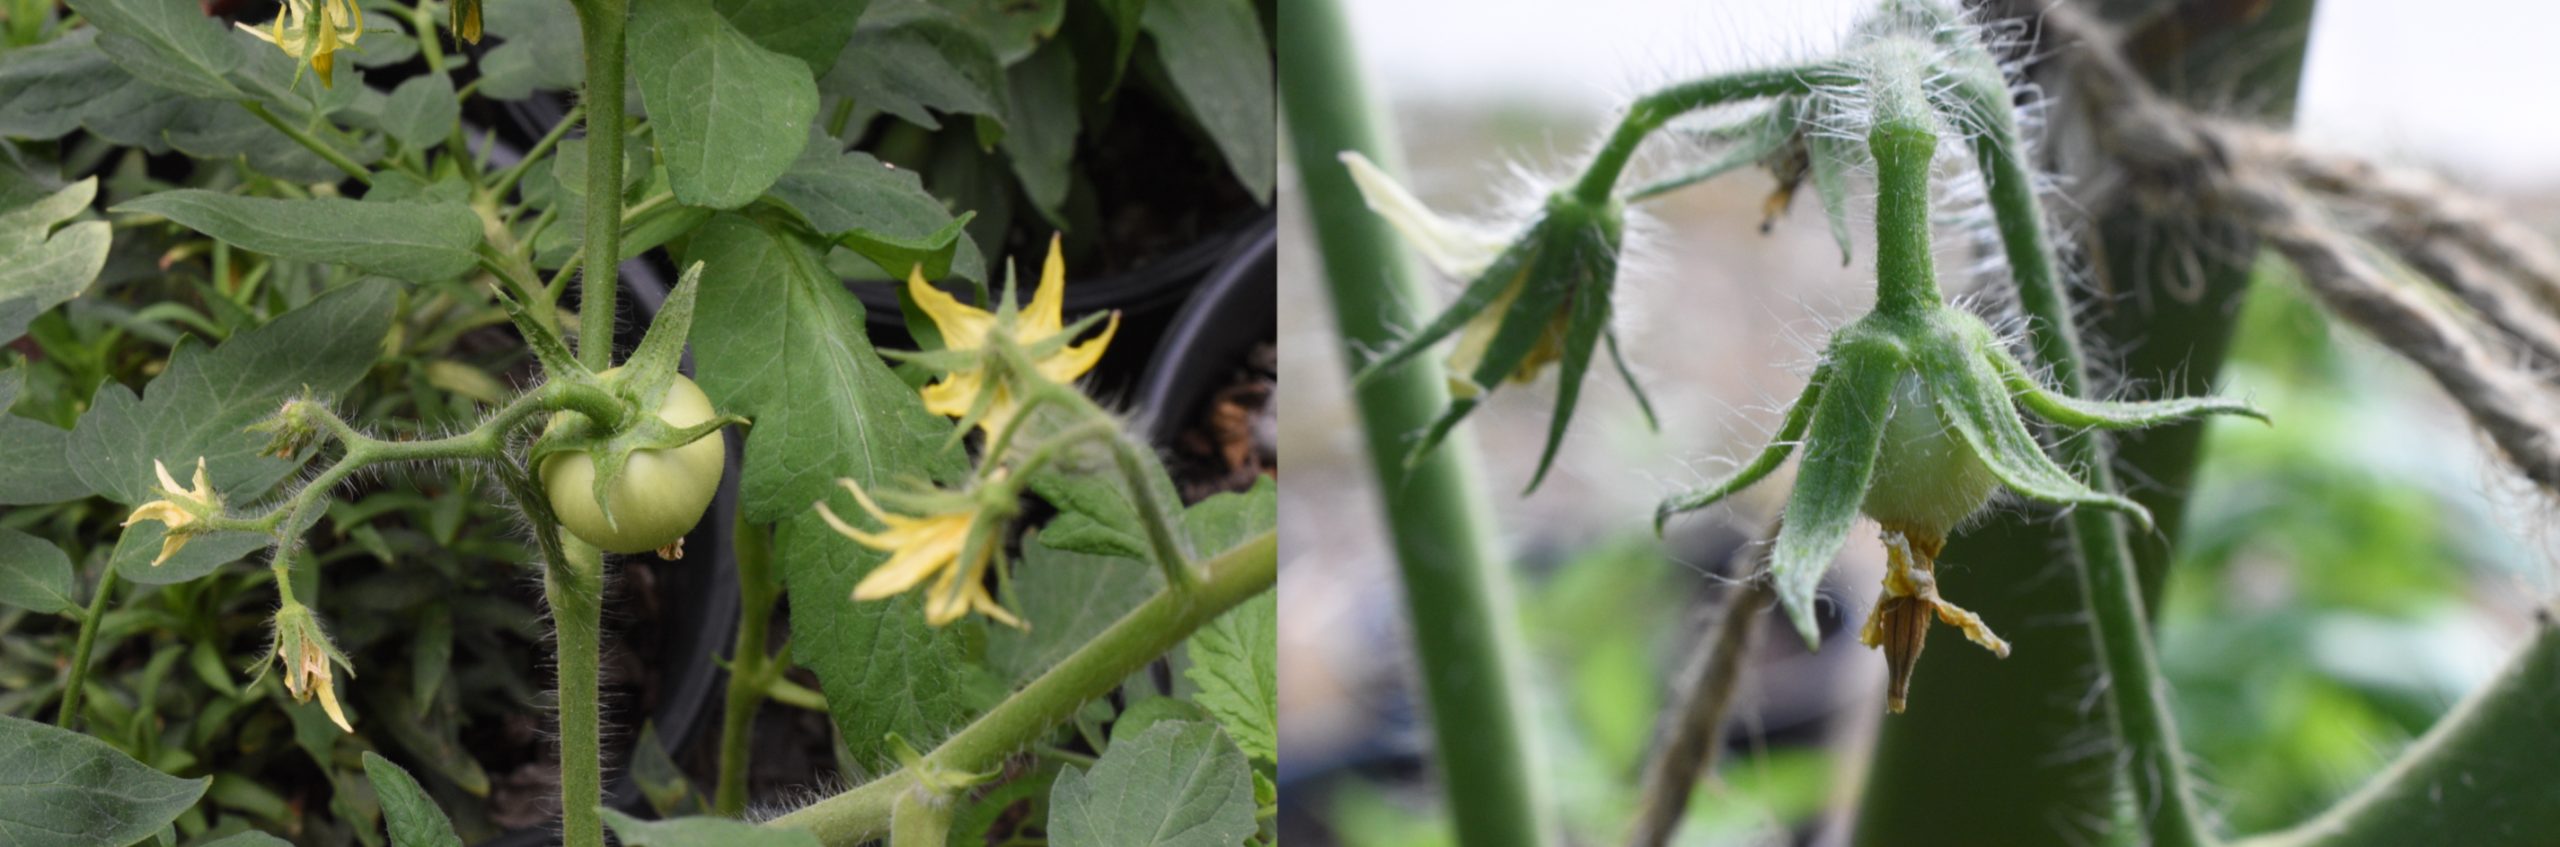
Sometimes, the plants for sale already have flowers. And people obviously like to buy them, apparently because they think they will have tomatoes soon. However, early flowering is not desirable as it is indicative of the plant having switched from rapid growth to an attempt at reproduction. You may get tomatoes fairly quickly, but they will likely be small and the rest of your crop with not be very abundant.
When you take overgrown transplants out of their container, the roots will be a tangled mess, pressed against the sides of the container. The above ground foliage can look healthy. However, once planted it will take time for a rootbound to acclimate. They will be slow to start vigorous growth. Rootbound tomatoes will rebound with time, but you are better off starting with smaller transplants. These will quickly start growing vigorously and — if you plant at the right time — be the right size when it it is time to flower and set fruit.
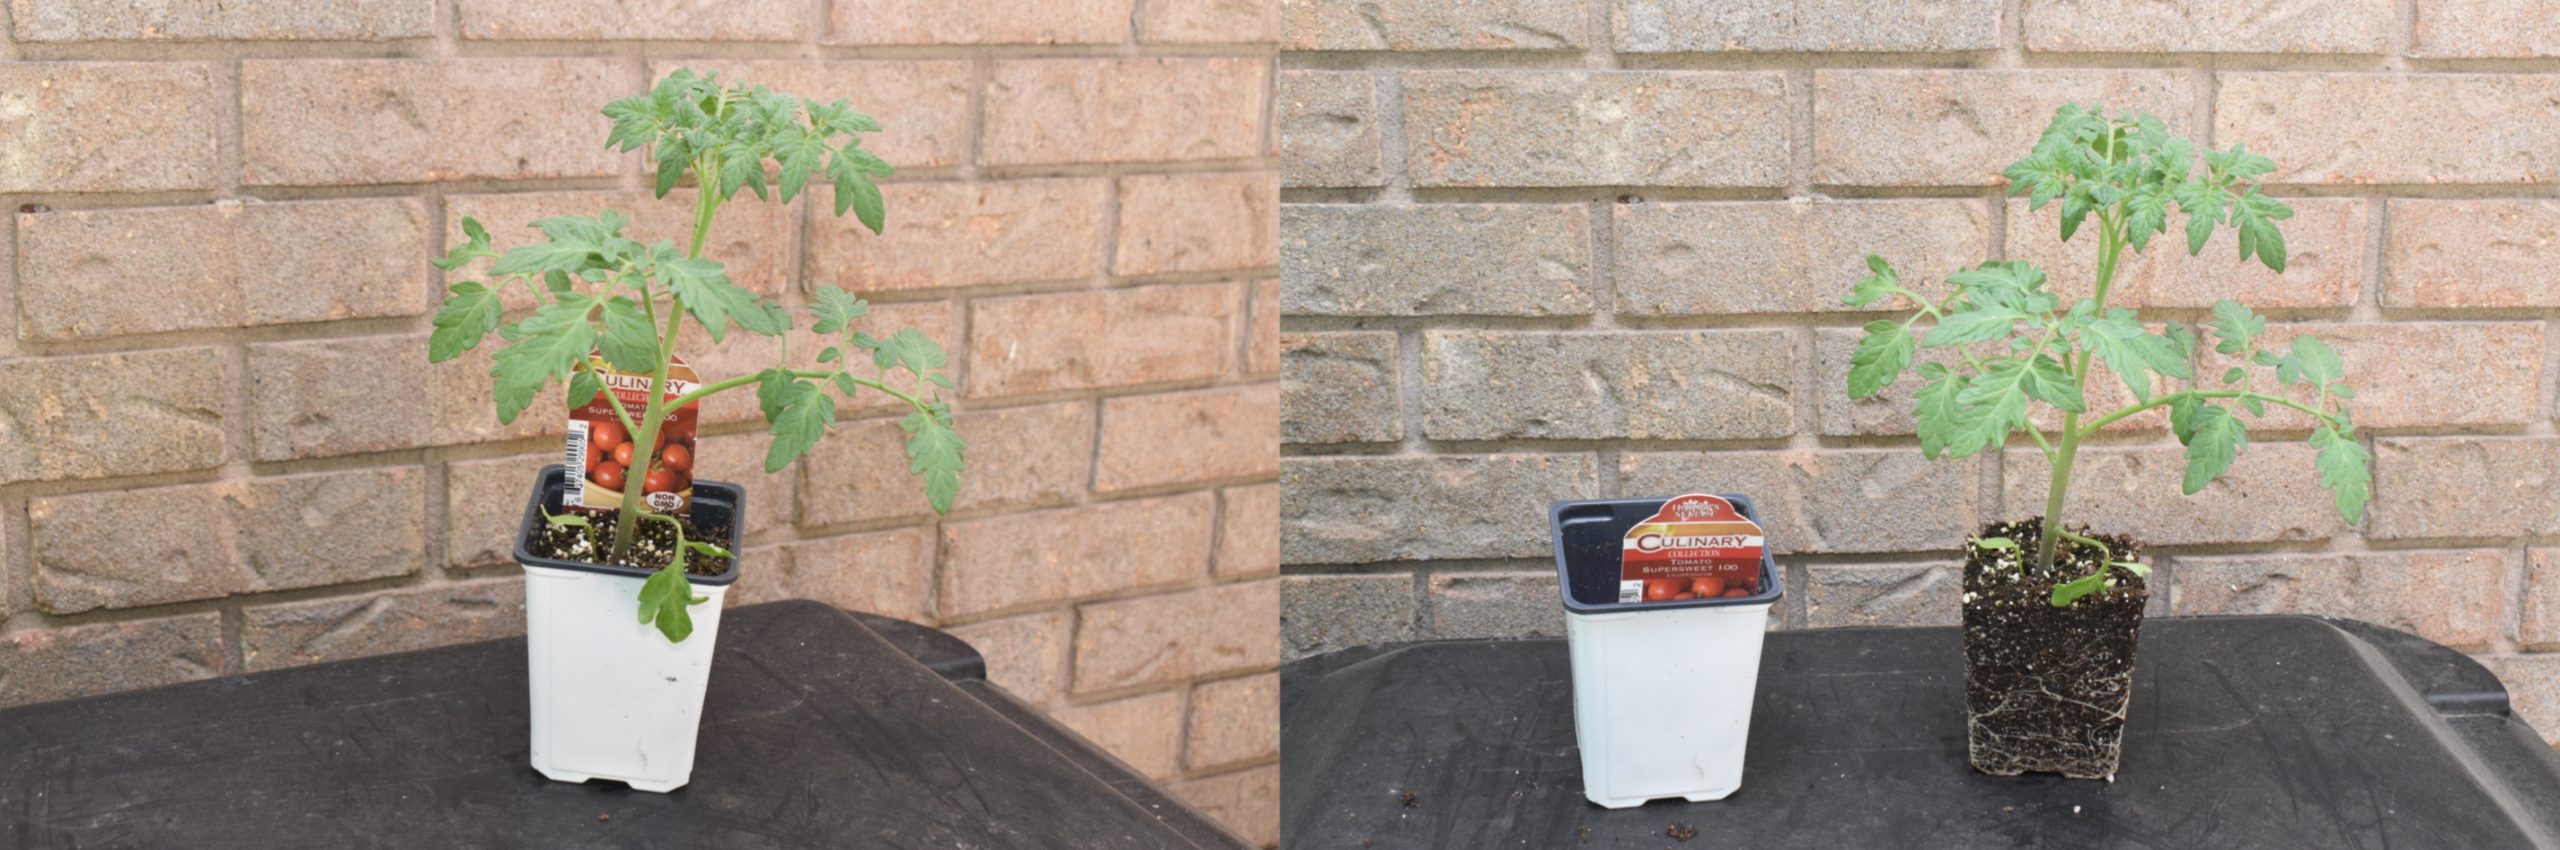
This plant is roughly twice as tall as its container. Its roots have grown to the sides of the planter, but are not excessively tangled or knotted. It should quickly rebound and resume vigorous growth when planted.
A reasonable rule of thumb is that the transplant should be less than three times as tall as the container it is growing in. Optimally, I think that when a plant is twice the height of its container, it is fairly large, but small enough that it will acclimate quickly when planted. Because it is not rootbound, it was likely growing quickly inside its container. And it will continue this vigorous growth‚ after a very brief period of acclimation — when put in the ground.
That’s really all there is to choosing transplants. Pick a healthy, green plant — one that is small enough that it is still growing rapidly in its container — and you are off to a great start.


Recent Comments