 Last week, I described the basic idea behind the forced fermentation test. Basically, you overpitch a small sample of wort, and ferment it at high temperature. The sample will reach it’s final gravity (FG) before your main batch of beer. Knowing the FG of the sample will tell you what the FG of the your beer will be. This can be good to know when you are deciding whether to bottle. Here’s how to perform the test.
After your wort has been made and aerated, take a sample of sufficient volume to float your hydrometer, plus about 10%. For most hydrometers, around 8.5 fl. oz. (250 mL) should be plenty. The sample vessel should, of course, be cleaned and sanitized. And, in sampling the wort, you don’t want to contaminate your main batch.
Alternately, you can put unaerated wort in the sample vessel, and aerate it (by shaking or injection). However, sample wort should be aerated at least as well as your main wort.
Pitch A Gross Excess of Yeast
Pitch the sample with the same strain of yeast your main batch will be fermented with. However, pitch at a very high rate. You don’t need to calculate the rate exactly, just eyeball it so you’re pitching much more proportionally than you are to your main batch. If you’re making a yeast starter for your main batch, make it about 10% larger to also raise the yeast for the forced fermentation test. This is really the most important part of the test, ensuring that the wort gets pitched with an excess of yeast.
Here’s one easy way to do this. When it comes time to pitch your main batch of beer, pour the starter beer off of the yeast sediment in your yeast starter. Swirl the starter and add 90–95% of the yeast slurry to your main batch of beer. Swirl or stir the fermenter to evenly distribute the yeast. Then, with a sanitized wine thief, take a sample of the pitched beer, and return it to the yeast starter vessel. The yeast starter vessel should still be sanitary, and will have the remaining yeast in it — this will ensure the sample to be fermented will be overpitched. It also saves you from having to clean and sanitize a separate vessel.
Ferment Warm
Place the sample somewhere warm. Ideally, you’d want to ferment in the temperature range where the yeast work the fastest. This is always higher than the recommended fermentation range. In most cases, even with lager yeast, performing the forced fermentation test at around 80 °F (27 °C) is great. The yeast are not close to a temperature that will start to inhibit or kill them, and they will quickly ferment their wort.
However, you can ferment at any temperature you want, as long as it is above the temperature of your main batch. (This assumes you plan to ferment the main batch within the recommended temperature range of the yeast strain.) Even a couple degrees warmer will let the forced fermentation test finish first. And that’s all you really need.
One way to raise the temperature into a useful range is to use a seed sprouting mat. These are used by gardeners to get their plants sprouted in the early spring. If used indoors, the temperature right above the mat is usually in the high 70s °F (24 °C or greater). A small, heated chamber would also work.
Agitation
If you have a stir plate or a shaker, this can help speed up the test. But, neither is required. If you want, you can pick up the sample jar and manually swirl it occasionally. The agitation will cause the yeast to work more quickly. Constant stirring — as with a stir bar — will also keep the CO2 levels knocked down. If you pick up the sample vessel and swirl it occasionally, expect some foaming as CO2 is released.
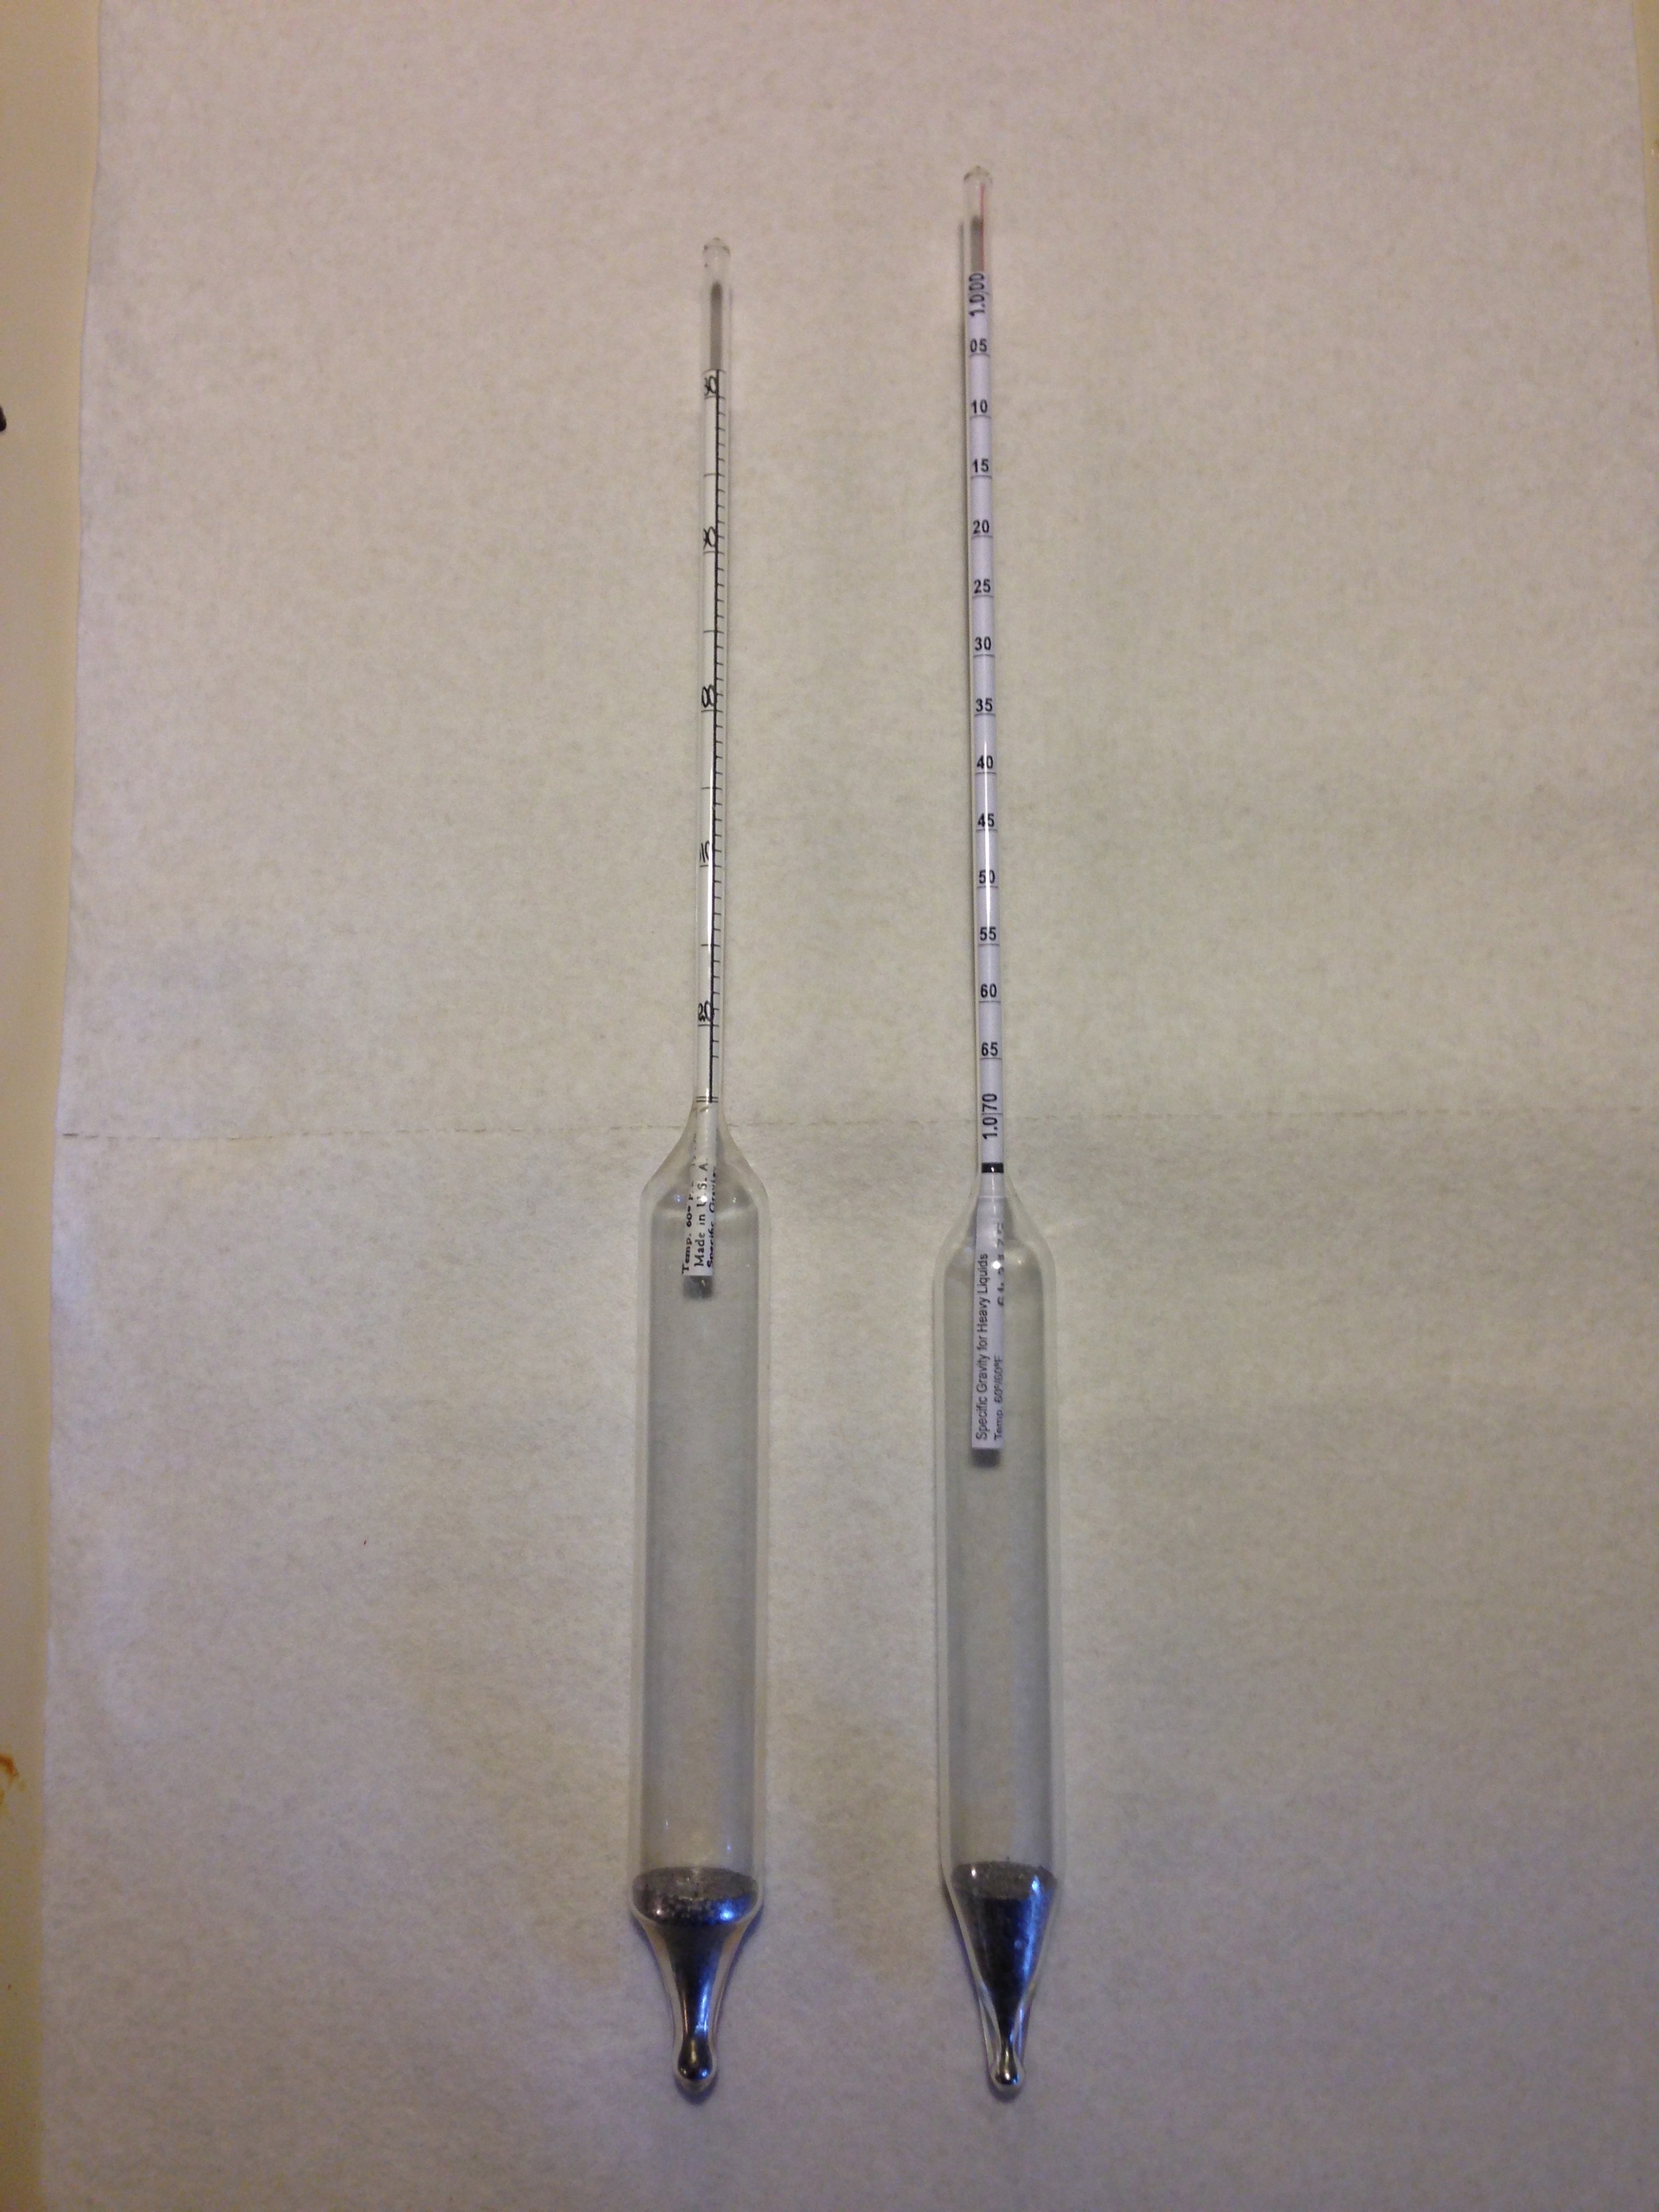
Hydrometer Reading
Once the sample has finished fermenting, let it settle for about day and take a hydrometer reading. That’s it. The final gravity (FG) of the sample should be the FG of your main batch of beer. Knowing this can let you know when a fermentation is stuck vs. done and potentially stop you from a bottling a batch that could start fermenting again in the bottles. Excess fermentation can lead to gushers or — in the worst case — exploding bottles.
—
Related Articles

Speak Your Mind