 In the the first two installments of this article, I described the basic idea behind “feeding” the fermentation of a very strong beer and how to formulate a recipe for this procedure. Here is how to actually brew the beer.
On Brew Day
Your brew day will not be much different than any other strong beer brew day. You will produce slightly less than your final batch volume of wort, at a slightly lower original gravity (OG), as you planned in your recipe.
Then, you pitch your yeast. One decision you need to make is how much yeast to pitch. There are two options. You could raise enough yeast to pitch to the volume and OG of wort you produce on brew day. Or, you could raise enough yeast to pitch to the full volume and “virtual OG” of the final batch. For example, to continue the example from the previous article, when brewing 5.0 gallons (19 L) of the 14% ABV ale, we could make enough yeast to pitch to the 4.5 gallons (17 L) of (roughly OG 1.120) wort that we generated on brew day. (The wort we expect to ferment out to 12% ABV). Or we could raise enough for the full 5.0 gallons (19 L) of wort at an expected 14% ABV. Either way will work, but the finished beer may show some differences.
If you are using a yeast strain that yields beers with a distinct aromatic character — like many Belgian yeast strains or fruity English strains — and you want that character in your beer, pitch at (or slightly below) the recommended rate for the smaller volume and lower gravity. If you want your beer to be comparatively “clean,” choose a neutral yeast strain and pitch at (or slightly above) the appropriate rate for the full volume and final “virtual OG.”
This is going to be a very stressful fermentation for the yeast. Feeding the fermentation will help somewhat, but there’s another way you can help the yeast. After thoroughly aerating your wort prior to pitching your yeast, wait about 8 hours and give the yeast a second shot of air (or better yet, oxygen). Make sure the second shot of aeration comes before high kräusen and don’t aerate once fermentation is in full swing.
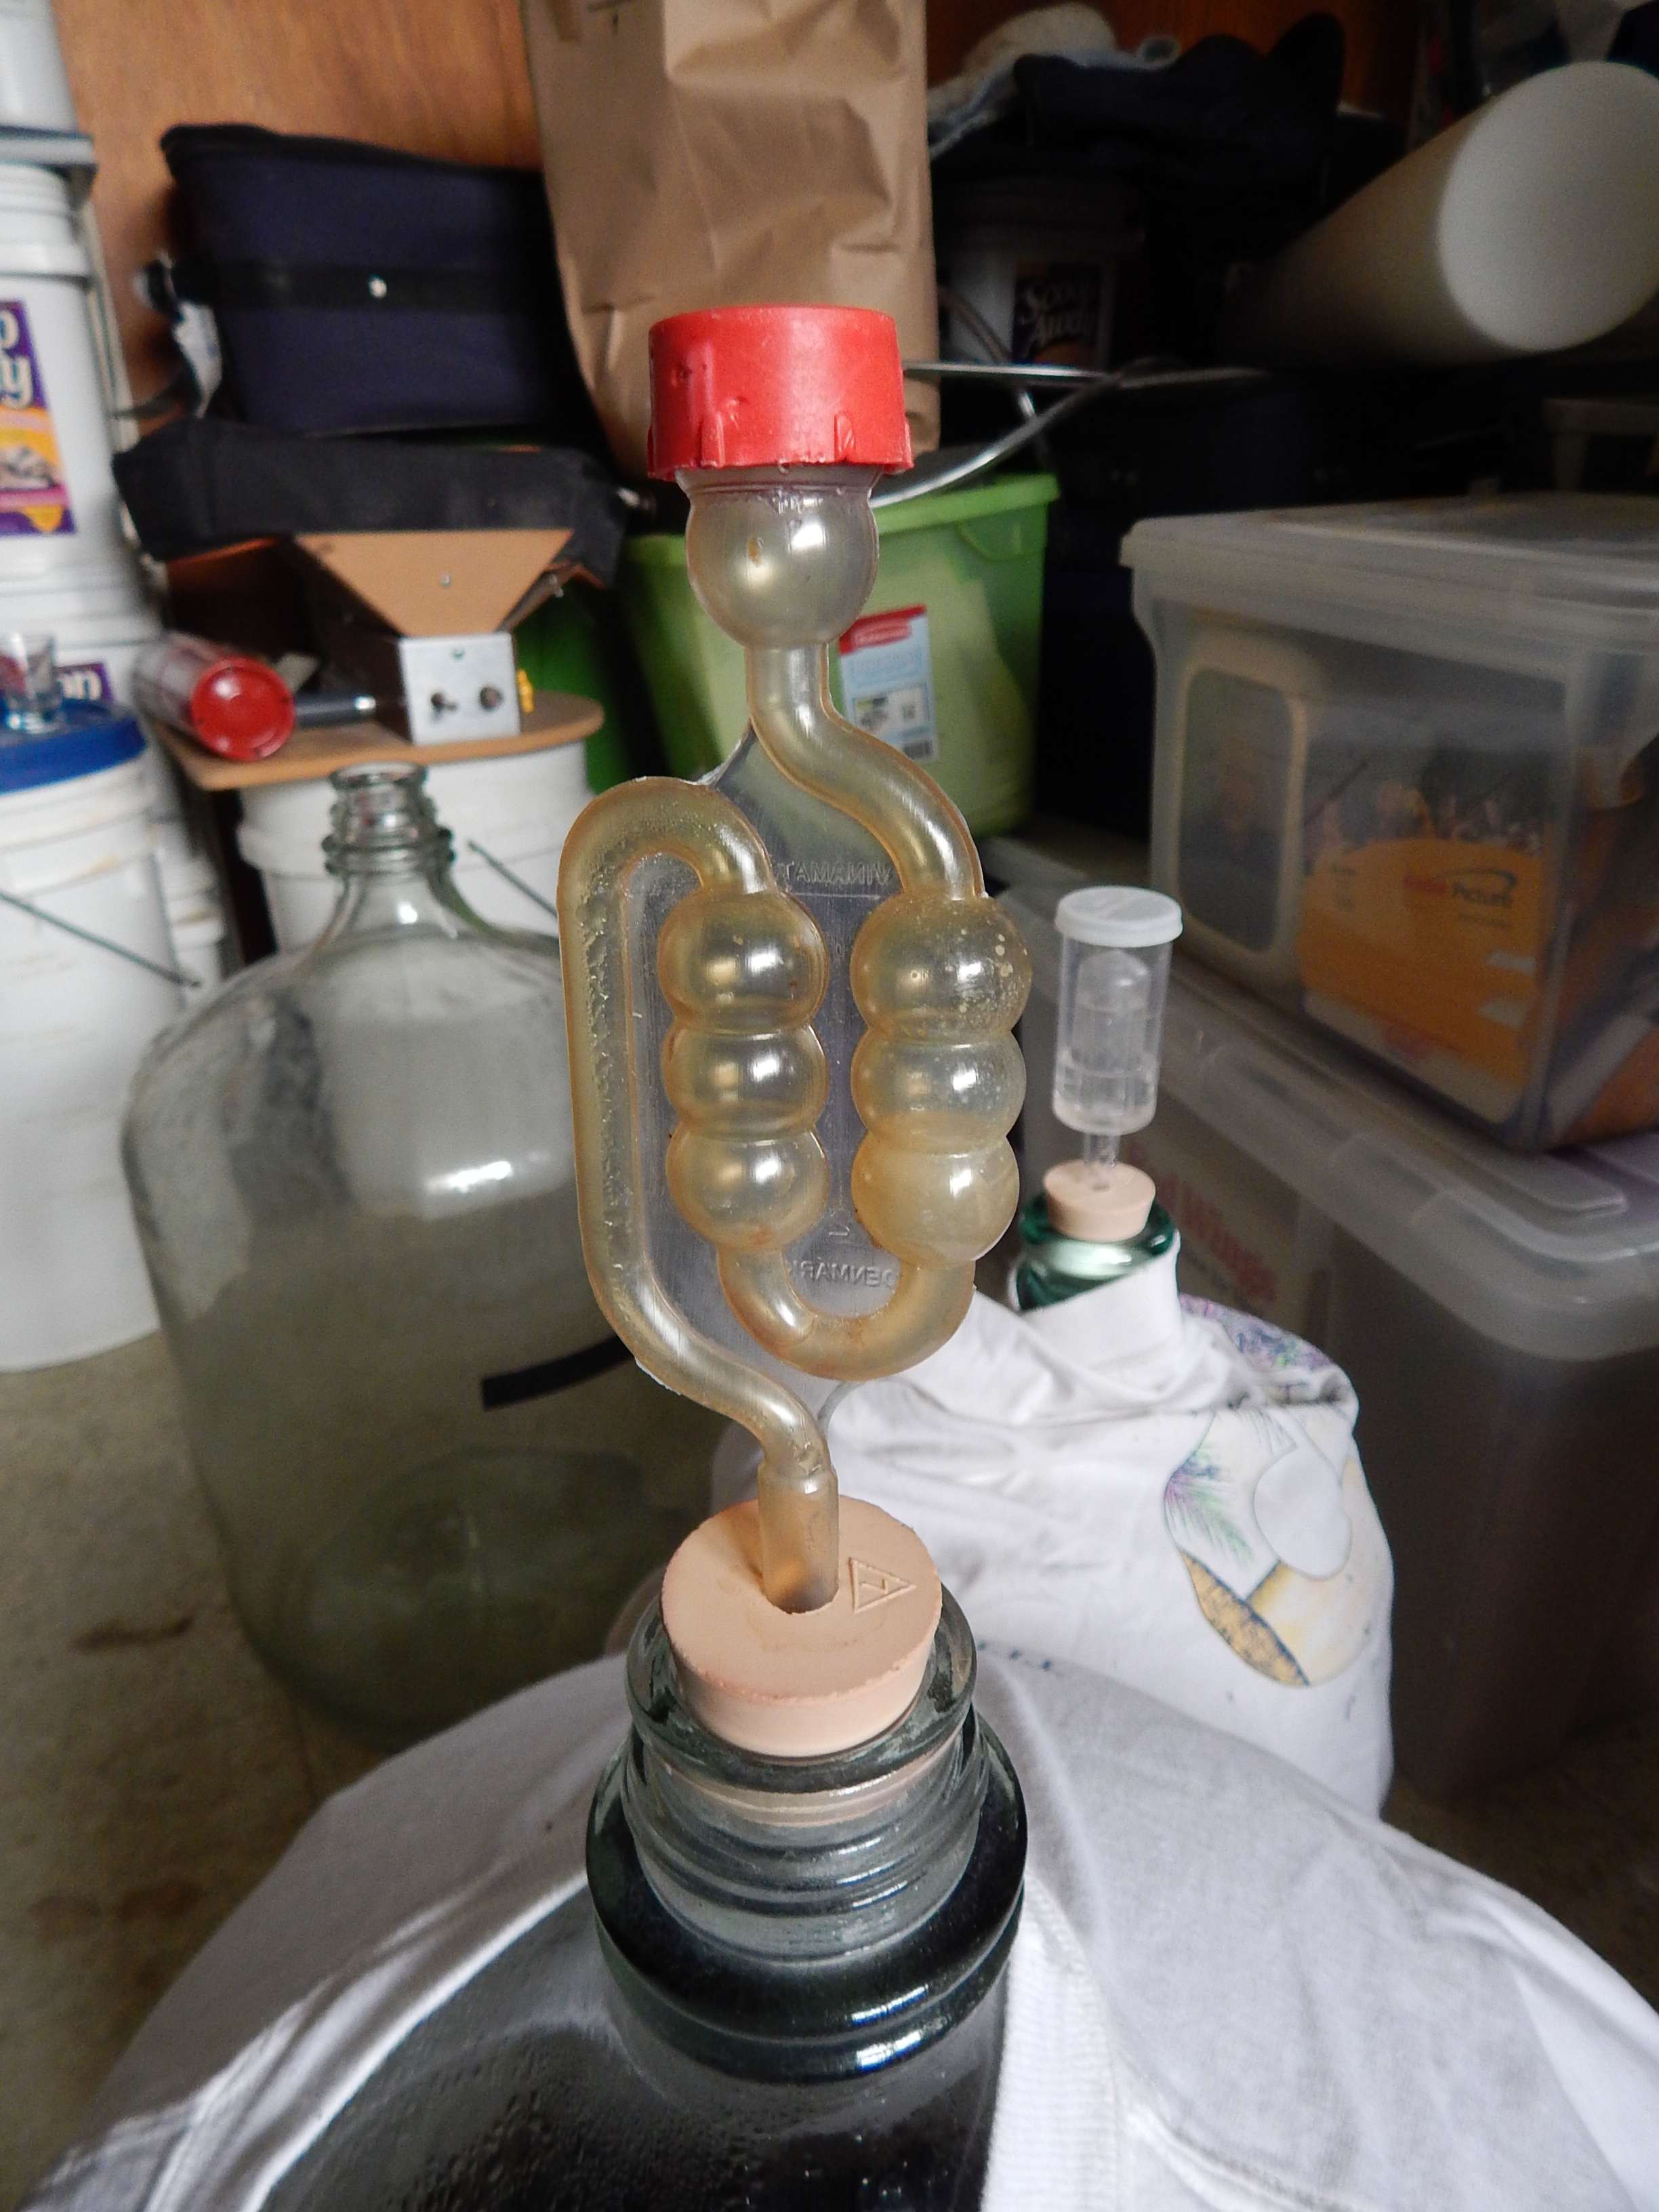
Fermentation
As fermentation proceeds, the yeast consume the sugars in the wort and excrete ethanol and CO2. (The metabolic activity of the yeast also gives off heat.) The specific gravity will drop steadily due to the decreasing sugar content. (The increasing alcohol content also contributes to the decrease in specific gravity, as ethanol is less dense than water.) At some point, it will be time to “feed” the fermentation.
The best time to “feed” is after high kräusen has passed, but the fermentation still has some momentum. A steady bubbling from the airlock is a good sign of this. At this point, adding additional sugar will not cause the sugar level to exceed the original OG, and the yeast should be healthy enough to ferment it. You can take a hydrometer reading to see if the specific gravity has dropped sufficiently, but it really isn’t necessary. Once the peak of fermentation has passed, a sizable chunk of the sugars will have been consumed.
You may want to break your feedings up into two or more sessions. For example, you may want to only boost the potential alcohol at each feeding by a projected 1–2% ABV. That way, if the fermentations bogs down, you’re not left with a lot of sugars in your wort.
You may also want to add small amounts of yeast nutrients to the “feeder” wort. If you do, add only as much as would be required for the added amount of wort — for example, don’t add enough nutrients for a 5.0-gallon (19-L) batch when you’re only adding a quart of wort.
Feeding
The feeding itself is simple. Mix up your sugar solution, perhaps with a tiny amount of yeast nutrients. Heat it to 170 °F (77 °C) to sanitize it. Cool it back down to fermentation temperature and add it into your fermenter. Use a sanitized spoon or racking cane to gently stir the mix. Do not aerate the wort when you add the sugar solution.
Expect the fermentation to pick up in the next few hours. However, unless you’ve added a ton of sugar (beyond that required to boost the ABV by 1–2%), it should not approach the vigor of high kräusen.
Other Options
As with any other very high gravity fermentation, a couple things might help you finish. After the final feeding, when the fermentation is slowing greatly, you may want to raise the temperature. At a minimum, raise it to the top of the yeast’s stated temperature range. In most cases, with just a little fermentation left, a few degrees beyond that won’t hurt. Likewise, once the temperature has risen, stir the wort once to rouse the yeast back into suspension. These two things should help you finish off even a stubborn fermentation.
Tomorrow, I’ll post a recipe that uses this technique.
—
Related Articles
Five Tips for Fermenting Big Beers

Speak Your Mind