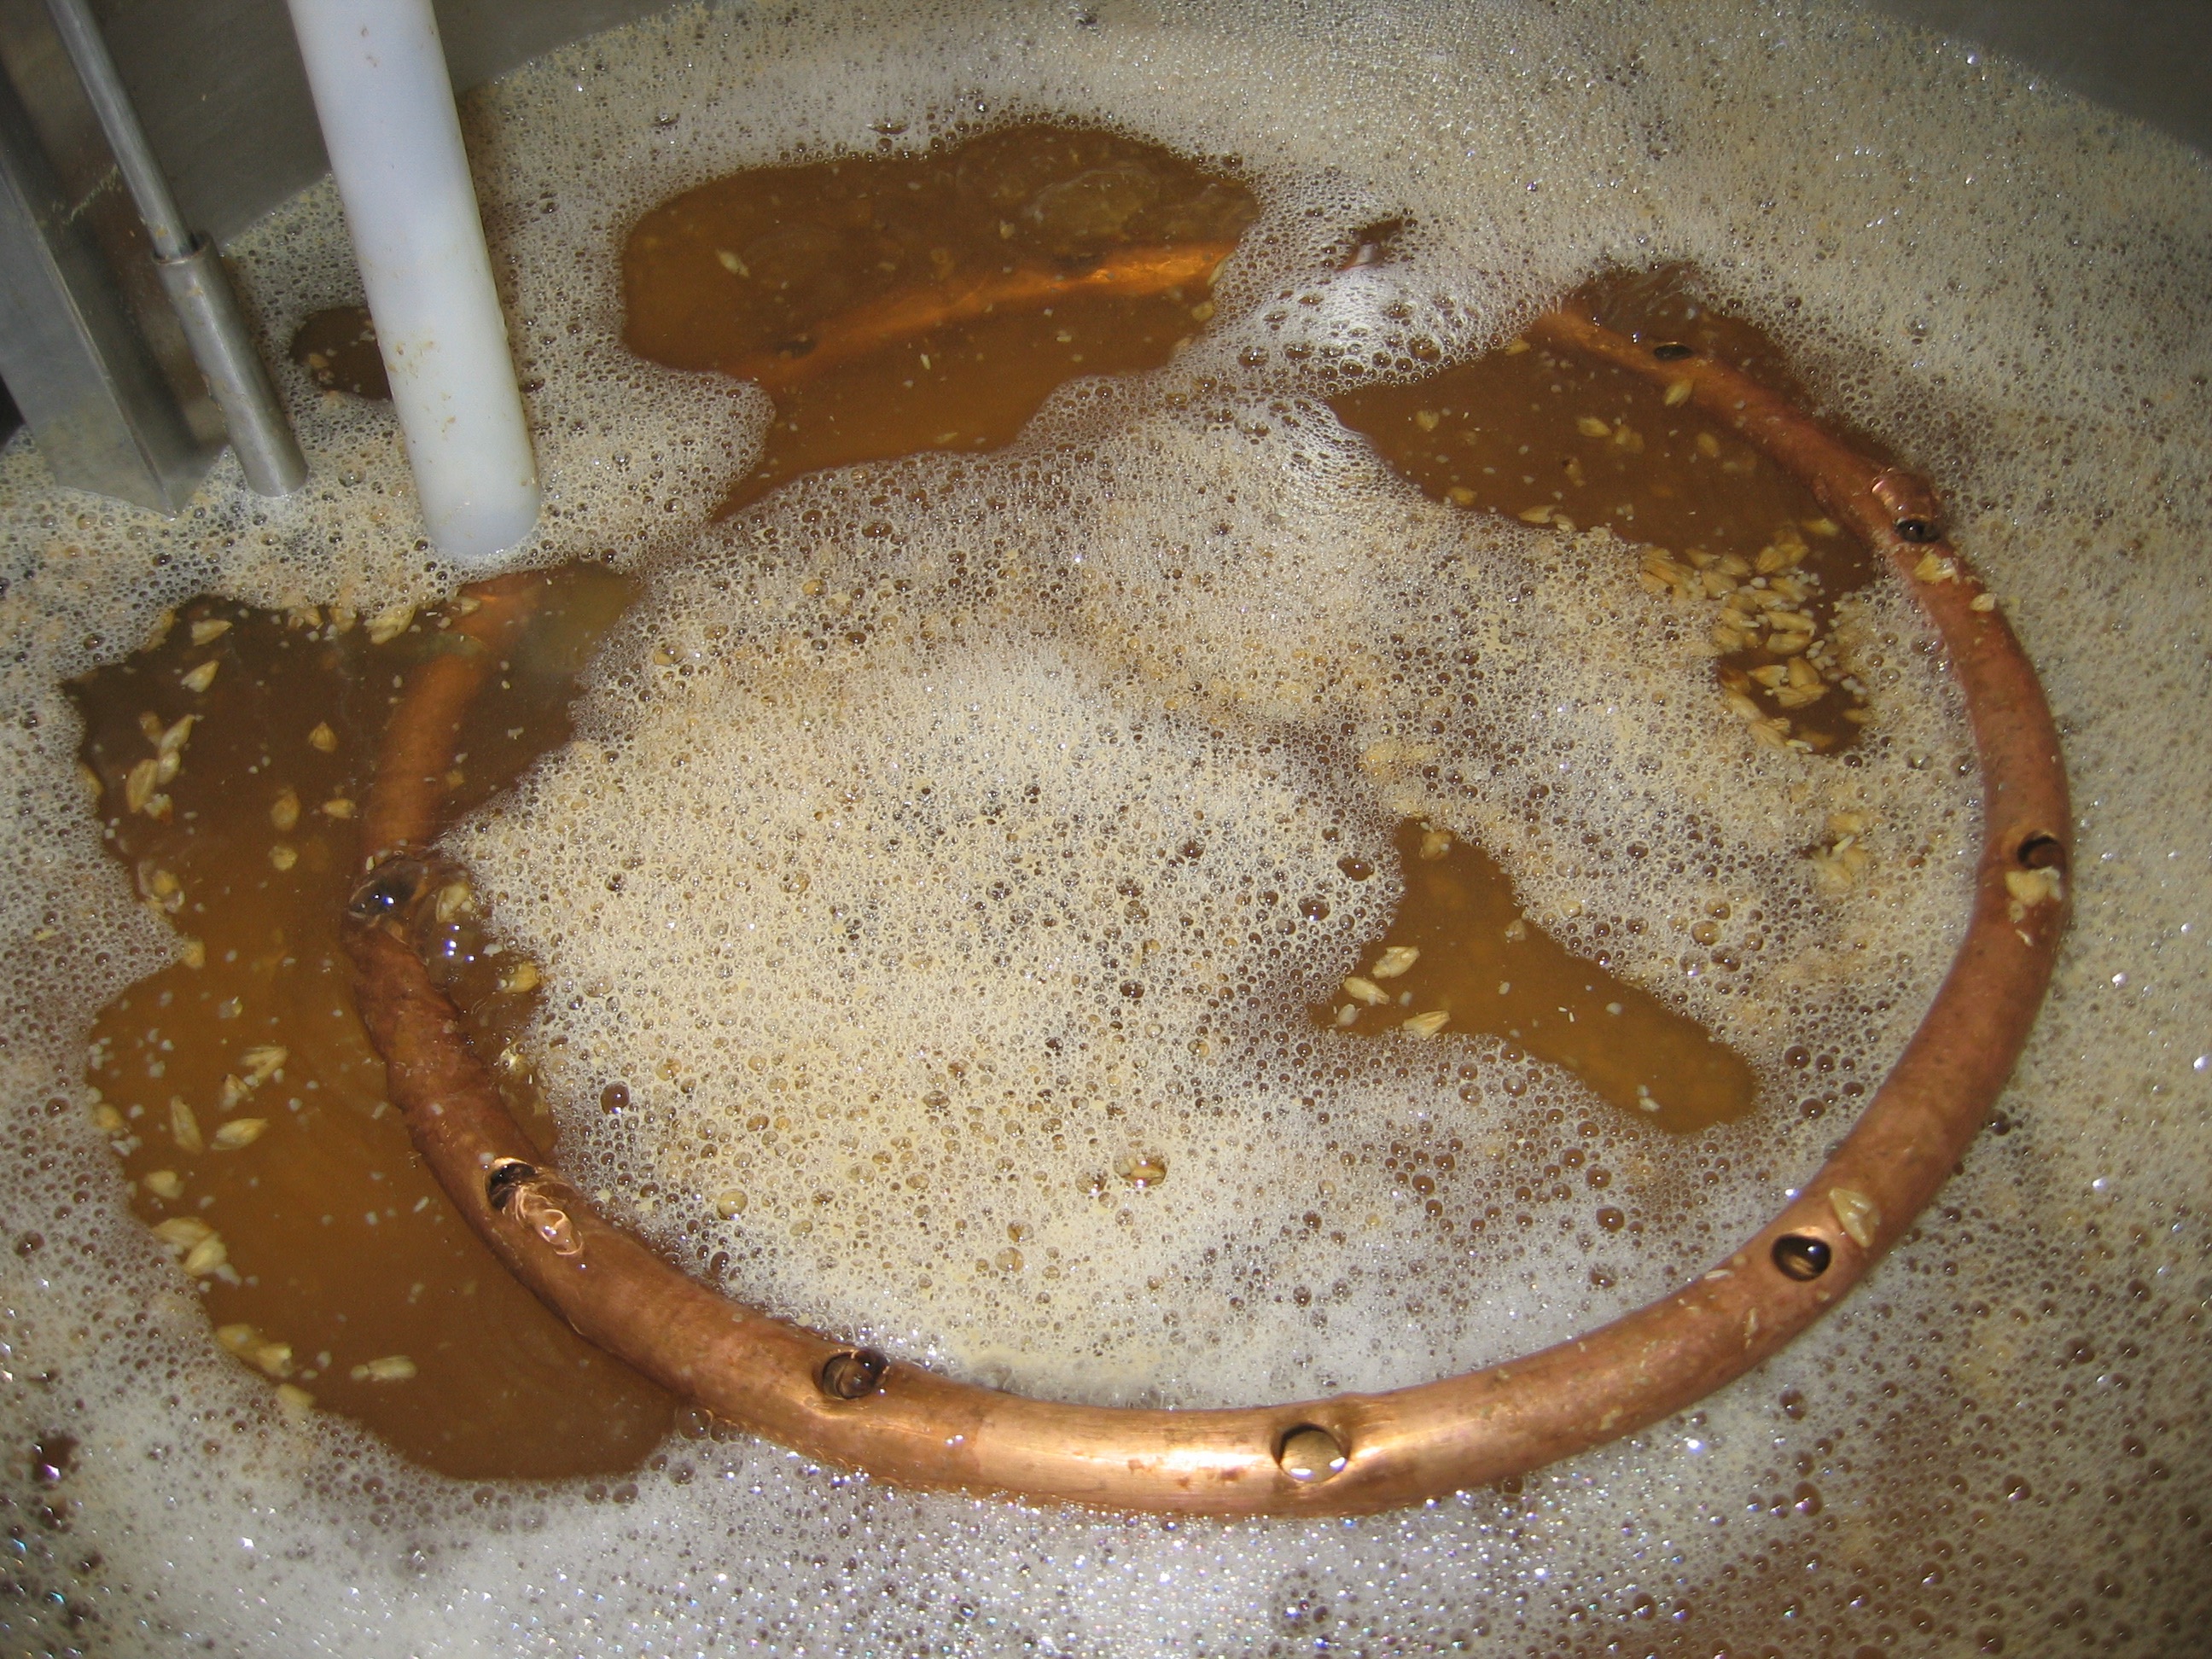
A sparge arm
When I started brewing, continuous sparging (sometimes called fly sparging) was the only method for sparging a grain bed described on the homebrewing literature. Later, some homebrewers adopted batch sparging as their method of choice, and still later some homebrewers started using brew-in-a-bag methods.
A variety of criticisms have been lodged against fly sparging. I have an easy method of fly sparging that answers some of these criticisms — and the remaining ones are minor, in my opinion. (I’m convinced fly sparging is the best of the homebrew lautering methods, and I’ll explain why in a separate article. But for today, here’s the start of a “how to” article.)
Criticisms of Fly Sparging
Although the way I sparge is easy (compared to how some do it), it isn’t a compromise. You still get all the benefits of fly sparging — you just skip a few of the common headaches.
The biggest criticism of fly sparging is that is technically difficult to exactly match the flow of sparge water into your lauter tun with the flow of wort out of it. In addition, you need a specialized piece of equipment — a sparge arm — to do it right. In my method, wort flows smoothly, and at a (reasonably) steady rate, out of the lauter tun. But you don’t worry about matching that rate with your sparge water, and you don’t need a sparge arm.
Another criticism is that fly sparging takes longer and wastes water, as the lauter tun is full of water when sparging is halted. My method takes the same amount of time as “traditional” fly sparging, but uses less water. And, if you heat your wort as you collect it, you can be boiling as soon as (or even slightly before) you have collected all your wort. With other methods, there is a gap between the end of wort collection and the boil while the wort is heated from mash temperatures to boiling. So, fly sparging itself takes longer, but it doesn’t lengthen the brew day much when all the required brewing tasks are considered.
Finally, many home brewers built their mash/lauter tun specifically for batch sparging, and believe it is not suitable for use when fly sparging. Most batch sparge mash/lauter tuns have just one hole that the wort drains from. In contrast, mash/lauter tuns designed from fly sparging have either manifolds with many wort exit points or a false bottom. I’ll use an analogy to that (and some anecdotal evidence) to argue that the single exit path for wort doesn’t rule out fly sparging.
Method in Brief
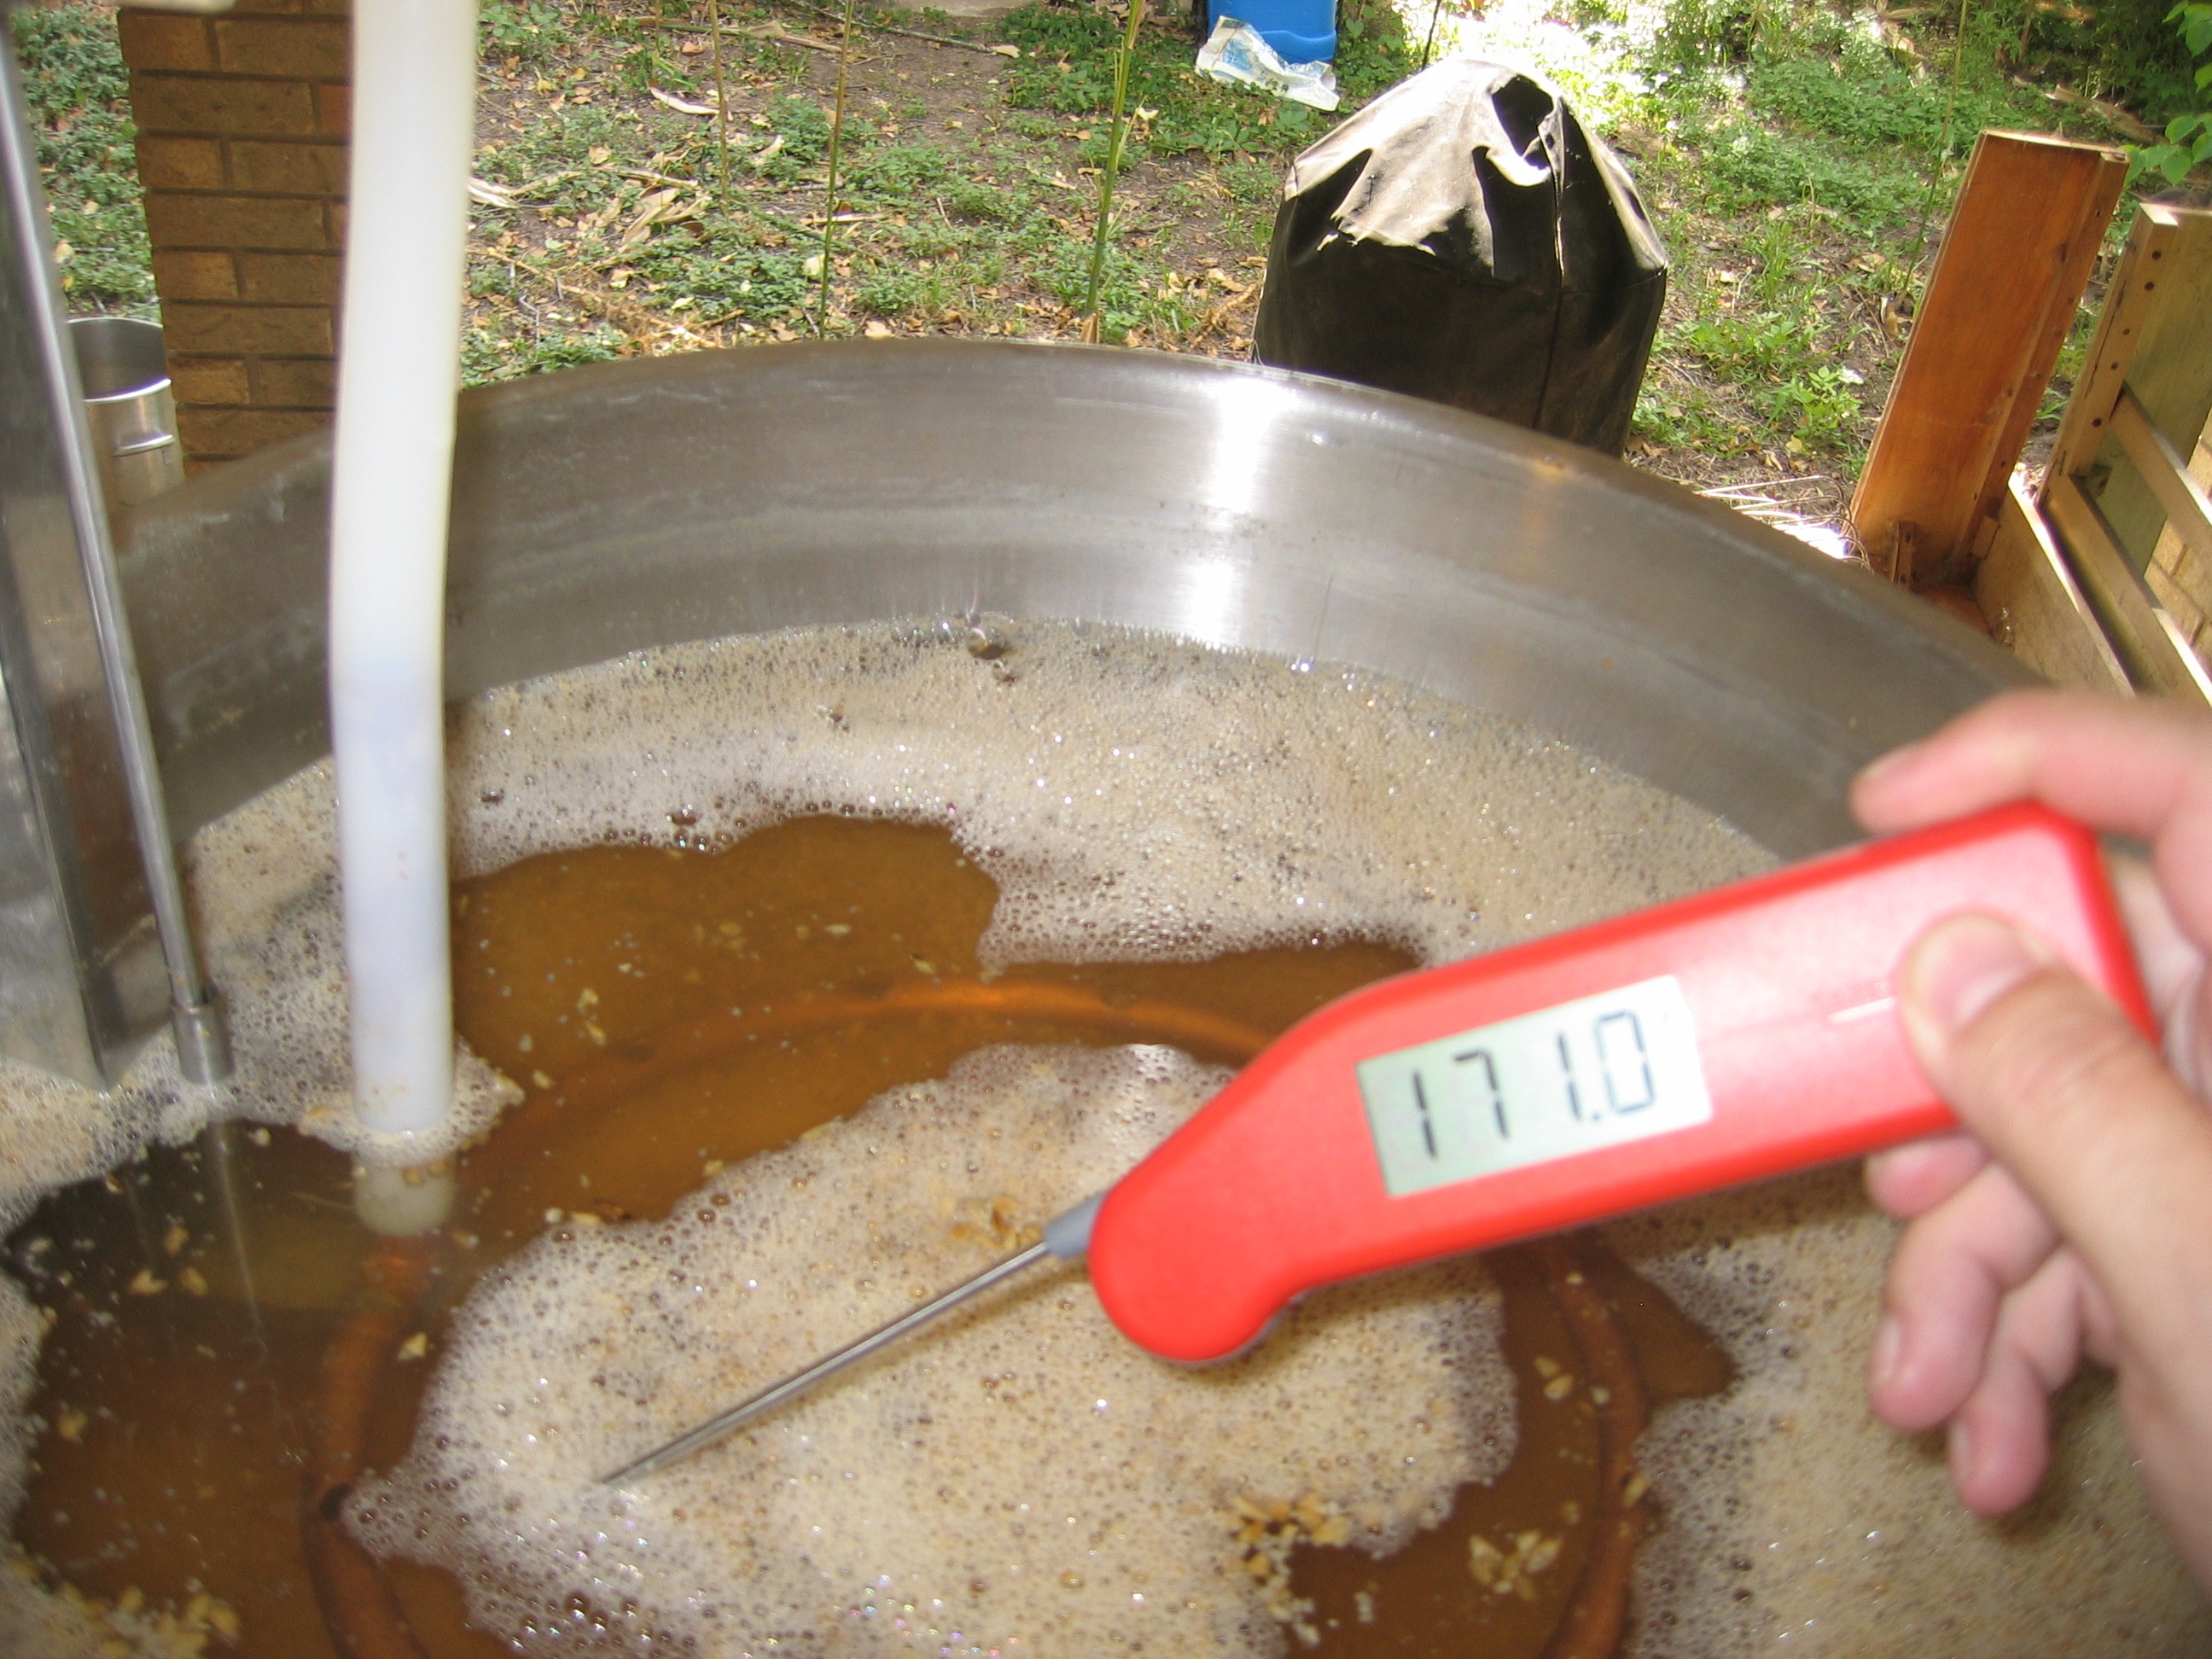
In the next installment of this article, I’ll go into the nitty gritty details of my method — which I called pulsed sparging — but I’ll give the basic idea here. In pulsed sparging, I add sufficient water above the grain bed such that takes 5 to 10 minutes for the liquid level to drop to top of the grain bed. I let the wort flow out of the lauter tun at a steady rate, then replenish the sparge water on top of the grains when the grain bed is almost exposed. So, I do not worry about trickling water onto the grain bed as wort trickles into the kettle — I add a bunch of sparge water, let it’s level slowly drop, then add a bunch more.
In preparation for sparging, I calculate how much sparge water I will need to collect my full pre-boil volume, and I heat only that much. (I’ll explain how much wort to collect and how to calculate the sparge water volume in the next installment.) When I am out of sparge water, I continue to let the wort flow from the lauter tun until the flow stops. This leaves me with my expected pre-boil wort volume, a “dry” lauter tun, and — because I’ve been heating the wort while I was collecting it — it is boiling right as wort collecting finishes up.
—
Related Article

Speak Your Mind