This article is part of a series on barleywine.

Conducting an orderly fermentation is key to brewing a quality barleywine. The biggest key to doing this at home is to make an adequately-sized yeast starter and pitch enough yeast.
Making the wort for a barleywine can be trying. Sometimes the amount of grain required is more than your mash tun can hold. Sometimes you can’t collect all the wort you’d like because your kettle is too small. And for most all-grain versions, you need to boil the wort for an extended period of time. Even though wort production can be a chore, the part of brewing a barleywine in which the brewer can exercise the most influence on the quality of the final product is the next step — fermentation. If you make a yeast starter that is large enough, your fermentation can be handled like most ale fermentations, especially for smaller barleywines. For the largest barleywines, you may need to use some additional techniques to get all you want from the yeast,
Your Goals
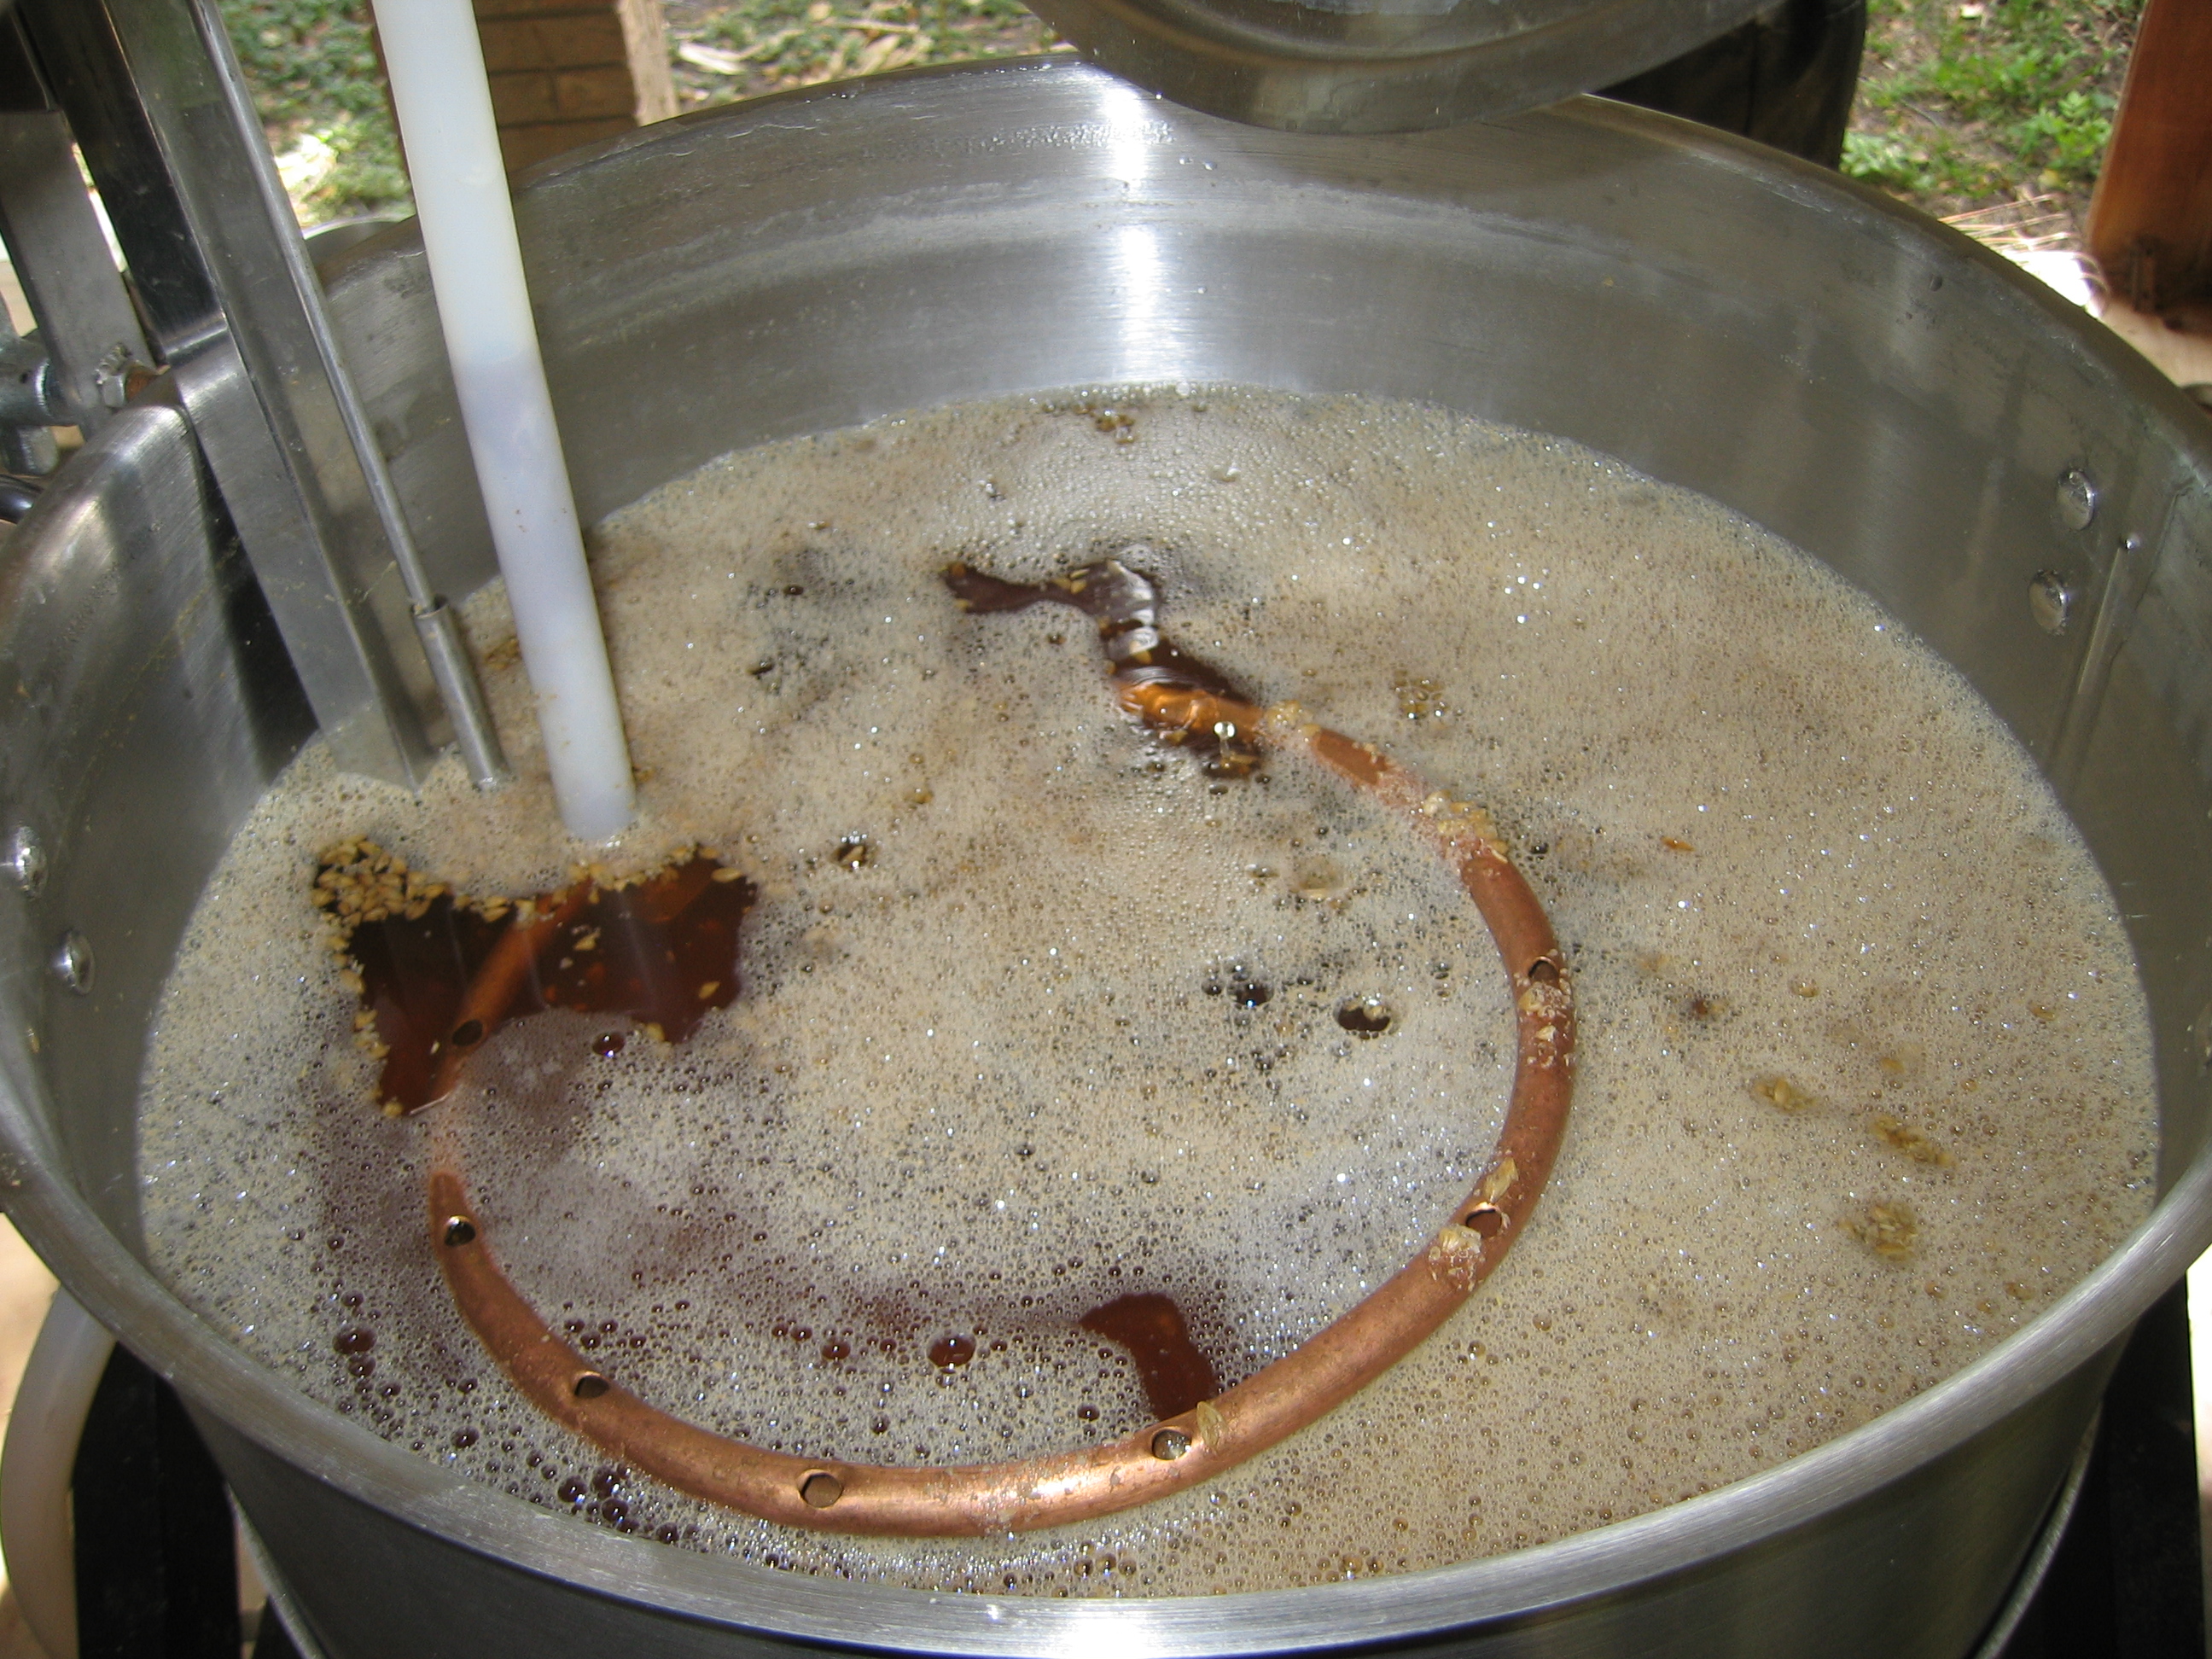
Once the wort is chilled and in the fermenter, it’s time to let the yeast transform the wort into beer. In a barleywine fermentation, you have several goals. As with any fermentation, you want active fermentation to begin quickly. If your barleywine has a cap of kräusen and your airlock is gurgling between 8 and 16 hours after pitching the yeast, you’re doing great. If it takes longer than 24 hours to start, you may be headed for problems. (At a minimum, this could lead to a sluggish fermentation that takes longer than it should to finish). Likewise, once started, you want the fermentation to keep moving steadily until the beer’s target final gravity (FG) is reached. Most barleywines should finish in the high teens through the 20s. (The BJCP gives FG 1.018–1.030 for English barleywines and FG 1.016–1.030 for American barleywines as the proper range.) For beers at the lower end of the barleywine OG range (OG 1.080–1.090), this means you want a maximum apparent attenuation of around 75%. For heavier barleywines, apparent attenuation up to 80% is OK. The biggest key to achieving this is to pitch an adequate amount of yeast. Choosing an appropriate yeast strain is also important.


Recent Comments