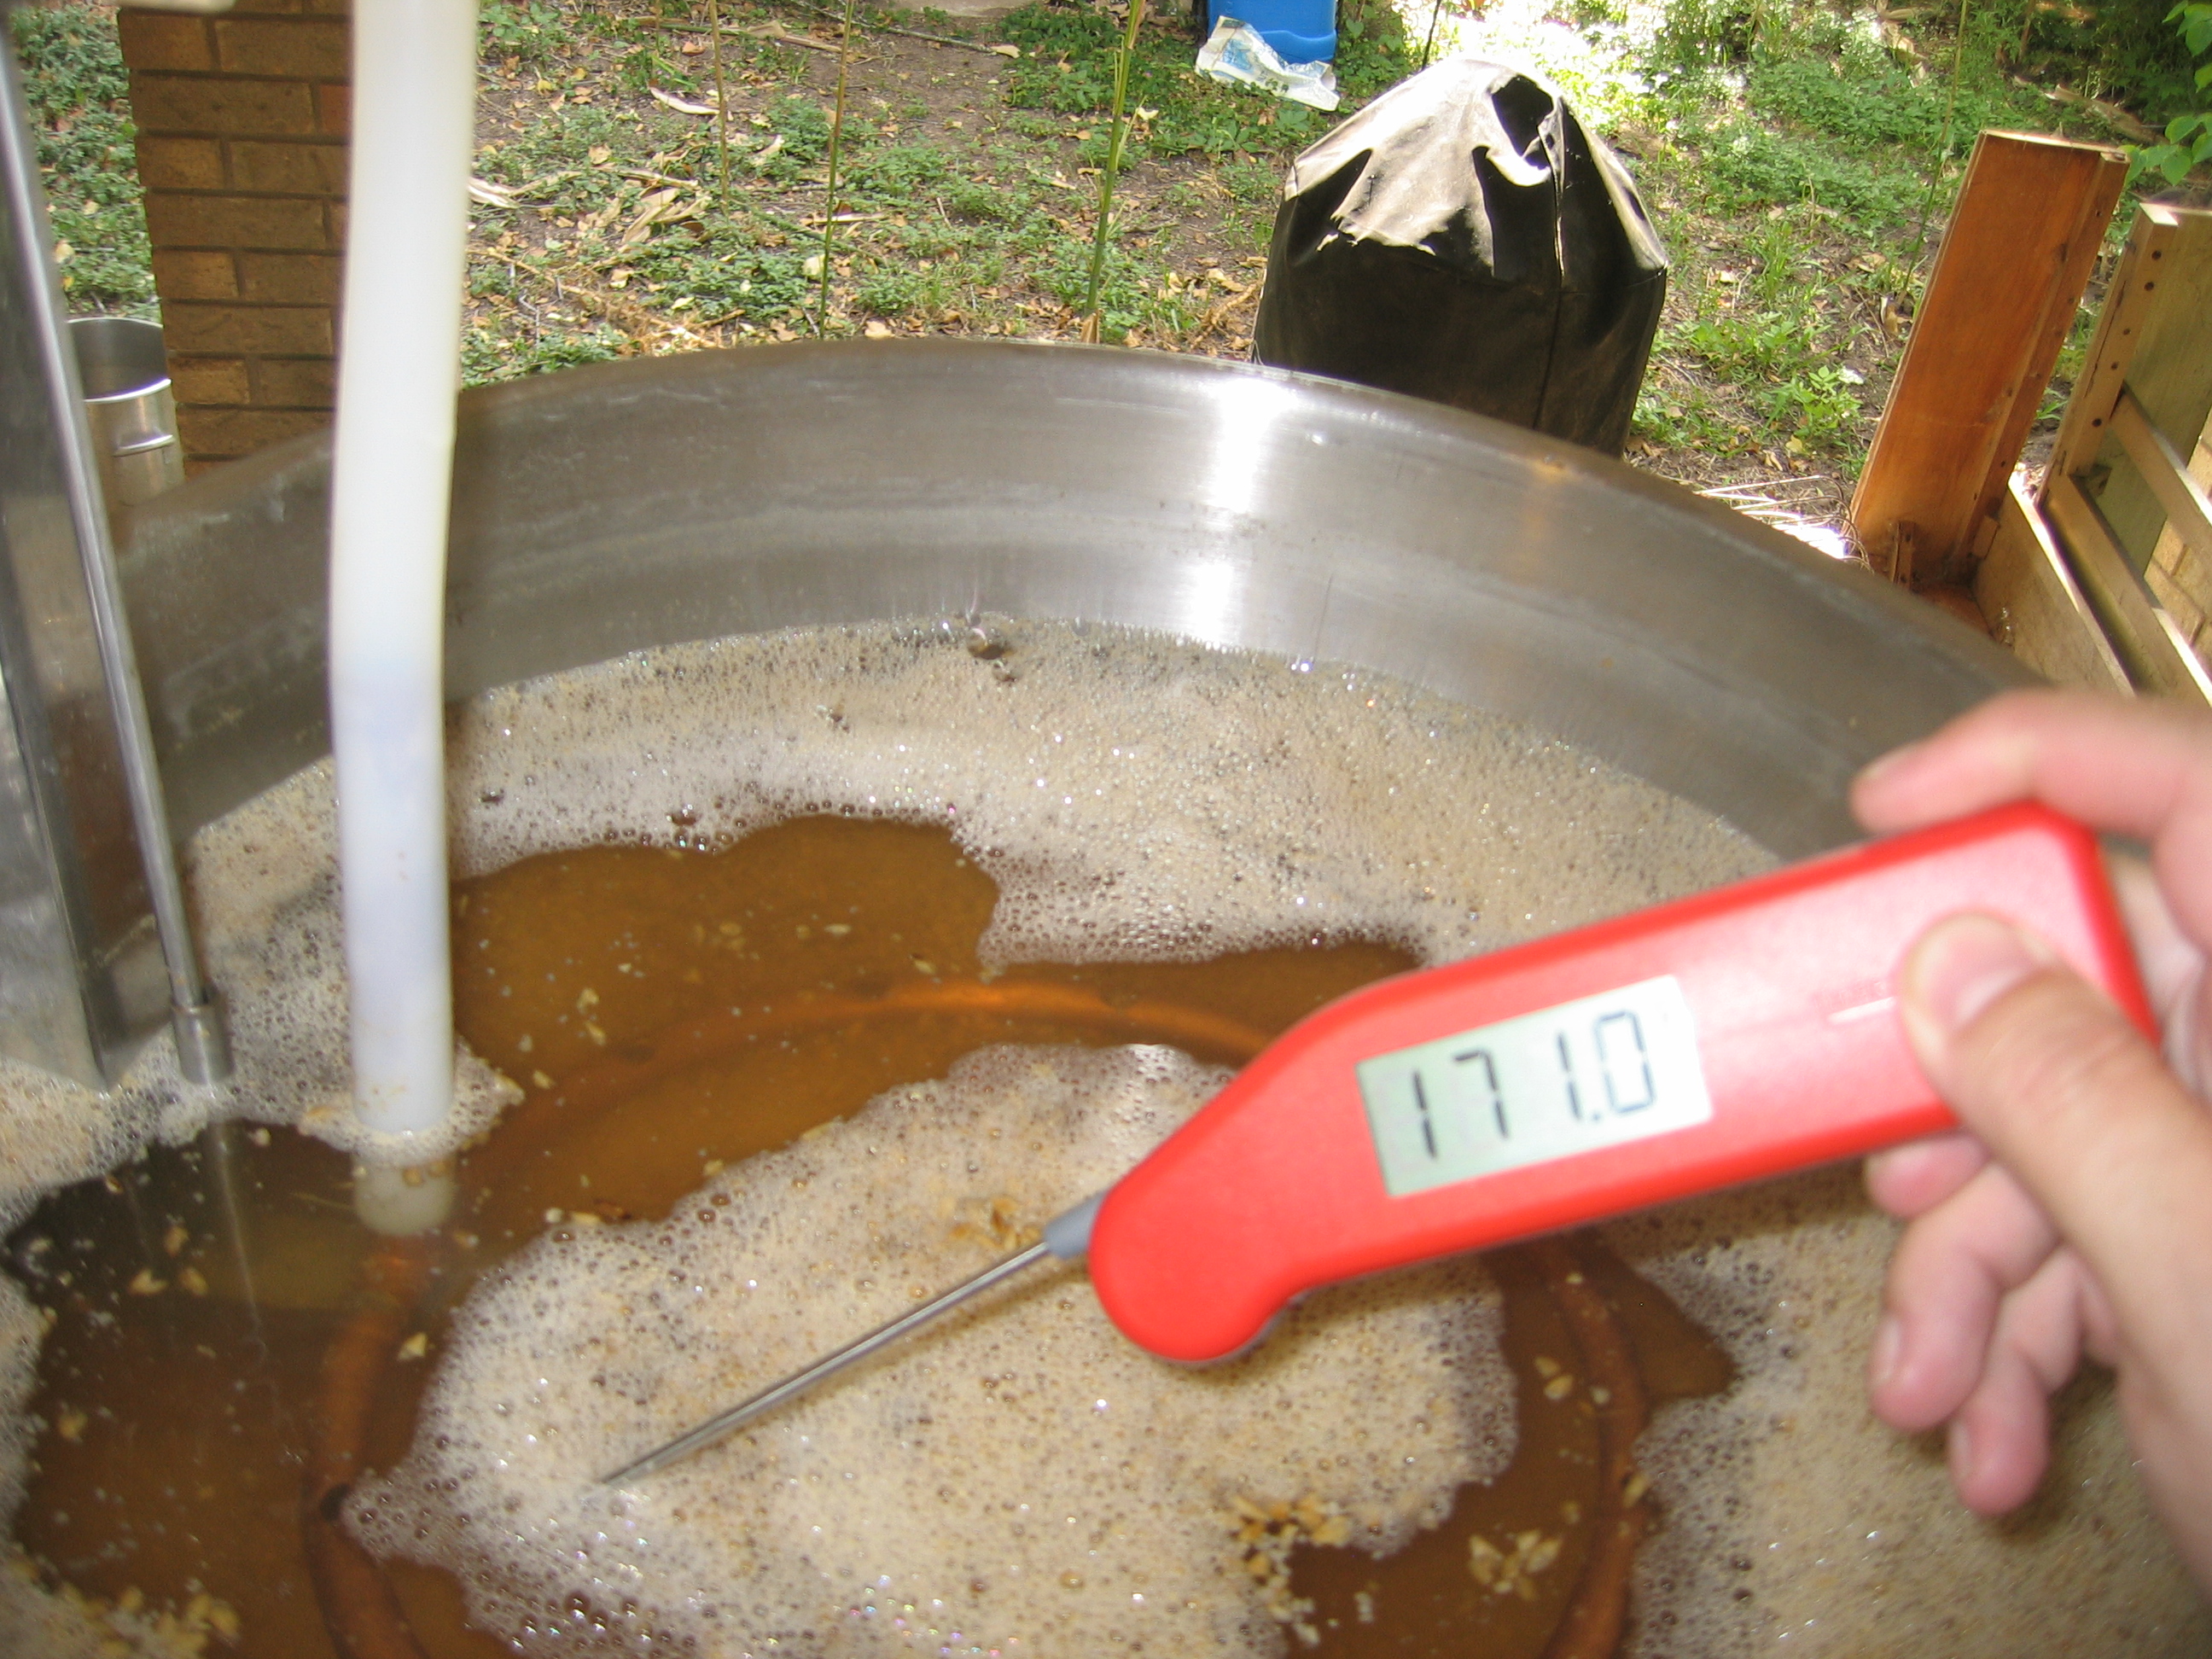
A full mash tun means a big beer is in the works.
Brewing a very strong beer presents a number of challenges to the homebrewer. The first one is generating the high gravity wort. In this article, I’ll review the options for wort production for all-grain brewers, using the brewing of a hypothetical 5.0-gallon (19-L) ale with an original specific gravity (OG) of 1.100 as an example. I’ll cover extract brewing methods later in the week.
Fully-Sparged Grain Bed
There are several ways to generate a high-gravity wort using all-grain wort production methods. The first would be to mash the grains, fully sparge the grain bed, then boil the resulting wort to concentrate it to the desired volume and OG. In our example, it would take 18 lbs. (8.2 kg) of grain to make 5.0 gallons (19 L) of wort at OG 1.100, assuming 75% extract efficiency. Once the grain bed was fully sparged, the brewer would have 12 gallons (44 L) of wort at SG 1.043. (This assumes collecting 0.65 gallons of wort per pound of grain.) When boiled down to 5.0 gallons (19 L), the OG would be 1.100. At 1.5 gallons (5.7 L) evaporated per hour (a vigorous boil), this would take about 4.5 hours.
This method yields the highest extract efficiency of any of the strictly all-grain methods, but requires the longest boil time and kettle size. You’d need a 15-gallon (57-L) kettle to boil this much wort. It has the lowest grain cost, but the highest fuel cost (for boiling the wort).
First Wort Only
The first runnings from the lauter tun are high in gravity, often around SG 1.090. It depends on your extract efficiency and mash thickness.
The opposite approach would be to add more grain, and collect only the first wort (the wort that drains from the lauter tun without sparging). If you mashed 31 lbs. (14 kg) of grain, you would need 9.7 gallons (37 L) of strike water for a mash thickness of 1.25 qts./lb. (2.6 L/kg). The grains would absorb 4.0 gallons (15 L) of water, leaving approximately 6 gallons (23 L) of first wort . The specific gravity would depend on your extract efficiency, but boiling it down to 5.0 gallons (19 L) should put you in the ballpark of OG 1.100.
This method requires the shortest boil (and smallest kettle) of any of the strictly all-grain methods. However, it also requires the most grain (and largest mash/lauter tun) of any of the methods. To mash 31 lbs. (14 kg) of grain, you’d need at least 13 gallons (49 L) of space in your mash tun.
Note that the sugars left in the grain bed do not need to go to waste. You could run off some or all of the roughly 14 gallons (53 L) of remaining usable wort and use it to brew a second beer, for yeast starter wort or for the strike water for another batch of high-gravity beer.
Compromise Method (Partial Sparging)
A third method would be a compromise between the first two. The brewer would add more grain to his mash tun than he (or she) would if he were going to fully sparge the grain bed. He would collect the first wort, but also sparge to collect more. He would then need an extended boil, intermediate in length between the first two methods, to concentrate the wort. For example, the brewer could mash 24.5 lbs. (11 kg) of grain, collect about 9 gallons (34 L) of wort and boil it down to 5.0 gallons (19 L) in about 2.5 hours. This could be (just barely) pulled off with a 10-gallon (38-L) mash/lauter tun and a 10-gallon (38-L) kettle.
The main advantage of this method is the brewer can determine what obstacles his equipment presents (mash tun size and kettle size), what matters more to him (extract efficiency or boil time) and reach a workable compromise. The brewer could also collect roughly 7 gallons (26 L) more wort from his grain bed.
Two Fermenter Fills
If equipment — especially both mash/lauter tun size and kettle size — is your limiting factor, you can try filling your fermenter over two brewing sessions. Just make half the volume of wort one day and the second half the next. You can use any of the above methods for this. On the second brewday, just chill your wort and rack it into your already fermenting wort from the day before. If the fermentation looks like it is sluggish (before adding the second wort), aerate the batch. If the fermentation is going strong, don’t aerate.
One advantage of this is your yeast starter volume only needs to be half of what it would be for a full-sized batch. A second potential benefit for very big beers is the second wort can also contain a dose of yeast nutrients. There’s also an opportunity for a second shot of aeration when the second fill is added, if needed. In a way, the second fill is similar to a staggered nutrient addition — something that mead makers employ, but can also benefit wine or very big beer fermentations. The obvious drawback is that it requires two brewing sessions to make your wort.
Reiterated Mashing
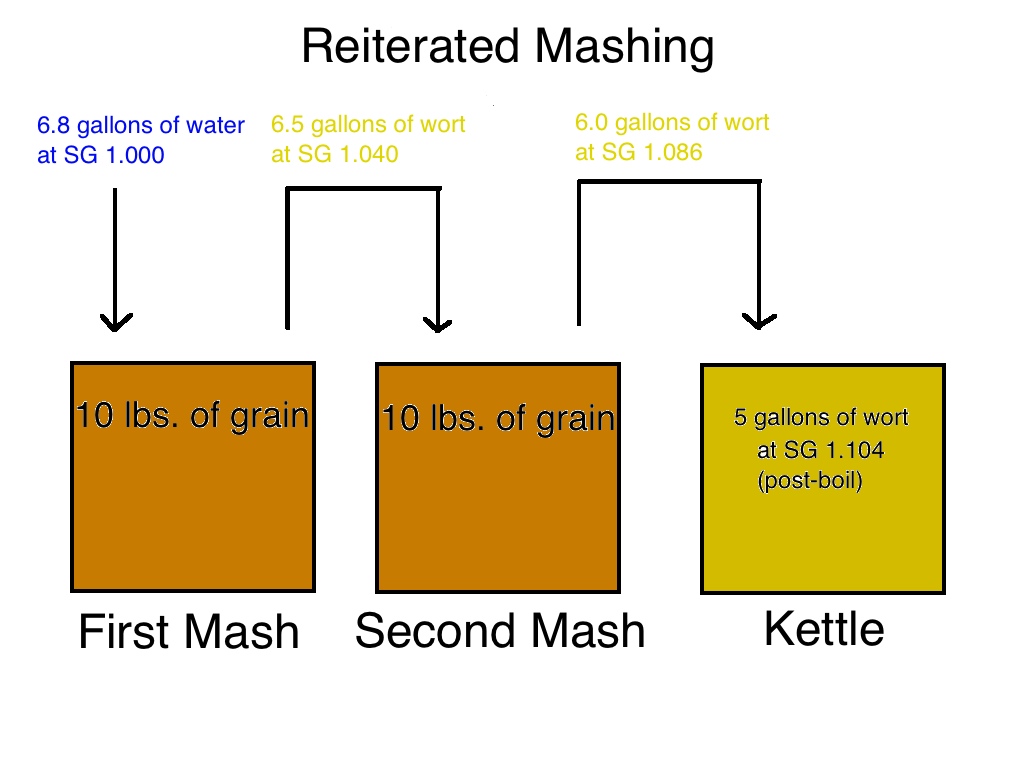
The basic idea behind reiterated mashing.
Instead of concentrating your wort during the boil, you can concentrate it in the mash tun via reiterated mashing. The basic idea here is to mash your grains with wort instead of water. See my recent article and the example recipe (which happens to have an OG of 1.102) to compare to the other methods. You don’t need a large mash tun or kettle to use this method, and — in a best case scenario — your extract efficiency can rival a beer brewed from a fully-sparged grain bed. The downside is the long brewday.
Increase Your Extract Efficiency
When making a very big beer, achieving a reasonably high extract efficiency is going to help in every way. You’ll need less grain (and less mash tun space) and less boil time (and less kettle volume). Getting a good crush, stirring your mash often and performing a mash out will all help you with this. If you have a mash tun that you can’t heat (such as a modified picnic cooler), mash in your kettle. This will let you maintain your mash temperature, stir often and perform a mash out. When the mash is over, scoop it over to your lauter tun and proceed. You can even mash out to a temperature a few degrees above the usual temperature (170 °F/77 °C) to allow for the drop in temperature due to the transfer. (And don’t worry, at mash pH you won’t be extracting an excessive amount of tannins by exceeding 170 °F /77 °C.) Finally, keep your sparge water hot enough to maintain the grain bed temperature while collection your wort.
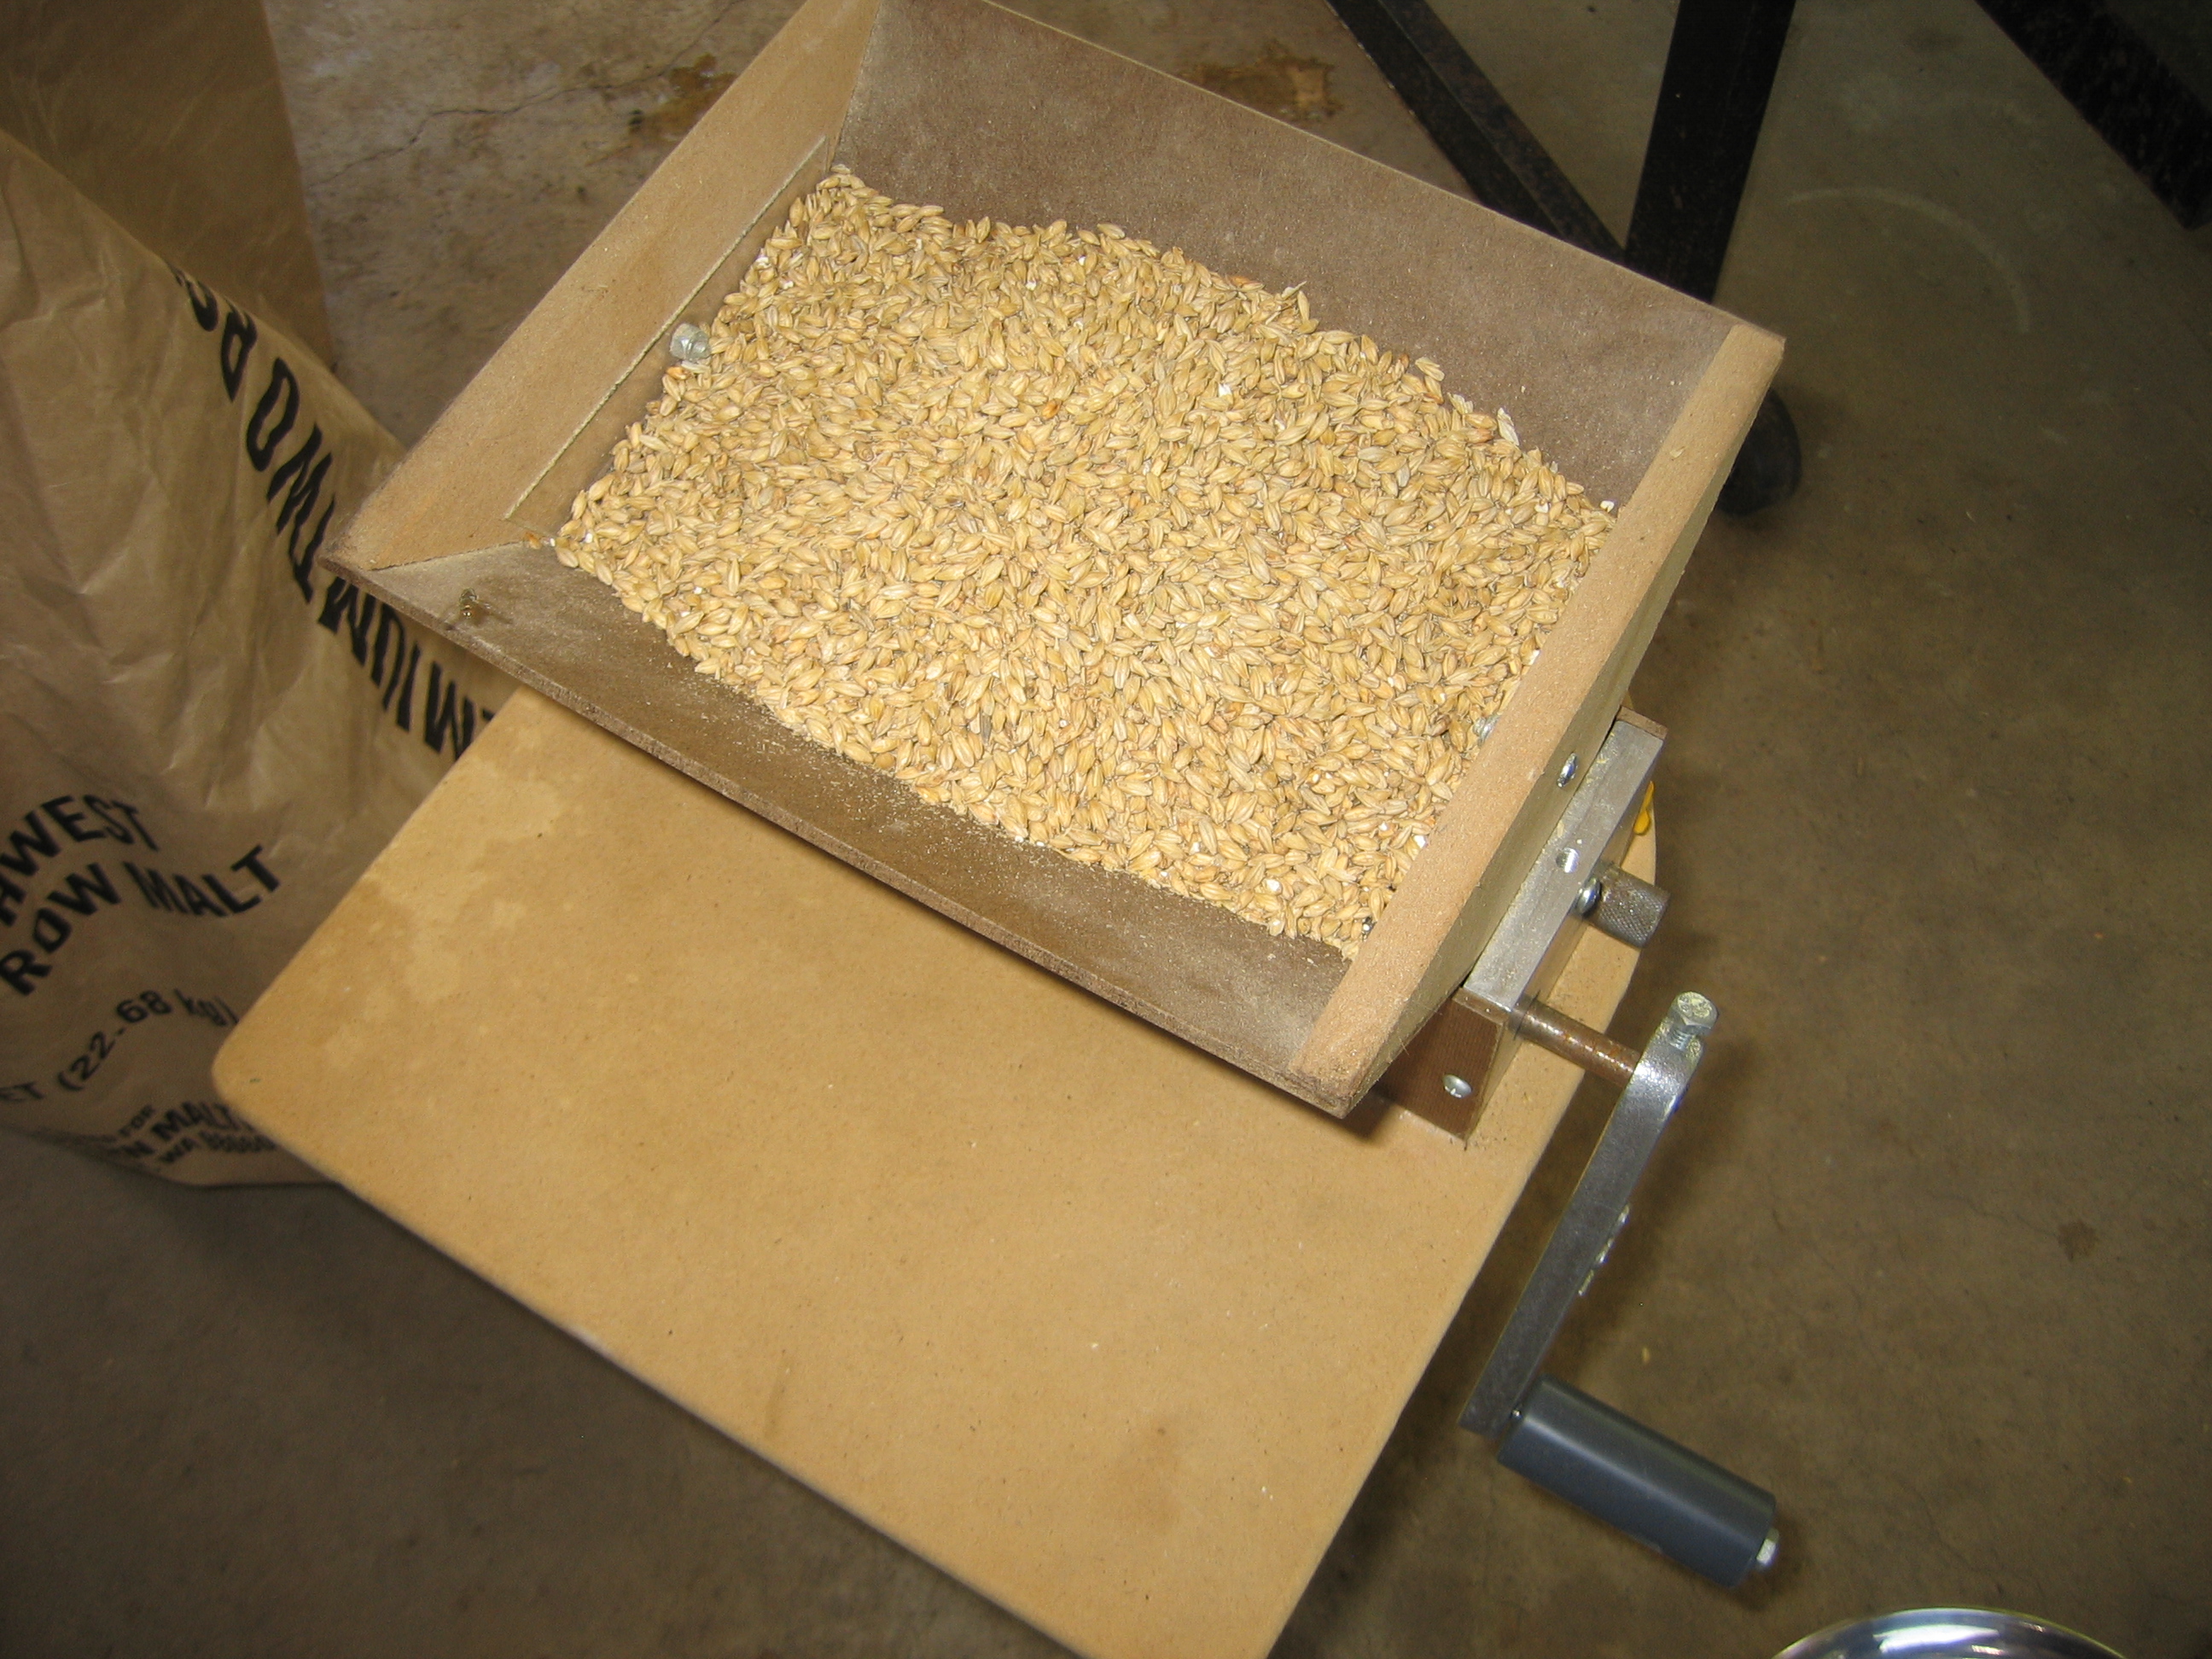
Getting a good crush is the most important variable in achieving high extract efficiency.
Brewing a very big beer can be a challenge. When you draw up your recipe, keep your mash tun and kettle size in mind and think about what matters more to you, extract efficiency or length of the brewday(s). With these things in mind, you should be able to find a method that suits you.

When I brewed my last Russian Imperial Stout, I decided to just substitute 5 pounds of base malt with 3 pounds of DME. By subtracting 5 pounds of grain from the mash, I was able to do a BIAB mash in my 11 gallon kettle and reach decent efficiency (around 70 or 75%, if I recall.) After the mash, I pulled the grain bag and let it drain (as per usual BIAB process) and then stirred in 3 pounds of DME while the wort was heating up to boil.
This Russian Imperial Stout was the best I’ve ever made and substituting 3 pounds of DME for 5 pounds of base malt saved me a lot of time and effort.
Yep, as my next article indicates, adding malt extract can help you hit a higher OG when either your mash tun or kettle is too small to easily do it strictly from grains.
This is an incredibly timely post- I just finished up a Russian Imperial Stout recipe myself. I had decided on something like your compromise method, though you did talk me into erring on the side of caution and adding another pound of grain to the bill for good luck. So I figure as long as I can hit 60-65% efficiency with a two hour boil I am good to go.
@ ChrisM: That seems like a very sensible method, and one I had considered myself. But then I decided that if I wanted to be sensible about it I would go out and buy a case of SN Narwhal or Old Rasputin. I will definitely have a pound or or two of DME laying about in case I miss my gravity too badly, but I don’t mind being a few points low on a 1.100+ beer.
– Dennis, Life Fermented Blog
My RIS is now in the fermentor, and my experience with this brew matches your article pretty spot on. I ended up doing a 2.5 hour boil with 23.5 lb grain and got 65% efficiency for a 1.110 OG. It all fit nicely in my big rectangular cooler MLT, but it would probably be a bit much for one of those round coolers.
– Dennis, Life Fermented Blog
Glad it worked out.
I am a big fan of your “reiterated mashing” technique. I have a 30 liter brewpot and that is usually the bottleneck as far as size goes. I have tried reiterated mashing twice, once to produce a high gravity mash that was then used as a partial boil in a greater volume beer (50 liters) and once in a 25 liter big beer (PG 1.085). Given what you wrote about diluting beer when bottling…the possibilties are almost endless.
The so called drawback of a long day is really a bonus when you think about it.
Thanks for all of your great articles and the amazing pace at which this website is updated.
Glad you like the technique. And I agree — a long brewday is a fun brewday for me.
How does the longer boil time affect sweetness in the final product? I would think a longer boil would produce greater caramelization and more sweetness.
A longer boil is going to darken the wort more. The color pickup will mostly be due to Maillard reactions instead of caramelization, though. A longer boil will also (of course) yields a higher FG. When the beer is fermented, that results in a higher FG and this can add the perception of sweetness. A higher FG and more rich flavors in support of any existing caramel might enhance the perception of sweetness , but I don’t think the boil directly adds sweetness (via caramelization). That’s an interesting question.