It’s hot out, but you can still brew.
Summer is here, and this can put a crimp in the plans of some homebrewers. For homebrewers without a fermentation chamber, or other form of active fermentation temperature control, summertime means a temporary cessation in brewing. If fermentation temperatures climb out of the recommended fermentation range, beers can be overly estery or even contain higher alcohols (also called fusel oils), that can cause health problems. However, armed with a little knowledge, you can beat the heat and brew happily throughout the summer.
Wet T-Shirt
If you have air-conditioning, you can probably get through the summer just fine using evaporative cooling. Evaporative cooling — sometimes called the wet T-shirt method – lets you use the laws of physics to cool your fermenters. The basic idea behind the wet T-shirt method is to cover the fermenter with a T-shirt. The shirt is wet and the shirt tail is placed in a small container of water, such as a food storage container. Alternately, the carboy is placed in a picnic cooler or garbage can with a small amount of water in the bottom. Water evaporates from the shirt, cooling the carboy. (It takes an addition of heat for water to make the transition from liquid to gas, and so heat is “carried away” by water vapor.) As the shirt dries, water wicks up from the reservoir to replace it.
The wet T-shirt method can knock 5–10 °F (~2.5–5 °C) off the temperature in a 5-gallon (19-L) carboy. So, even if your room temperature rises to 80 °F (27 °C), you can still successfuly brew an ale. The efficiency of this type of cooling is increased by dry air. So, if you have air conditioning — which dries air as it cools — this will help. Setting a fan near the carboy also increases the cooling power. The breeze pushes humid air away from the carboy, increasing the evaporation rate.
If you place your carboy inside another container, minimize the amount of water that the carboy is sitting in. The more wet surface area that is available for evaporation, the more efficient the cooling. And finally, if you need to cool your fermenting wort a few extra degrees, try splitting your 5.0-gallon (19-L) batch into two 3.0-gallon (11-L) fermenters. The surface-to-volume ratio of the smaller fermenters is greater, and this be a little more effective at cooling.
When to Keep it Coolest
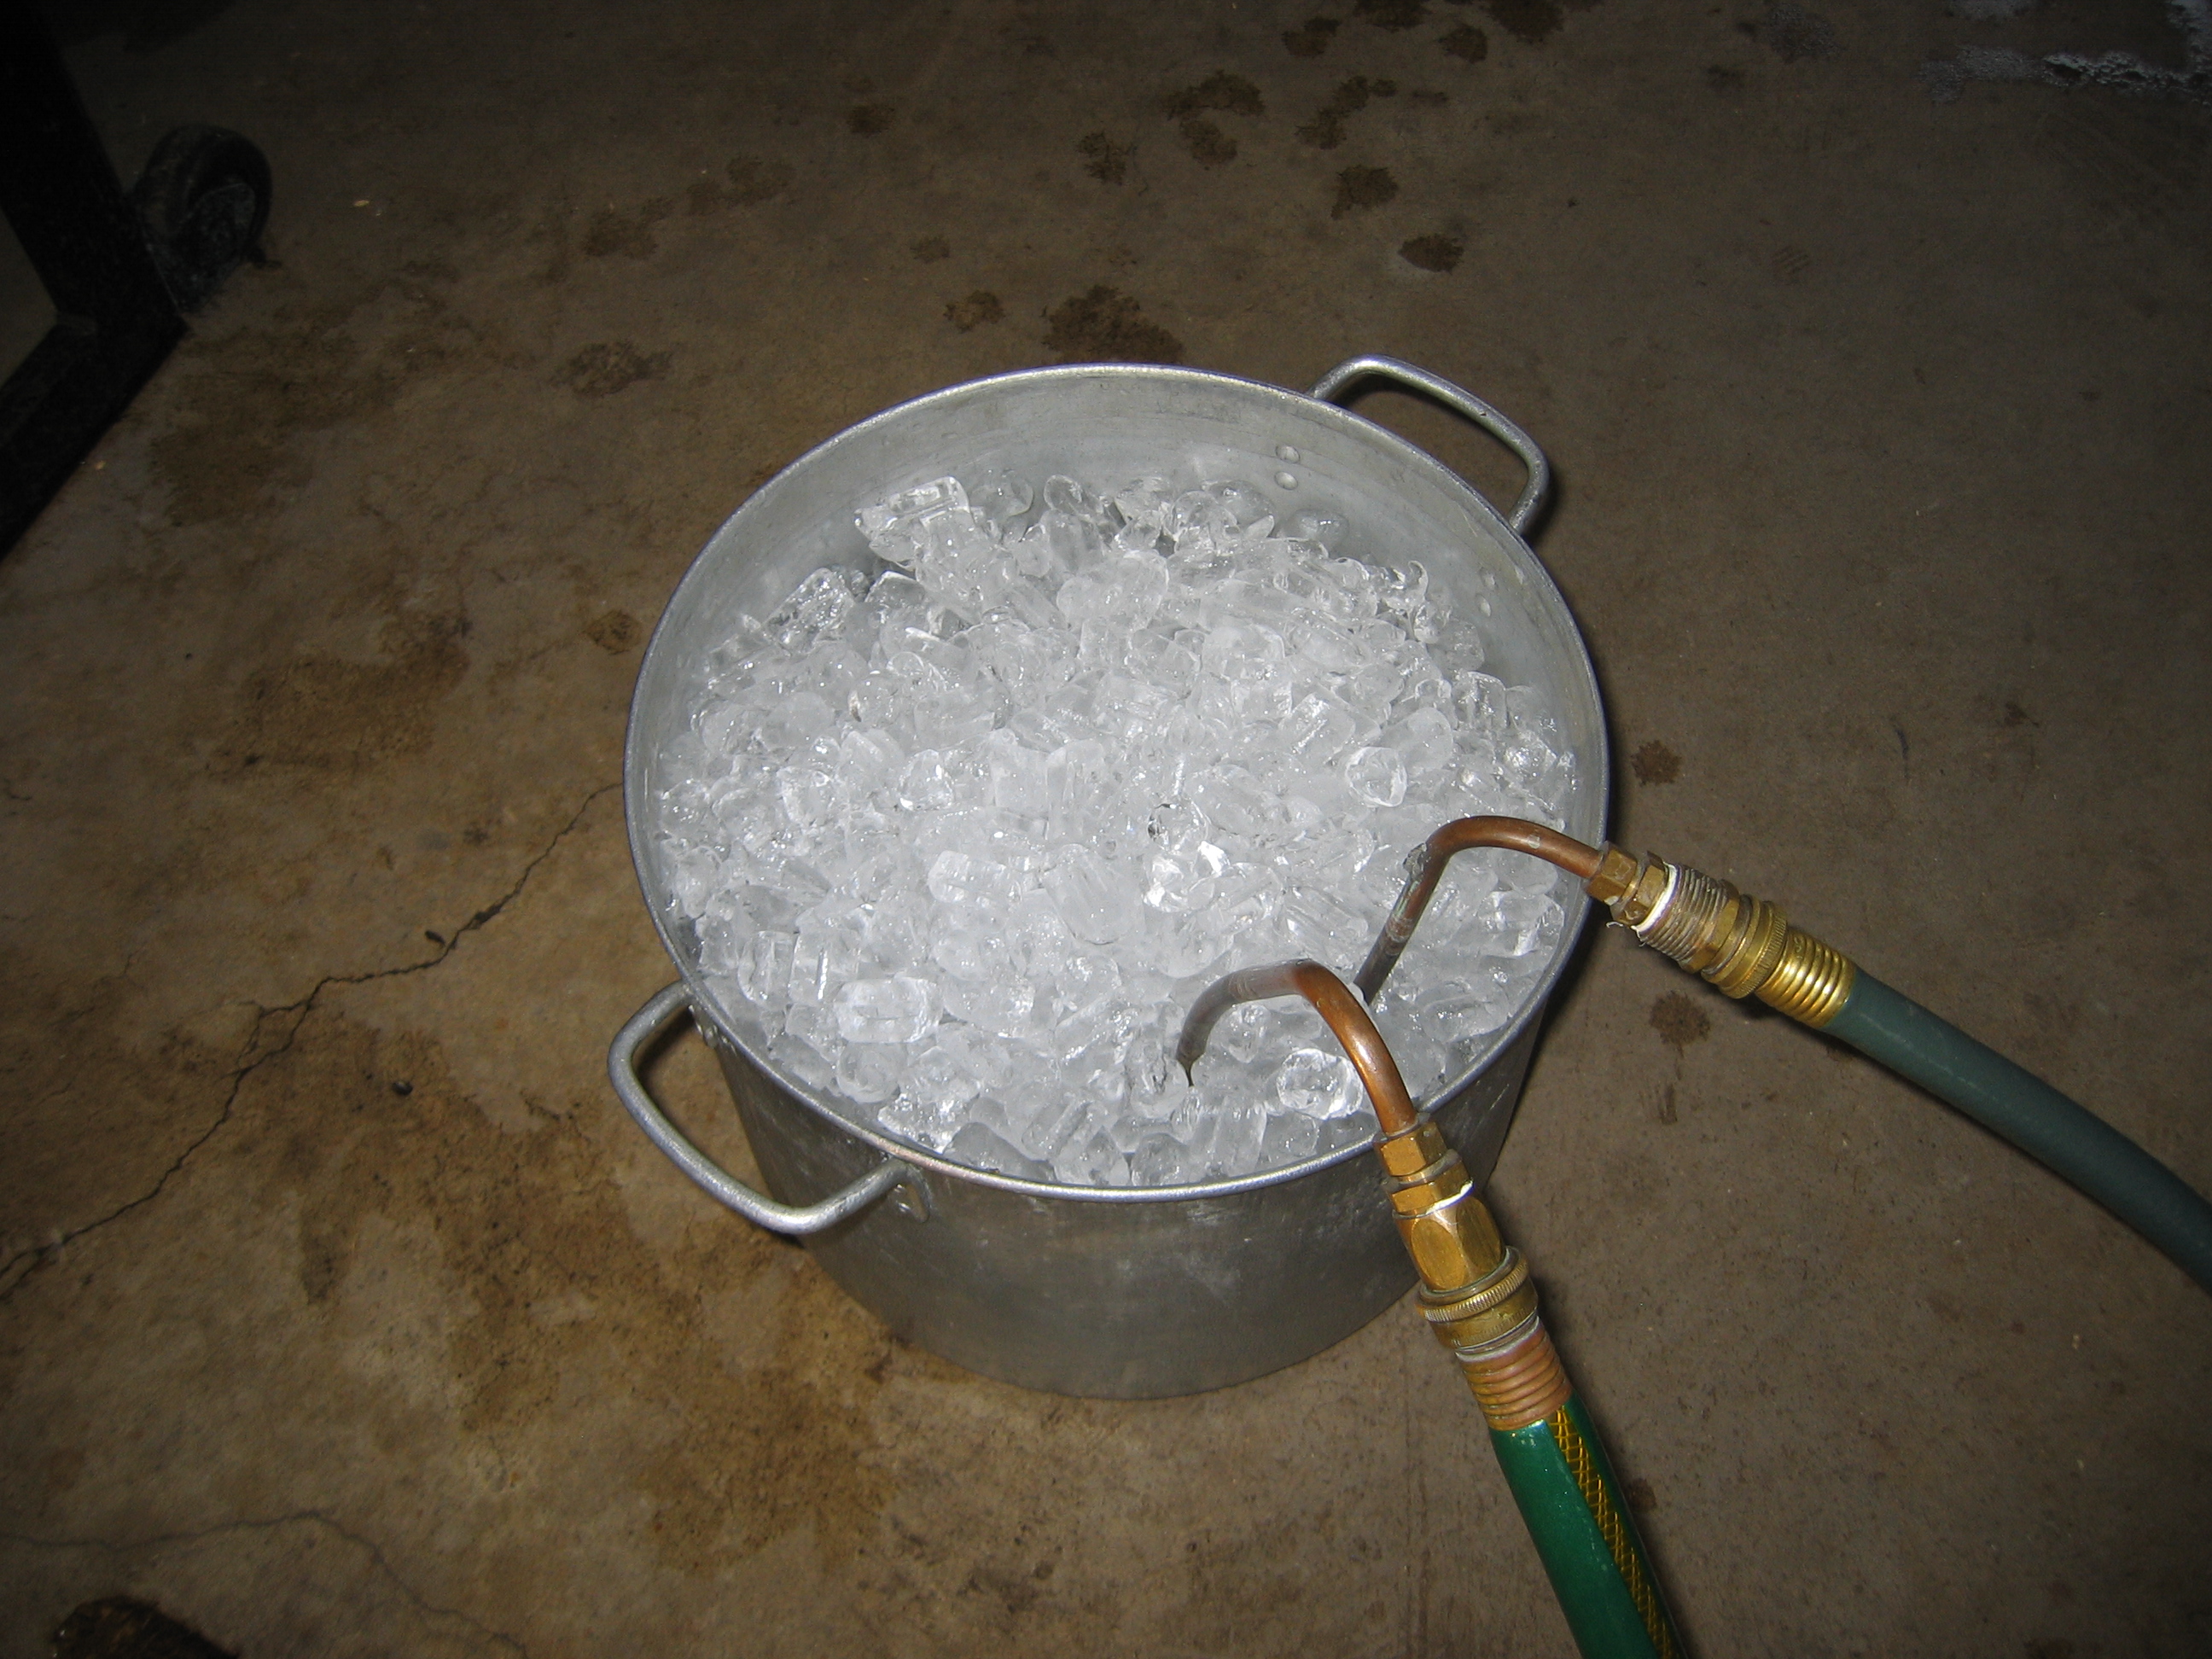
A sixth tip would be to use a pre-chiller when cooling your wort. Add the ice when the decrease in wort temperature starts slowing.
Some homebrewers use fermentation methods that involve switching out blocks of ice to keep their fermentations cool. Knowing when the yeast produce most of their flavors and aromas can help you decide when to put the most effort into active cooling.
Yeast produce more esters in the growth phase — when they are multiplying — than in the stationary fermentation phase — when they have reached their final density are just fermenting the wort. As such, if you keep your fermentation in the correct range from the time you pitch the yeast through the most active part of fermentation, you can spend less effort when fermentation slows. If the temperature of your fermentation rises near the end of the process, it will cause fewer problems than if you let it rise near the peak of fermentation. Recall that the small amount of fermentation that occurs when beer is bottle conditioned is best done around 80 °F (27 °C). And this does not add excessive esters to a beer.
When you can let the fermentation temperature rise, and how far you can let it rise, and only incur small amounts of excess ester production, depends on the yeast strain (assuming you pitched an adequate amount of yeast and aerated the wort well).
Pitching Rate, Aeration, and Esters
For yeast strains with lots of esters in their aroma profile, temperature is the major driver of ester production. However, other variables also come into play. If your fermentation is going to run a couple of degrees warmer than is ideal, you can partially compensate by increasing the pitching rate and aerating more thoroughly. Try pitching twice to four times the amount of yeast recommended by a pitching rate calculator. And aerate the wort more thoroughly than you usually do. (Expect fermentation to start quickly.)
In addition, higher-gravity worts cause more yeast stress and generate more esters — if your fermentation temperature control is limited, stick to medium-gravity brews or session beers for better results.
High-Temperature Yeast Strains
If you simply can’t keep fermentation temperatures down into the usual ale range, try a yeast strain that can ferment warmer. Some Belgian yeast strains actually work best at elevated temperatures. And, in my own personal experience, I have found that the “Chico” strain — commercially available as Wyeast 1056, White Labs WLP001, and Fermentis Safale US-05 dried yeast — does a good job at slightly elevated temperatures if the pitching rate is increased somewhat .
Watch the Weather Report
Keep your eye on the weather report and — when possible — try to brew the night before a cold front arrives. Chill the wort to the cool end of the yeast strain’s recommended range and let the beer start fermenting the next day as cooler weather rolls in. This will decrease the amount of effort you will have to put into keeping the fermentation cool. Brewing with dried yeast can allow you to have yeast ready on a moment’s notice.
Nothing can replace adequately controlling fermentation temperature when brewing a quality beer. However, if you understand where yeast flavors come from, you can brew decent beer even if your fermentations run slightly warmer than optional.
—
Related articles
High Temperature Yeast Strains
Wort Chilling and the Danger Zone

Tip #7 – throw off the shackles of the 5G batch-size.
It’s so fookin’easy to control the temperature of a 2.5G fermentor with a 22-oz bottle or two of frozen water and a 48 QT cooler.