This is the seventh installment in the All-Grain Brew Day Walkthrough, which started with a post on strike water preparation.

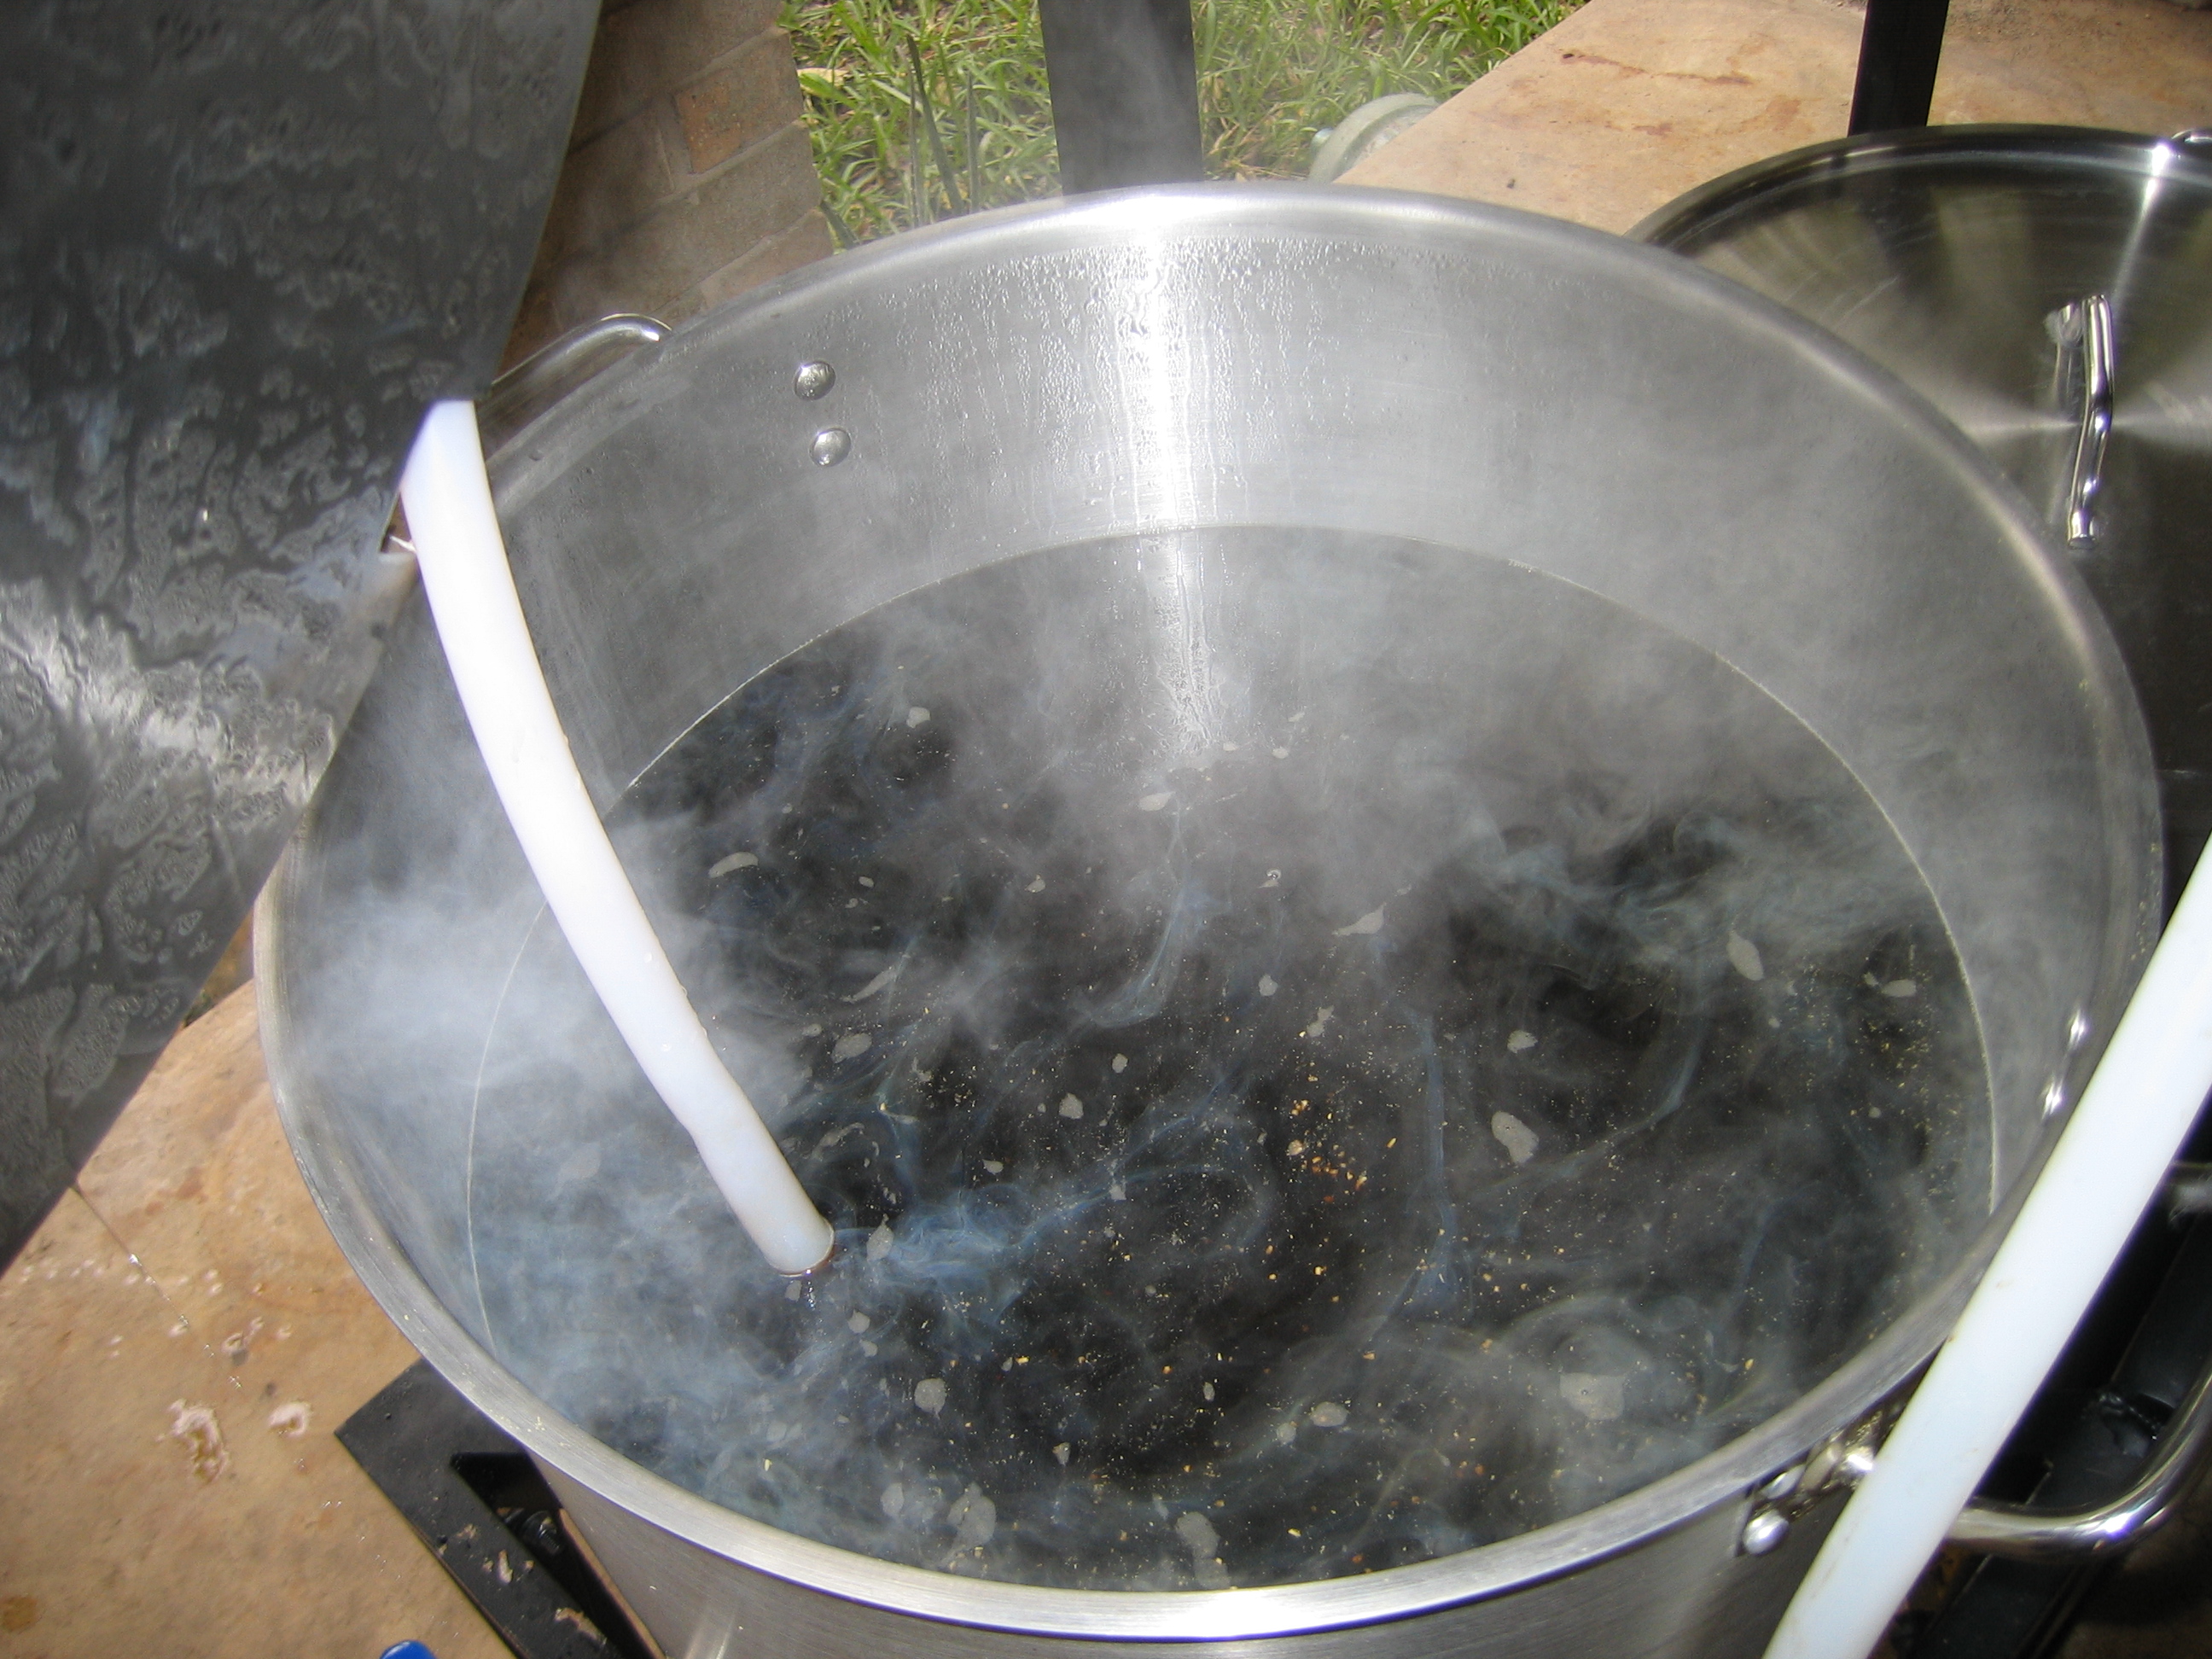
Wort boiling in a Sanke keg converted to a homebrew kettle.
In one way, the boil is a lot like the mash. Quite a lot is going on, but the brewer isn’t actively doing much.
Potential Boil Over
When the wort first comes to a boil, a lot of foam is produced. If you’re not careful, your brew kettle may boil over. Homebrewers usually avoid this by turning down the heat just as the wort comes to a boil, or stirring vigorously to keep the foam knocked down. Another alternative is to have a spray bottle of water handy. Spaying the rising foam collapses it.
What Happens During the Boil?
Due to the amount of solids dissolved in the wort, it generally boils around 215 °F (102 °C). (This phenomena is called boiling point elevation, and occurs whenever any (non-volatile) solute is dissolved and any solvent.) As it boils, many things occur. The wort is sanitized. Proteins coagulate, and proteins and tannins form complexes and drop out of solution as break material. Volatile compounds, such as DMS, are driven off. When the hops are added, the heat isomerizes the alpha acids, yielding the hop bitterness for the beer. Other chemical reactions, such as Maillard reactions and reactions between phosphates and calcium ions occur that drive the pH down, occur in the wort. To accomplish all these things, the brewer only needs to maintain a good, rolling boil.
Hot Break and pH
The hot break is already forming even though this wort is not yet boiling.
Once the initial foam subsides, you can start looking for the hot break to form. Ideally, the pH of the wort should drop during the boil. Pre-boil wort is a mixture of first wort, with a pH around mash pH (optimally 5.2–5.4), and sparged wort, with a pH between this and 5.8. The pH during the boil should drop from the mid fives down to pH 5.0–5.2. Achieving the proper boil pH frequently does not require any brewer intervention. If your hot break looks big and fluffy, you are almost certainly in the right pH range. The size of break particles is maximized around a pH of 5.2. If your boil pH has not dropped into the appropriate range, you will see very small break particles, or the wort will simply look “muddy.” Adding 25–50 ppm of calcium ions to the boiling wort will almost always fix this. In a 5-gallon (19-L) batch of beer, adding 0.5–1 teaspoon of gypsum or calcium chloride will supply the needed calcium.
Once you see the hot break starting to form, you can add your first dose of hops and start the boil time are. For worts boiled longer than 60 minutes, you may boil a while before adding your first hop addition.
Skim the Scum?
Early in the boil, the foam that is raised maybe flecked with dark brown material. Many brewers wonder if they should skim this “scum.” Although this material is bitter, skimming it does little to affect the quality of the beer. If you are brewing a very delicately flavored beer, you may want to skim the scum. For most beers, however, this is unlikely to make a noticeable difference.
If you add your hops directly to the wort, and especially if you use pellet hops, they may cling to the side of the boil kettle. Knock these back into the boiling wort so that they may be fully utilized.
Monitoring Evaporation
You should have a dipstick calibrated to your kettle. This will help you track the changes in wort volume during the boil. As you approach the boil, the volume increases slightly as the wort is heated and it expands. After that, the volume will decrease over the course of the boil, due to the evaporation of water. Homebrewers usually express their evaporation rate in gallons per hour and 1.0 to 1.5 gallons per hour (~4–6 L/hour) are common evaporation rates for brewers boiling their wort with a propane burner.
When you cool your wort, it will contract somewhat (by about 4%). There will also be a layer of break material at the bottom of the kettle. Therefore, your wort yield is always going to be less than your volume of boiling wort at knockout. Experience will tell you how much “gunk” collects at the bottom of your kettle and you can adjust your boil volumes accordingly for future brews.
Kettle Fining Agents
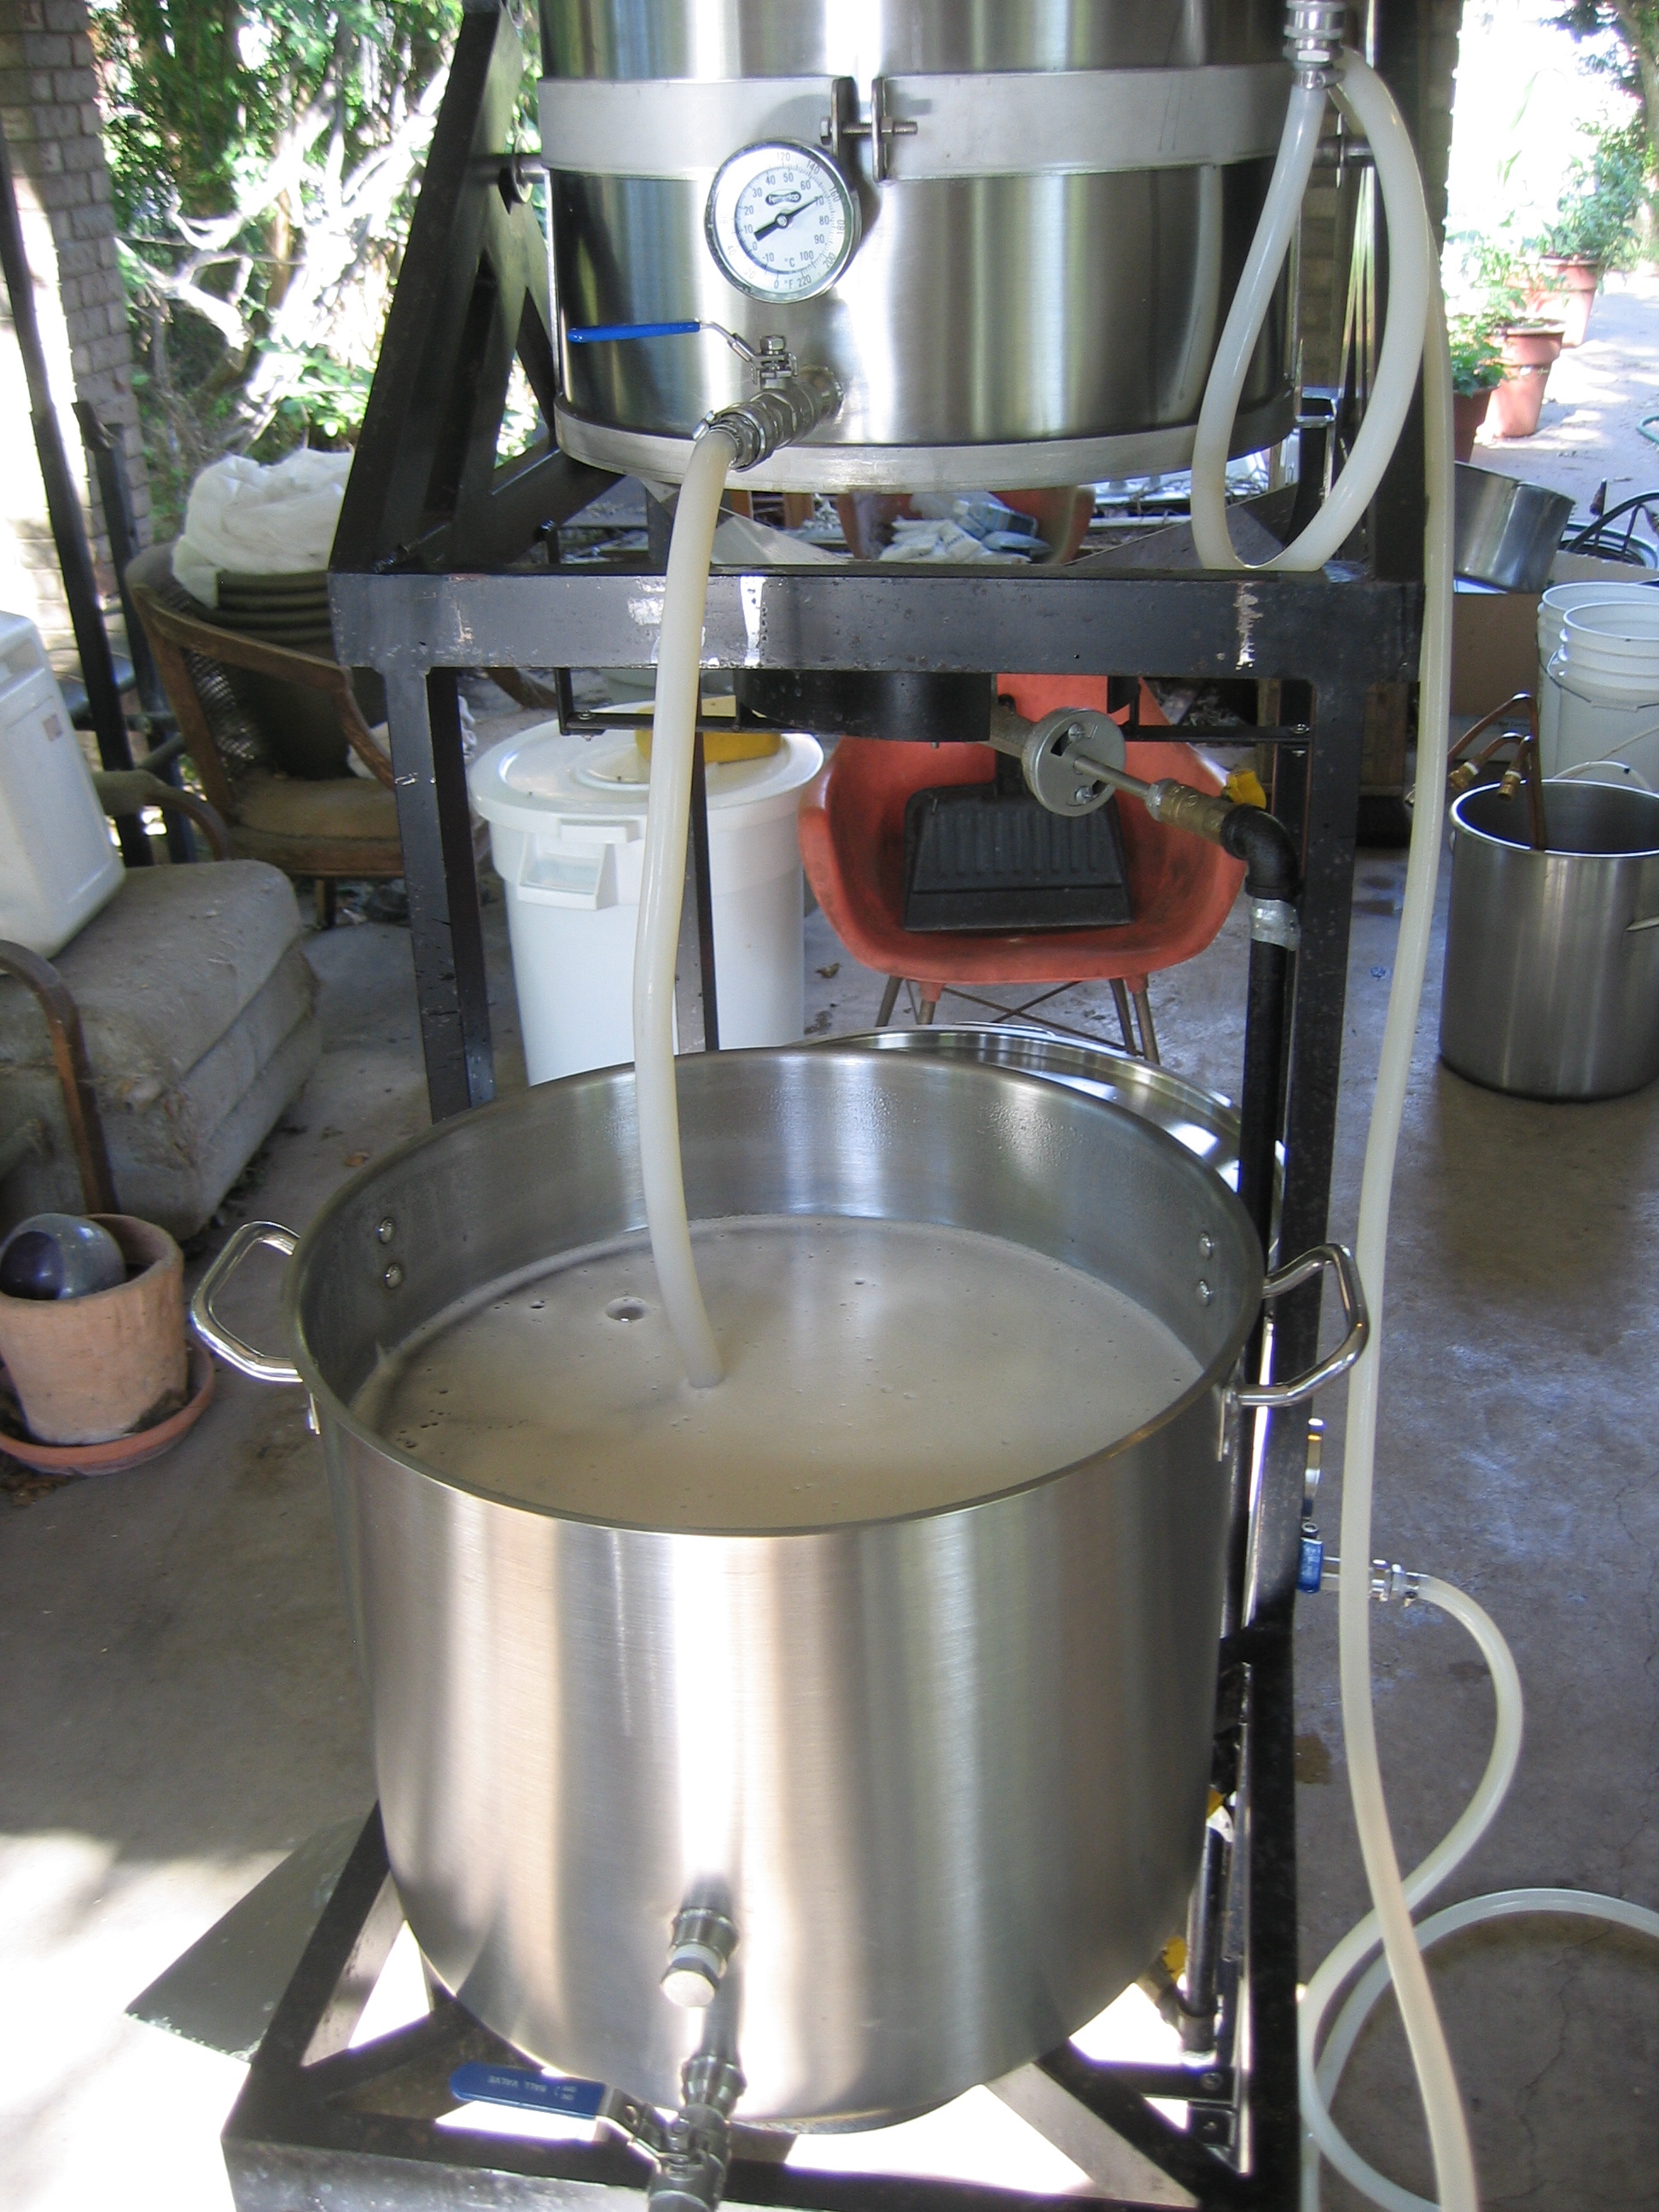
A wort foaming right before it is brought to a boil. (I’m still collecting my last bit of wort at this point.)
Irish moss or Whirlfloc can be added in the kettle to attract proteins and remove them by precipitation. This, in turn, helps clarify your beer. Adding 1 tsp of Irish moss per 5 gallons (19 L) of wort will help clear your beer, but not have any adverse effects. Likewise, one whirlfloc tablet can treat 10–15 gallons (38–57 L) of wort. Exceeding the proper amount may adversely affect your foam. These fining agents should be added during the last 10–15 minutes of the boil.
Lid On of Off?
Most homebrew rigs have a heat source sufficient to boil the wort vigorously with the lid completely off the kettle. If you don’t, you may wonder if leaving the lid partially on is a good idea. Leaving the lid on will trap heat in the kettle, increasing your boil vigor. However, if the malts you use yield a lot of DMS, the DMS maybe condensing on the lid and rolling back into your wort. This should only be a problem when you’re using very light base malts, however. Also, the smell of DMS is unmistakable. (It smells like cooked corn.) If you smell DMS, leave the lid completely off. However if you don’t smell it, and need to increase your boil vigor, feel free to place the lid partially on your kettle.
Downtime
Although a lot is going on in the boiled, the brewer is not actively doing much. Other than adding hops, Irish moss, or other kettle additives at their proper time, most of the boil is downtime for the brewer. Occasionally stirring the wort during boiling can’t hurt, but the action of the boil should be enough.
During the boil, the brewer should prepare the wort chiller so that is ready to go right at knockout. If you use a plate chiller or counterflow chiller, this will also mean that your fermenters will need to be sanitized by the end of the boil. Most homebrewers also use some of their time during the boil to clean out their mashed.
Next up, wort chilling.
—
Related articles
The Easy Way to Hit The Proper Boil pH

Love this series, I’m reading it mostly just for tidbits and to pass the time, but it’s very well-written and addresses all of the important points of the brew day as far as I can see.
It’s funny you mentioned boiling point, because I’ve been obsessing over it lately. The last few brew days, as I’ve been preparing to move over into some finer control in my electric boil kettle via a PID, I’ve been thinking about how to maintain that good rolling boil without it being a bubbling, messy boil. But as I measure the temperatures of my boils, they are all around 205F at best (and water alone is only 203F). I’ve tested with 3 different thermometers, digital and analog, and they all agree. I’m at 3500ft, and my kettle is a 15-gallon pot with about an 18″ diameter. This seems ridiculously low to me. I’ve calculated based on altitude and atmospheric pressure and everything says I should be at least at 209F.
I’m not really looking for an answer, just mentioning my situation for fun. 🙂 Thanks for the articles!
Hey Brian,
I think I know why you’re getting the weird results. When news sources at elevation give barometric pressure, it’s actually the barometric pressure corrected as if the reading were taken at sea level, not the actual barometric pressure. Correct the local reported barometric pressure to actual barometric pressure and your estimation should improve.
http://en.wikipedia.org/wiki/Atmospheric_pressure
Wow, I can’t believe I never thought of this. Maybe I never knew we were always getting corrected values. I ran a correction calculator and it does indeed take about 4 inches off my actual pressure, dropping my boil temps to what I am observing. Thanks!
Now on to determining whether I’m getting any significant differences in my boils from having a lower boil temp. The more I know, the more I don’t know. But that’s what makes this hobby so great!
“Leaving the lid on will trap heat in the kettle, increasing your boil vigor. However, if the malts you use yield a lot of DMS, the DMS maybe condensing on the lid and rolling back into your wort.”
Lid state is not strictly binary during the boil.
Lid ‘ON’ traps heat and condensation, so the solution is tipping the lid periodically to drain the condensate.
Pro tip:
Rest the lid atop a fry-pan splatter screen.
This allows steam to escape and reduce the number of lid tippings during the boil.